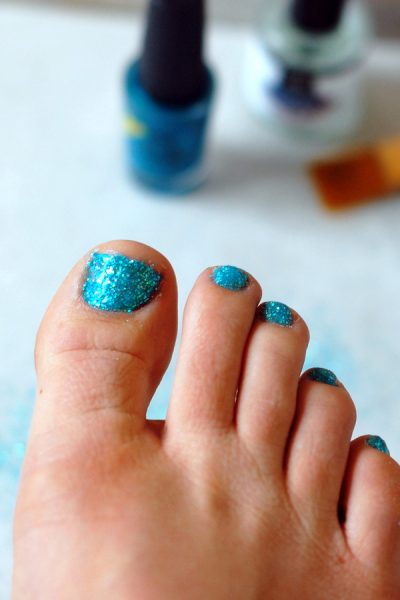
Last summer I had glitter toes done, which is basically a gel pedicure with glitter. At first I loved them, but after the 6 months it took to get my toe nails back to normal, I realized I was not so much a fan of the gel. The gel that’s used to adhere the glitter has to be filed off with a manicure drill tool leaving your nails thin and flimsy.
I am however a big fan of the GLITTER (!), so when a friend of mine shared with me how she does it herself, I was thrilled to give it a try. It worked great and I think it looks so cute too.
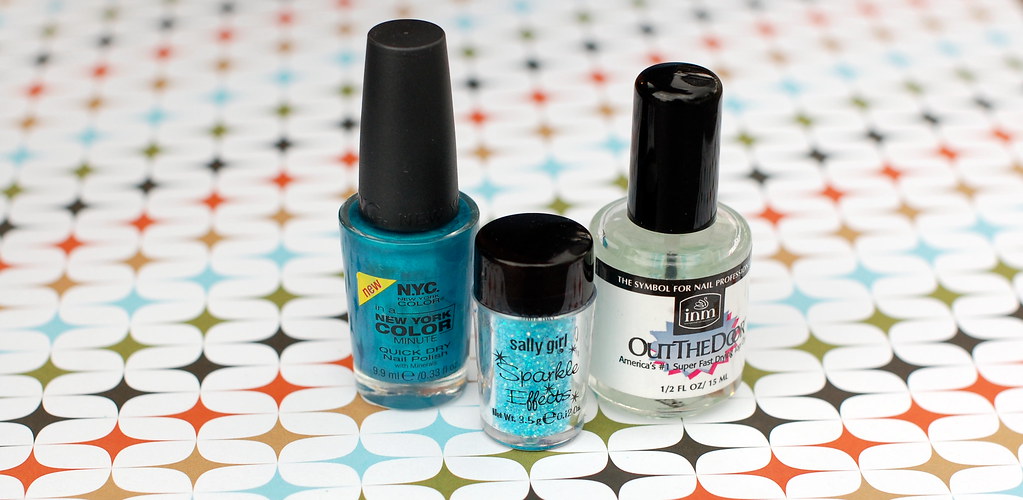
These are the three products that I used. What’s great is that there are so many beautiful colors of fine glitter available now.
Here’s the How To:
1. Paint one coat of a coordinating color to the glitter you choose.
2. While paint is still wet, sprinkle glitter all over each individual toe to cover well. Make sure to do it over a pan with parchment paper so that the excess glitter can be saved and reused. Also a small craft paint brush is helpful to brush away any excess.
3. Paint a clear top coat over the glitter to help keep it contained and to add a shine to the sparkle.
Give it a try, you’ll love the way your toes sparkle at the pool this summer.
Here’s a look at my DIY glitter toes pedicure:
