DIY Easter Egg Cups
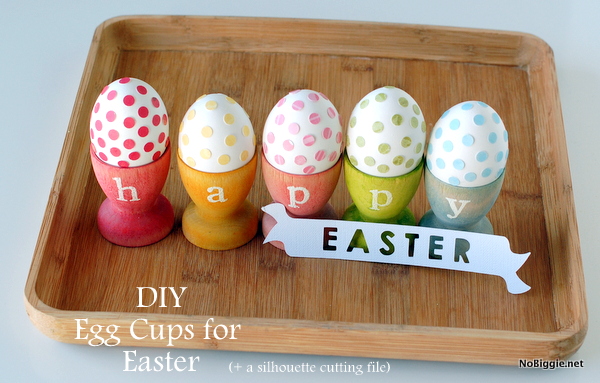
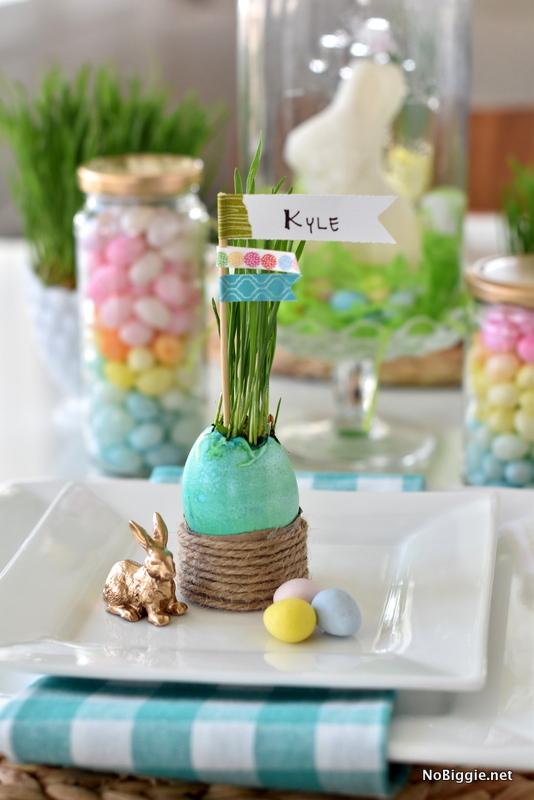
I have a fun little Easter craft to share with you today. I’m loving the look of stained wood, so that you can see the beautiful lines of the wood grain. When you paint over wood, you loose that look. So rather than painting these little wood cups, I stained them. These little cups make a fun decoration for Easter, Spring and Everything!
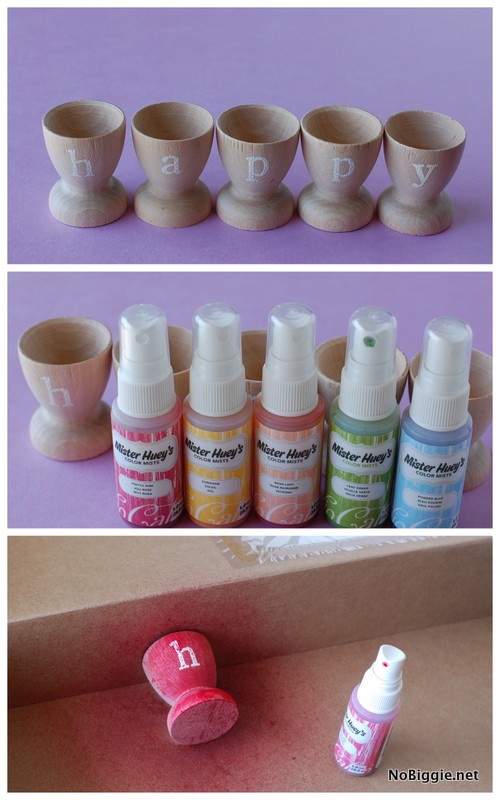
To start, I used an embossing powder, alphabet stamps and a heat embossing tool to write out the word: happy. You could do monograms with this method too. That would be a fun way to set the table for Easter.
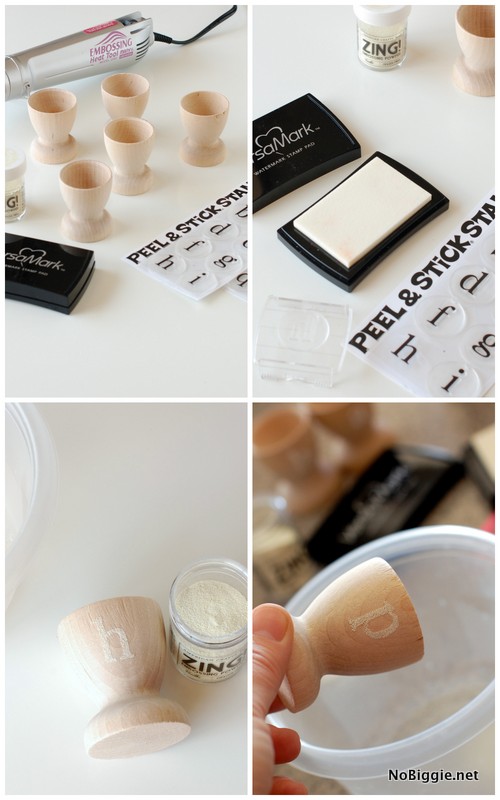
Here’s what I used to make these:
– PSA Essentials Vanilla alphabet (with a clear stamp block)
– white Zing Embossing powder
– a heat embossing tool
– Mr. Huey mister sprays in a few different colors
– my silhouette machine to make the little banners
After I embossed the word: Happy, I sprayed each cup a different color of Mr. Huey color mist. I love how it’s colorful, but subtle so that you can still see the natural wood grain. I soaked each little cup in water after misting it to wash most of the color off to give it a more subtle look.
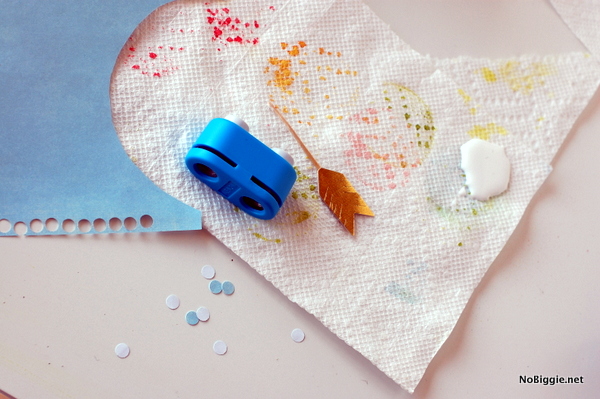
To add little polkadots to the eggs, I just used a paper circle craft punch and scrap pieces of paper that matched the egg cups, then I just adhered the paper with glue to the hardboiled egg shell. Pretty simple.
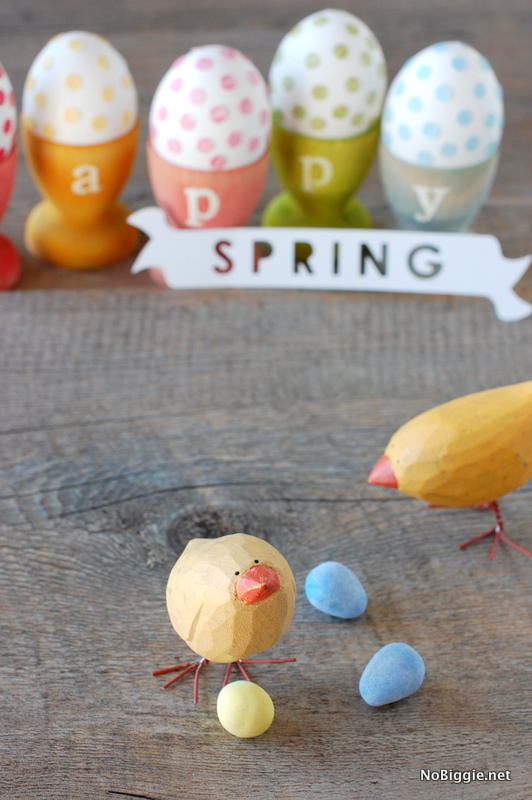
It’s all wishful thinking…for Spring.
…and wishing you a happy Easter – happy Spring – happy Everything!
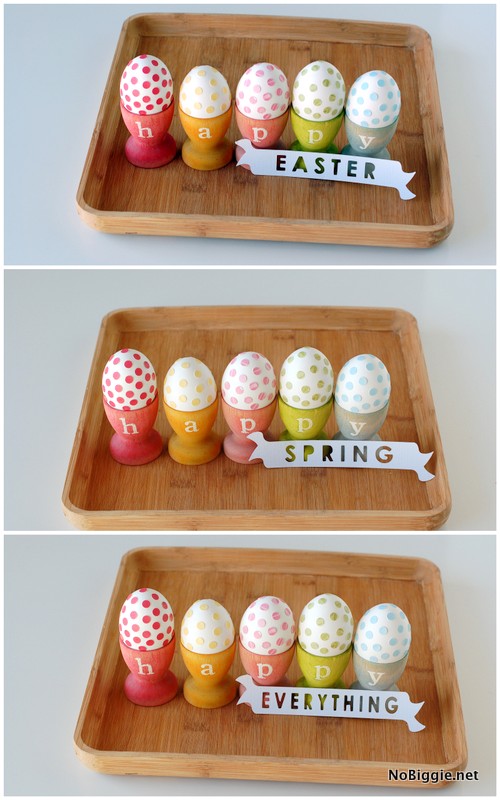
If you’d like to make the little white paper banners, send me an email for the silhouette cutting file to be used with a silhouette machine, I’d love to share it!
More DIY PROJECTS for Easter:
–Rock Candy Carrots
–Happy Pinwheels for Spring
–DIY Speckled Egg Candy Jars
