Make mini pavlovas for parties, baby or bridal showers, family get togethers or holiday desserts.
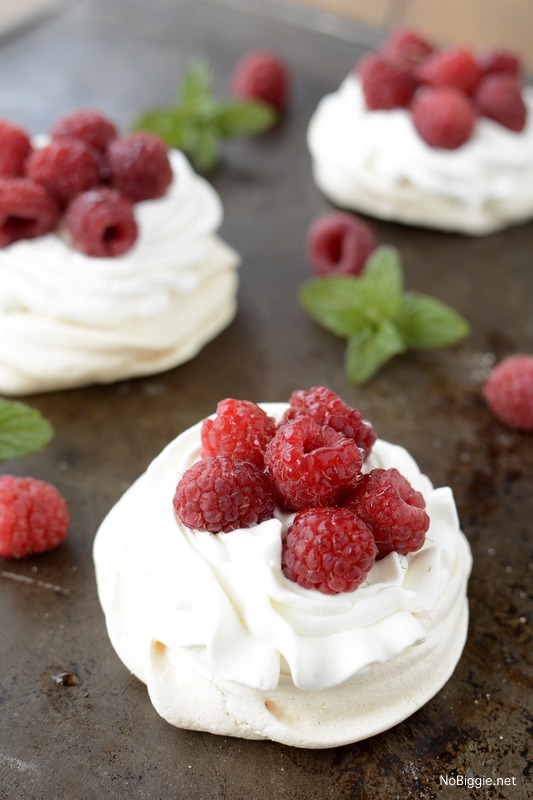
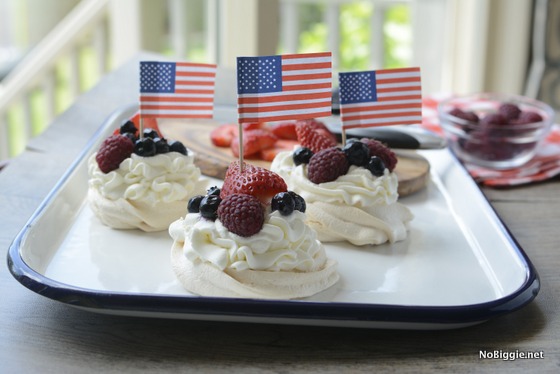
You could make one giant pavlova OR your could make mini ones. We really love to make mini pavlovas around here. We shared some with little USA toothpick flags that were festive for the 4th of July (see photo below), but the truth is that we love them year round. Add in kiwi and raspberries and now they’re festive for Christmas too! The best part is that they look fancy, but once you master the meringue, they’re really pretty easy!
The best part about pavlovas is that once you top them with sweetened whipped cream, you can add any kind of fresh fruit or fresh berries you’d like…whatever is in season! Here we have fresh raspberries and sliced kiwi, which would be cute for Christmas.
Ingredients:
- 6 large egg whites
- 1 1/2 cups granulated sugar
- 1/2 tablespoon lemon juice
- 1/2 tablespoon vanilla extract
- 2 teaspoons cornstarch
- For the Toppings:
- 1 1/2 cups cold heavy whipping cream
- 3 tablespoons powdered sugar
- 1/2 teaspoon vanilla extract
- fresh berries, fresh fruit, fresh mint leaves
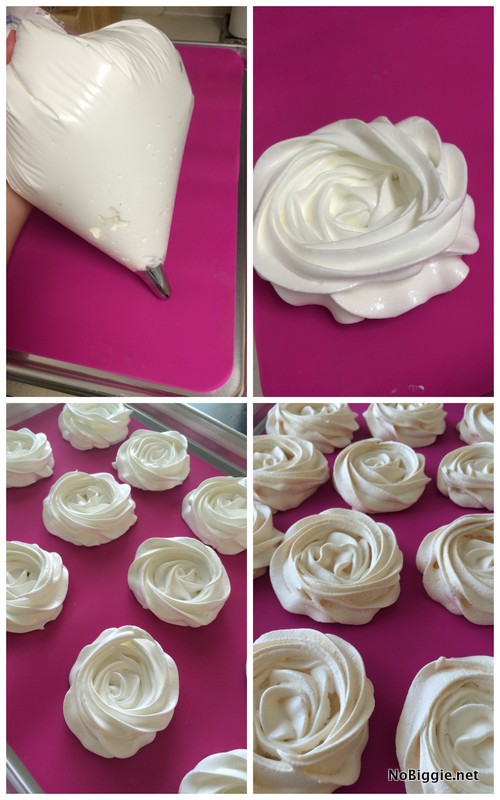
How to make Mini Pavlovas:
- Preheat oven to 225.
- Crack and separate the egg yolks from the egg whites. Put the egg whites in a mixing bowl. Whisk the egg whites until stiff peaks form. Slowly whisk in the sugar a little at a time until completely mixed in. The mixture will be shiny.
- Carefully fold in the lemon juice, vanilla extract and corn starch.
- Select which tip you want to pipe with (we like the Wilton 1M tip for these), or just cut the corner of a plastic bag for a simple look. Using a piping bag or gallon sized plastic bag, fill the bag with the meringue mixture. Line the baking sheet with parchment paper or a silicone baking mat. Pipe out your mixture into 2-3inch circles. (These will grow a little while baking).
- Place the meringues in the oven. Bake for 1 hour and 15 minutes. At this point turn the oven off and do not open the oven door. Let them sit in the oven for another 30 minutes. (Depending on the size of meringues – smaller sizes will cook for less time, larger pavlovas will cook for a little longer). Sometimes they will come out an almond color when baked.
- Let them cool to room temp. Store in a dry place in an open container – Do not put in a container with a lid as the meringues will sweat. These can be made up to a week before if you keep them in an open container.
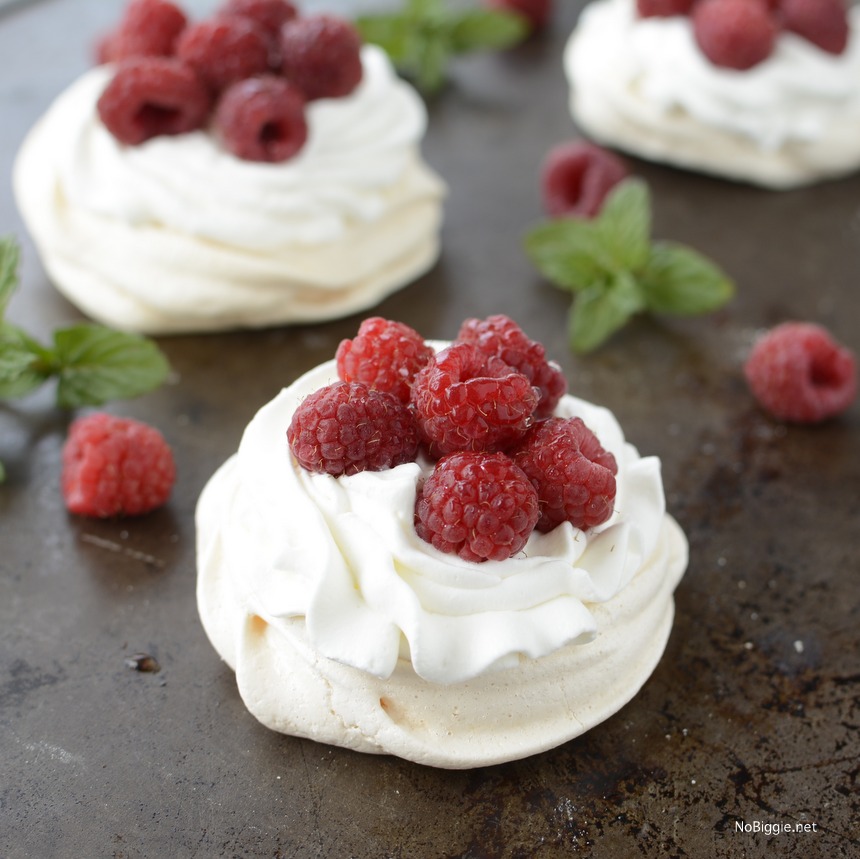
- When ready to serve: whip the heavy cream, vanilla and powdered sugar together until stiff peaks form. Place frosting tip into a gallon sized plastic bag and fill with the whipped cream. Pipe the cream onto the top of the meringues and top each one your favorite fresh berries and fruit. Raspberries are great on these…Keep chilled in the fridge up to 4 hours until ready to serve.
- The meringues will soften slightly after refrigeration, but they still taste amazing.
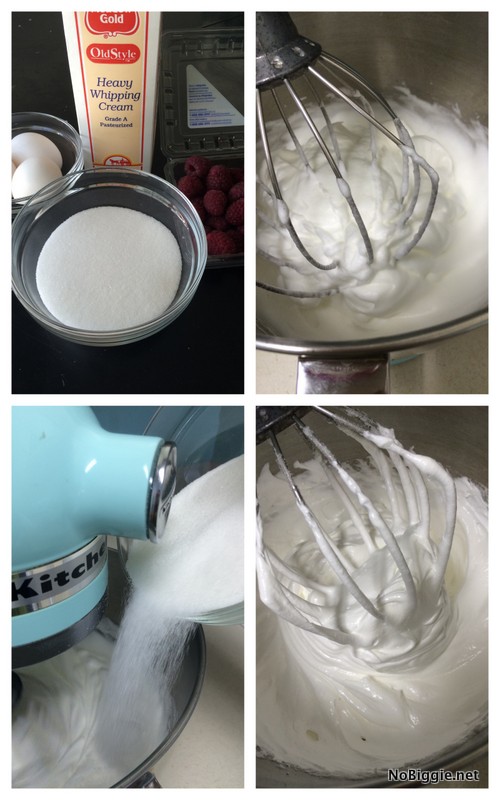
How to Store Mini Pavlovas
Mini meringues like these are best stored at room temp in an open air container. Once you top them with whipped cream and fresh berries, you will need to keep them stored in the refrigerator. They will keep up to 4 hours in the fridge. It’s best to assemble with the fresh whipped cream and berries just a few hours before serving so that the whipped cream does not deflate.
Can Pavlovas be made ahead?
Yes! You can make them up to three days ahead (without topping them). It’s best to add the whipped cream and berries just right before serving.

Mini Pavlovas
Make individual sized pavlovas for parties, showers and family get togethers. We love this simple dessert, because it looks fancy, but the ingredients are pretty simple.
Ingredients
For the Meringue:
- 6 large egg whites room temperature
- 1 1/2 cups granulated sugar
- 1/2 tablespoon vanilla extract (clear vanilla if you have it)
- 1/2 tablespoon lemon juice
- 2 teaspoons corn starch
For the Toppings:
- 1 1/2 cup heavy cream
- 3 tablespoons powdered sugar
- 1/2 teaspoon vanilla extract
- fresh berries
- fresh fruit *optional
- fresh mint leaves *optional garnish
Instructions
For the Meringues:
-
Preheat oven to 300.
-
To start make sure your eggs are at room temperature. Crack and separate the egg yolks from the egg whites. Put the egg whites into a clean mixing bowl. Whisk the egg whites until stiff peaks form. Slowly whisk in the sugar a little at a time until completely mixed in. The mixture will be shiny. Fold in the lemon juice, vanilla extract and cornstarch.
-
Select which tip you want to pipe with (we like the Wilton 1M tip). You can also just cut the corner of a plastic bag for a simple look. Using a piping bag or gallon sized plastic bag, fill the bag with the meringue mixture. Line the baking sheet with parchment paper or a silicone baking mat. Pipe out your mixture into 2-3inch circles. (These will grow a little while baking).
-
Reduce oven temperature to 275 and place the meringues in the oven. Bake for 1 hour and 15 minutes. Let the meringues sit in the oven for 30 more minutes with the oven off and do not oepn the oven door. These will come out an almond color when baked.
-
Let them cool. Store in a dry place in an open container - Do NOT put in a container with a lid as the meringues will sweat. These can be made up to a week before if you keep them in an open container.
For the Toppings:
-
Whip the heavy cream, vanilla and powdered sugar together until stiff peaks form. Place frosting tip into a gallon sized plastic bag and fill with the whipped cream. Pipe the whipped cream onto the top of the meringues and top each one your favorite fresh berries (or fruit). Raspberries are great on these...Keep chilled in the fridge up to 4 hours until ready to serve.
-
The meringues will soften slightly after refrigeration with the whipped cream on top, but they still taste amazing.
Making This Recipe? Tag us on Instagram: @NoBiggie using the hashtag #NoBiggieRecipes, so we can see what you are making in the kitchen!
Variations:
We are big fans of meringue based desserts. We have different versions of meringue based desserts for different holidays and seasons. Here’s some of our favorites:
- Meringue Nest Cookies (for spring and Easter)
- Heart Shaped Pavlovas (for Valentine’s Day)
- Upside Down Lemon Meringue Dessert (we love this one in the Spring time)
- Add mini American Flag Toothpicks to make them for the 4th of July (see photos here)
- Add green kiwi and red strawberries or raspberries for Christmas (see photos here)
The crunch of the meringue shell, the creamy whipped cream and the fresh berries is an amazing combination.
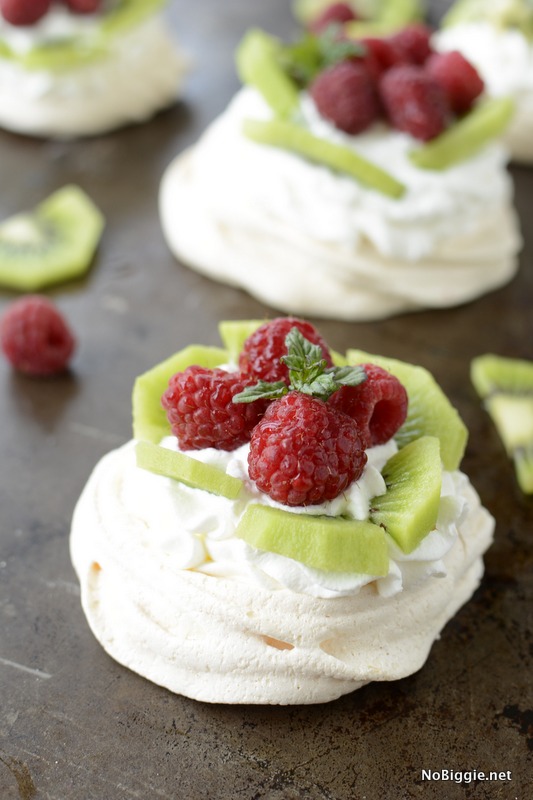
Plus they’re so pretty! If you’ve yet to try your hand at making pavlovas, you’ve got to make them!
Tips and Tricks for making Mini Pavlovas:
- Room Temperature Eggs: it really helps to start with room temperature eggs, if your eggs are cold from the fridge, you can add them to a bowl of warm water still in the shell, of course (not hot water), this will quickly bring them to room temperature in 10-15 minutes.
- Start with a clean mixing bowl: any egg yolks, grease or an unclean bowl, can make it hard to form stiff egg white peaks.
- Add the sugar gradually: this allows the egg whites to absorb the sugar more evenly and completely while mixing
- Stiff Peaks: to achieve stiff peaks with your whipped egg whites, you should be able to hold the beater upright and it will stand stiff…like stiff peaks. Avoid over mixing the egg whites past the stiff peak stage.
- Preheat your oven: once your egg whites are piped out on to a parchment lined baking sheet, you will want them to move right into the oven, so make sure your oven temp is ready to go.
- Parchment Paper: it’s really helpful to line your baking sheet with parchment paper (or a silicone baking mat) for a no-stick surface. You do not want to grease the bottom of your baking sheet for this recipe.
FAQ:
Why did my meringue change color in the oven?
Often the meringue can darken in color and change from a bright white to a more almond color. This is caused by the temp of your oven being too high. The key to avoiding a color change in the meringue is to keep a low temp on your oven. The oven temp is best kept at around 2225 F. If you make these the night before, you can let them dry out in the oven for a longer time, you can even turn off your oven and leave them in the oven over night (just don’t open the door until ready). More time in a dry place will give them a more crispy texture and less chewy.
Why are my mini pavlovas chewy in texture?
There’s a few reasons why your pavlovas are chewy rather than crunchy:
- if it is humid where you live, it makes it harder for them to completely dry out. I would recommend making them the night before you need them so they can have more time to sit in the oven to dry out.
- if you did not allow the sugar to completely dissolve in the egg whites while mixing. If the sugar does not dissolve completely, it will give a more chewy texture.
They’d be great served at a family party or baby shower.
More desserts we love for parties:
- Cheesecake Filled Sugar Cookie Fruit Tarts
- Mini Salted Caramel Cheesecakes
- Apple Pie Caramel Apples
- Oreo Truffles
- Eclair Squares
- No Bake Peanut Butter Balls
- Swig Sugar Cookie copycat recipe

