These Dinner Rolls are light, fluffy and the best part is that they are baked by you!
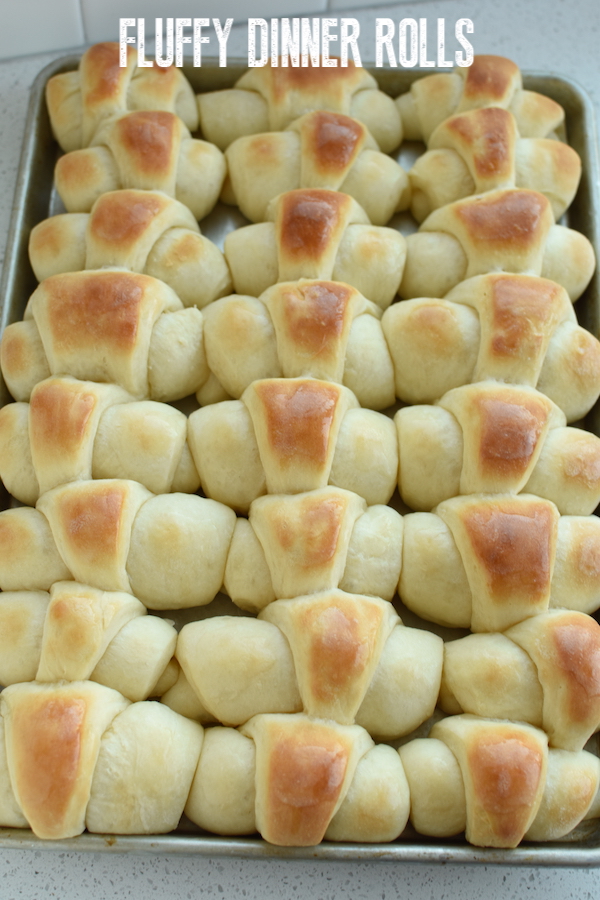
You really can’t beat a homemade roll still warm from the oven. They are the best! Bread baking can sometimes be intimidating. It’s not like cooking, where you can sometimes just wing it and things will just work out. We have a couple tips and tricks to follow that help these rolls turn out awesome every time.
Here’s the simple ingredient line up. I know I say this every time, but having all the ingredients measured out and ready to go is so helpful!
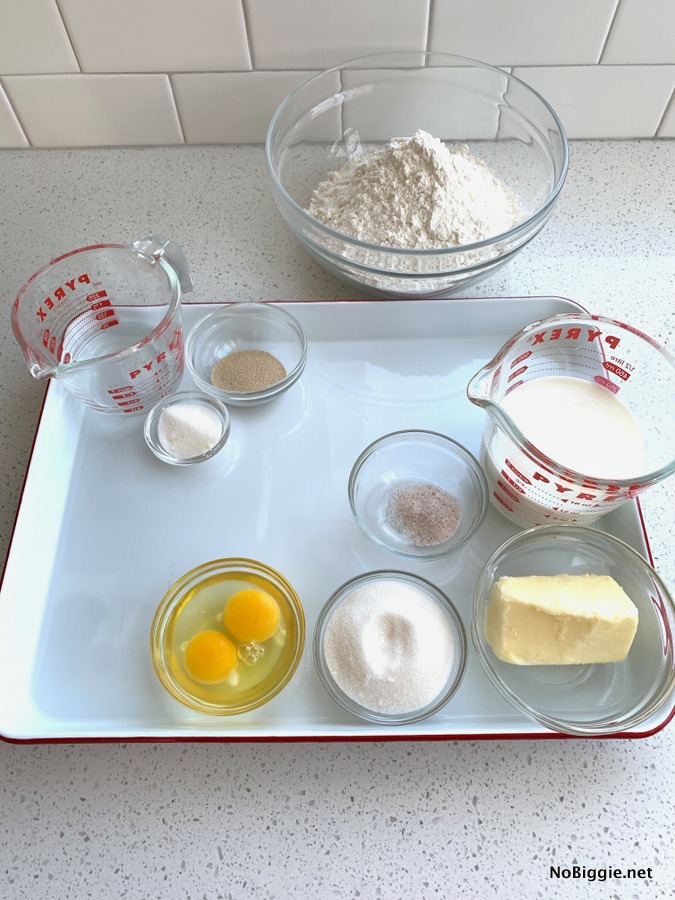
Ingredients:
- 1/3 cup water warmed to 110 – 115 degrees
- 2 1/4 tsp active dry yeast
- 1 tablespoon granulated sugar
- 1/3 cup granulated sugar
- 1 1/3 cups whole milk warmed to 110 – 115 degrees
- 1 cup salted butter 2 sticks, at room temperature
- 2 large eggs at room temperature
- 4 1/2 – 5 cups all-purpose flour
- 1 1/2 tsp salt
How to Proof Yeast:
Before you start mixing all the ingredients together, it’s super important to proof the yeast. To proof the yeast, you are just mixing the yeast with the water and sugar and then you wait a few minutes and watch it bubble up and foam. We like to add a small plate over the top of the small bowl to trap in the heat from the water. This will help the yeast bubble up in less time.
If your yeast is not bubbling up, it can be that your water is too hot or too cold. Your water needs to be 110-115F degrees. You can test the temperature of your water with a candy thermometer before adding the yeast and sugar, or you can test a little on your wrist. It should feel like the temperature of a baby’s bath. This step is crucial to make sure your rolls turn out. If your yeast does not bubble up, you need to start over with new water, sugar and yeast. Before you go wasting all your ingredients because your yeast did not bubble up and foam, it’s really easy to start over at this step in the recipe.
When it comes to yeast, we love Red Star Yeast. We buy the big bag at Costco and keep it in a gallon sized freezer bag in the freezer. It will stay fresh and keep in your freezer up to two years…you can’t beat that!
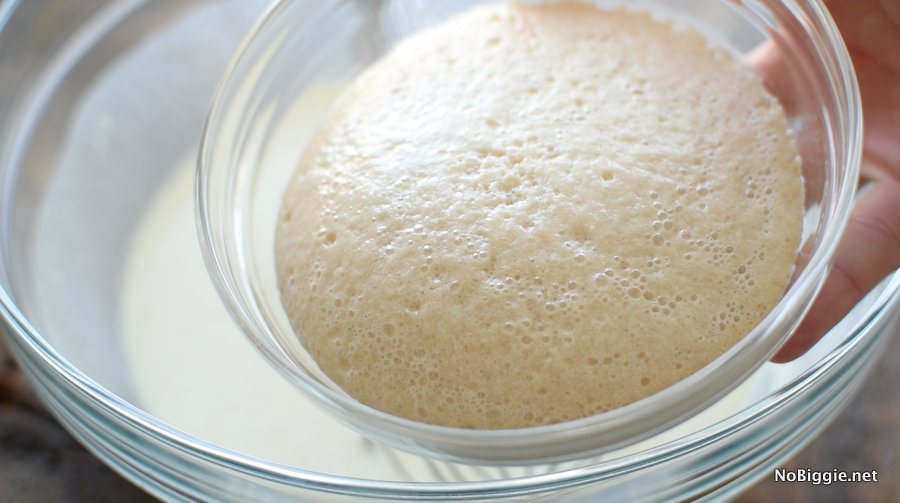
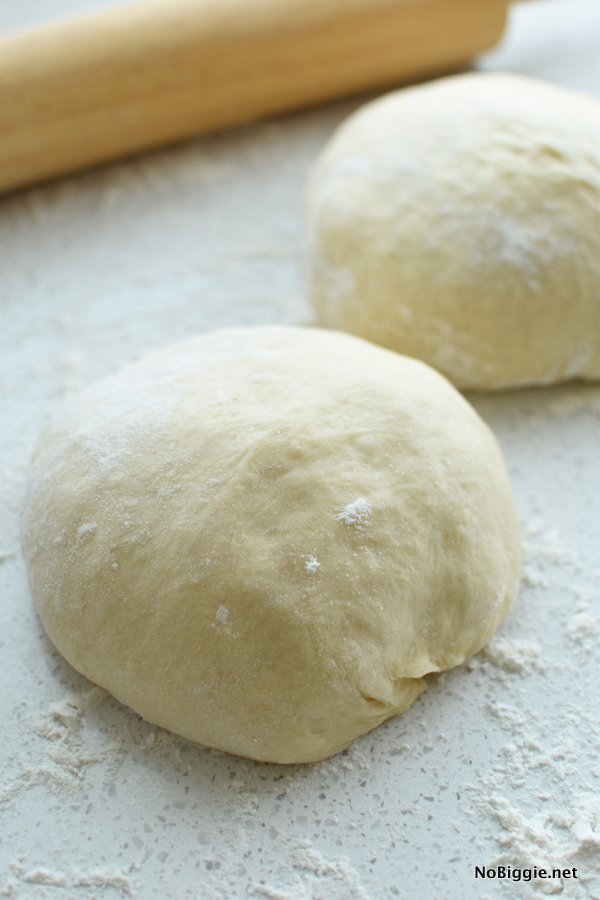
The dough will rise twice. The first rise the dough will double in size. Before you roll the dough out, you will have two dough balls ready to be rolled out into rolls.
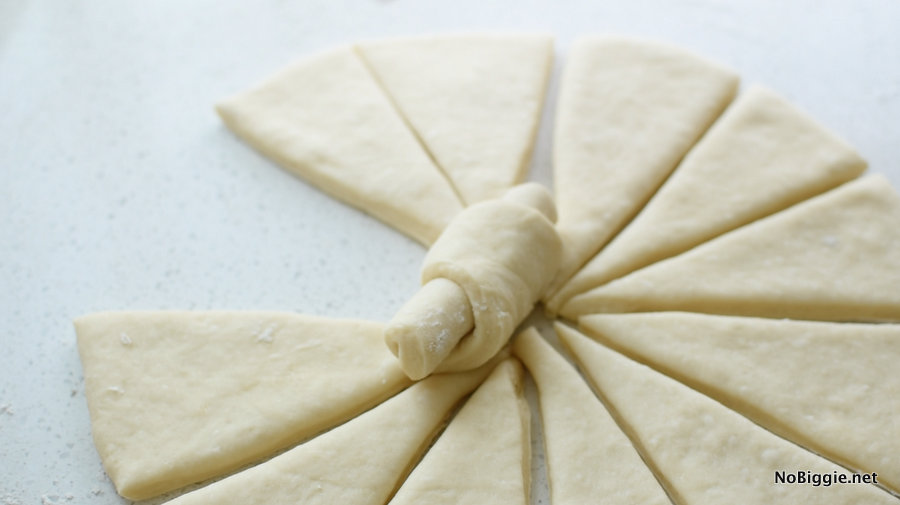
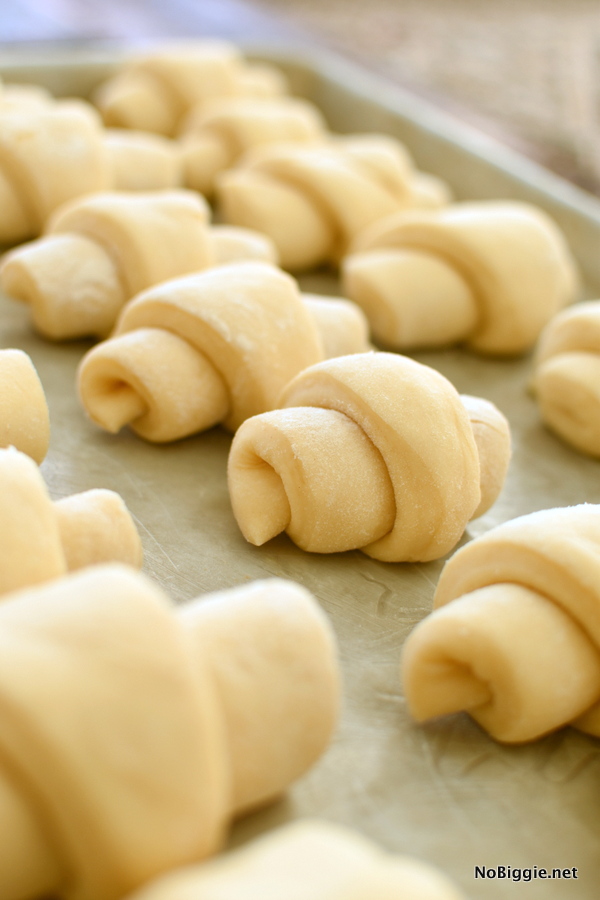
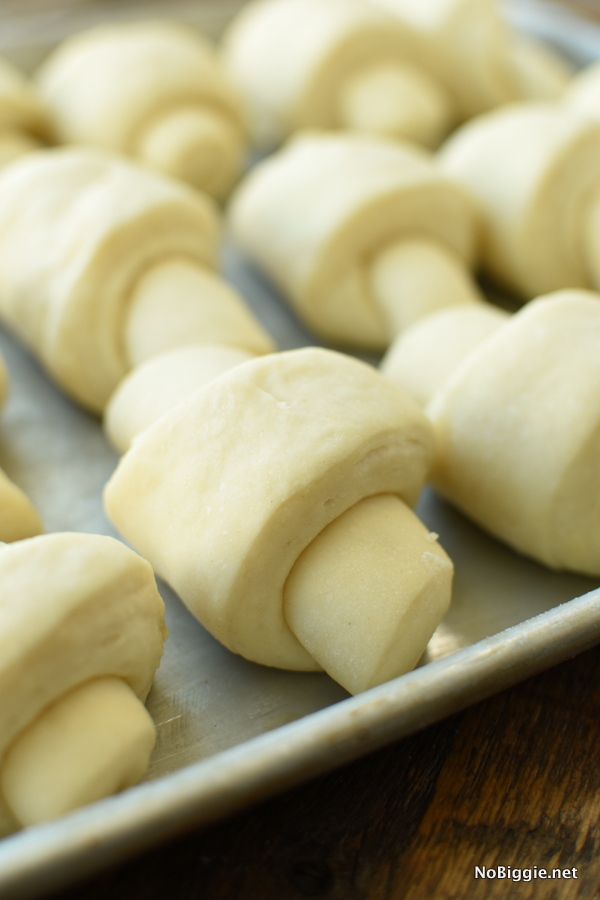
You will snugly roll each triangle wedge of dough from the outside edge in towards the center. Repeat this step for each one.
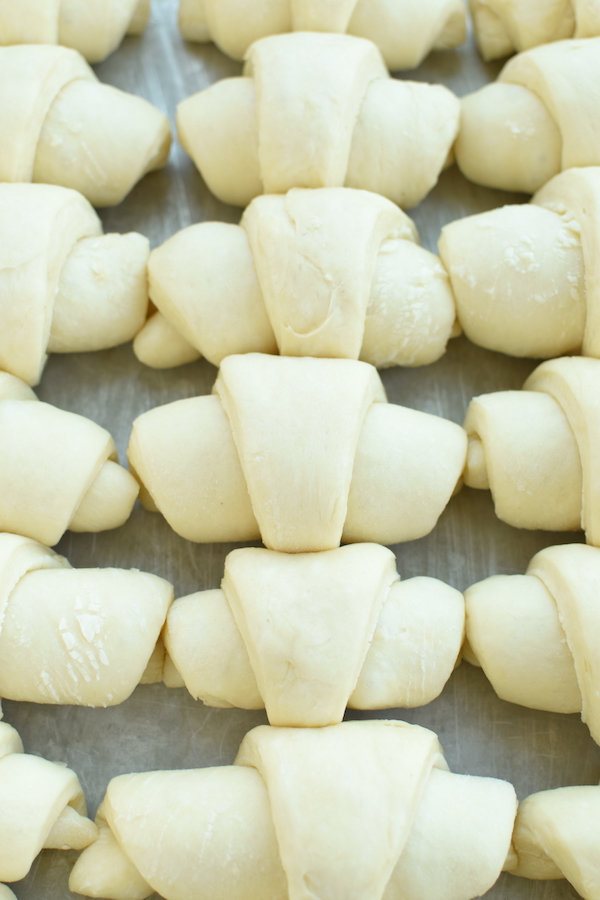
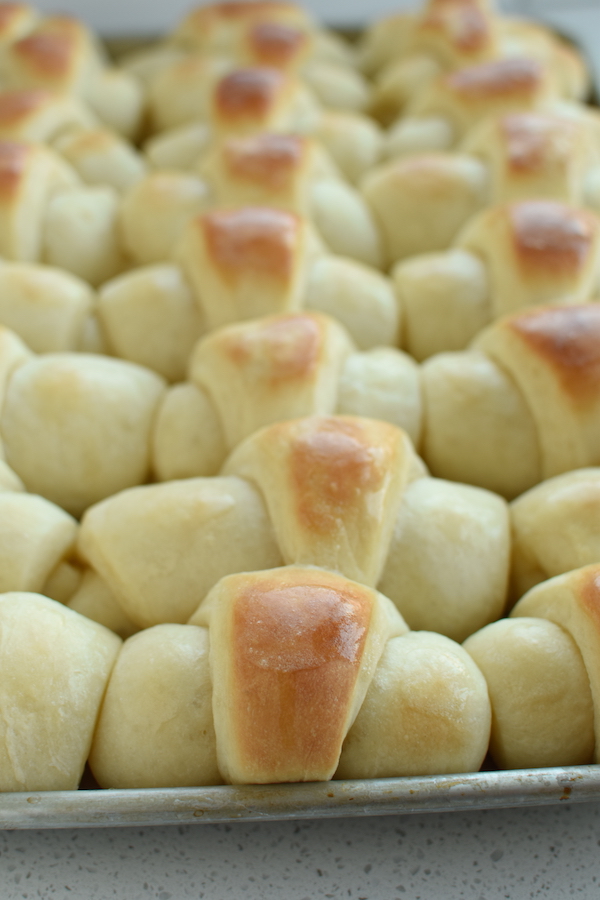
Place them all on a buttered sheet pan. Our sheet pan is 13×18 inches. It’s the half sheet pan size.
At this point you will cover the rolls lightly with plastic wrap and let them rise again, doubling in size.
Fluffy Dinner Rolls
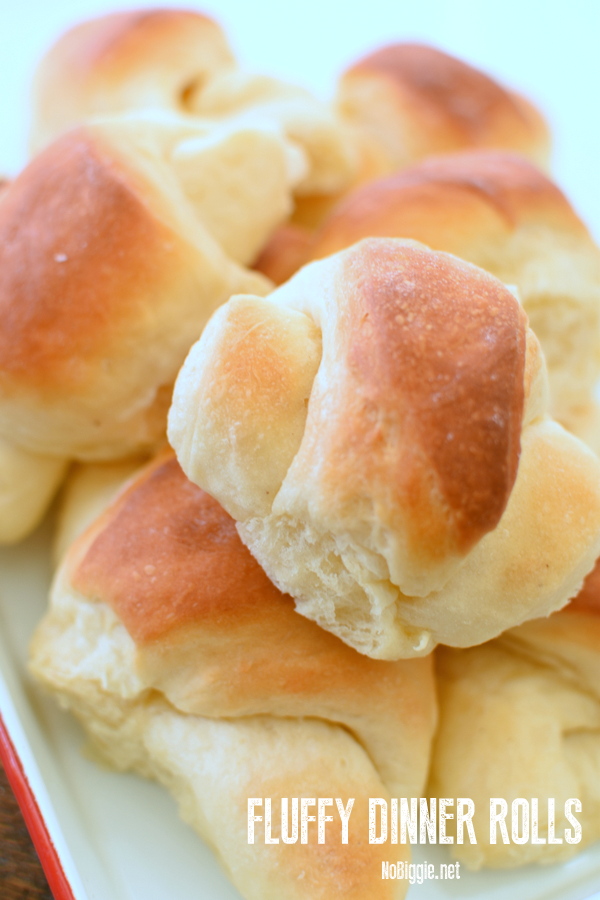
You just can't beat warm, soft and fluffy homemade dinner rolls. Everyone will be asking you to bring the dinner rolls because they are so good!
Ingredients
- 1/3 cup water warmed to 110 - 115 degrees
- 2 1/4 tsp active dry yeast
- 1 tablespoon granulated sugar
- 1/3 cup granulated sugar
- 1 1/3 cups whole milk warmed to 110 - 115 degrees
- 1 cup salted butter 2 sticks, at room temperature
- 2 large eggs at room temperature
- 4 1/2 - 5 cups all-purpose flour
- 1 1/2 tsp salt
Instructions
STEP ONE:
-
Proof the yeast. Test the warm water on your wrist to make sure it is the right temperature. It should be 110-115F degrees. It should feel like a baby's bath water. Add the yeast to the warm water with the 1 tablespoon sugar. Gently stir the mixture with a fork. Cover the bowl of this mixture with a plate (or plastic wrap) to trap in the heat. This will help the yeast bubble up in less time. Let this mixture rest for 5-10 minutes. During this time the yeast will bubble up and foam. If the yeast does not bubble up, dump it out and start over with a new yeast mixture.
STEP TWO:
-
In a microwave safe bowl, microwave the 1 1/3 cups milk, 1 stick of butter (1/2 cup) and 1/3 cup sugar for 1-1 1/2 minutes until the milk is warm but not scalding. The butter will melt in the milk.
-
To help cool down this mixture, add 2 cups of flour and the salt. Whisk to combine.
-
Now add in the bubbled up yeast mixture, scrapping out any excess. Also add the eggs at this point. Continue to mix with a whisk.
-
Add the remaining flour and change from a whisk to a wooden spoon or rubber spatula. Stir to combine all ingredients (stir for about 4-5 minutes). The dough will be a little sticky.
STEP THREE:
-
Spray a large mixing bowl with non stick cooking spray and transfer the dough over to this bowl. Cover the top with plastic wrap and spray the top of the plastic wrap with cooking spray and then flip the plastic wrap over. This will keep the dough from sticking to the plastic wrap and move the bowl to a warm spot in your house. The dough needs to rise and double in size. Depending on the temperature, this will take about 1 1/2 hours.
STEP FOUR:
-
When the dough has doubled in size you are ready to roll out the rolls. Prepare your work surface with flour. Also prepare your rolling pin and your hands by rubbing flour on them.
-
Uncover the bowl with the dough. Gently punch the dough down in the middle of the bowl to help release a little air. Place the dough onto the floured surface. Divide the dough into two equal portions. Shape each portion into a ball.
-
Working one dough ball at a time, roll out the dough ball on the lightly floured surface into a large 12 inch diameter circle. Once it is rolled out spread the top with softened butter -about 2 tablespoons of butter per circle of dough.
-
With a floured pizza cutter, cut the dough circle into 4 even quarters, then cut each quarter into 3 wedge triangles. You will have 12 dough triangles for each dough ball. Roll each triangle piece up starting from the outside rolling in towards the center.
STEP FIVE:
-
Move the rolled rolls to a buttered sheet pan placing the rolls with the small tip of the roll tucked underneath. You will make 3 rows, with 8 rolls per row. This will give you 24 rolls on one pan. Loosely cover the top of the sheet pan with plastic wrap and let the rolls rise in a warm place until doubled in size (about 1 hour.)
STEP SIX:
-
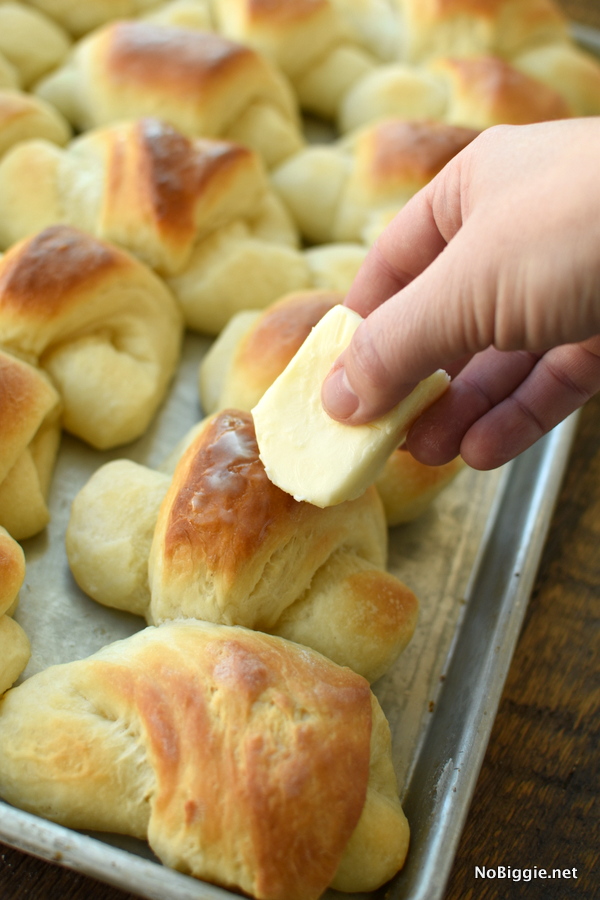
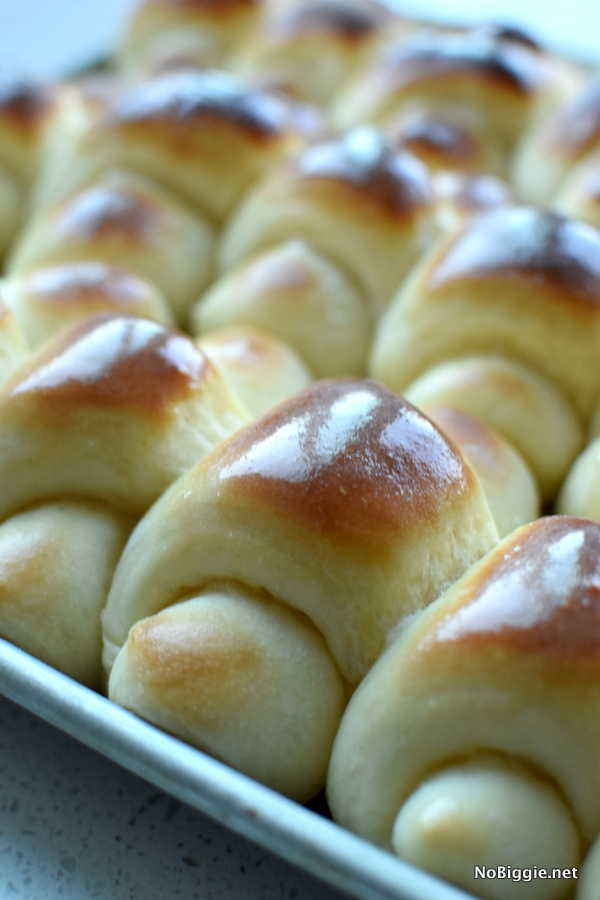
During the last 10 minutes of rising preheat your oven to 375 degrees. Remove plastic wrap and bake rolls for 15 - 20 minutes, or until golden brown. Remove from the oven and gently rub a stick of butter over the top of each roll for a buttery glaze. Serve warm with soft salted butter (and jam too…yum!).
Recipe Notes
*Depending on your altitude or the humidity of where you live, you may need to add more or less flour to these rolls. Adding just 1/4 cup of flour at a time. The dough will be sticky, and you don’t want to add too much flour or the rolls will be heavy.
*Leftover baked rolls should be stored in an airtight container.
Making This Recipe? Tag us on Instagram: @NoBiggie using the hashtag #NoBiggieRecipes, so we can see what you are making in the kitchen!
Make ahead dinner rolls:
With a big meal like Thanksgiving, there are so many side dishes that you are working on, that it can help to get a few things done a day ahead. There are a few options when making these rolls where you can do a lot of the prep work a day ahead. This dough needs to rise twice, once in a greased bowl and again rolled out as rolls on the pan. There are a few places during the recipe where you can just stop if needed and move the dough to the fridge. The dough can be made a day in advance and stored in the fridge, or a week in advance and you can freeze it. You can also completely bake these dinner rolls and then reheat them wrapped in foil in your oven the day of. I know what you are thinking. Reheating rolls is just not as good as a fresh roll hot from the oven, and I get it…it’s not the same, but on a day like Thanksgiving when you have so much going on, it’s nice to still have homemade warm rolls, with less dishes the day of!
Three Methods for reheating dinner rolls:
- Reheat dinner rolls in the oven -Great for reheating a lot all at once.
Preheat your oven to 350°F. Place the rolls in a baking dish or arrange on a baking sheet, cover the sheet pan with foil and bake until warm, 7 to 10 minutes. - Reheat dinner rolls in the slow cooker – Set your slow cooker to the low temperature. Add a damp, clean hand towel to the inside of the slow cooker. Place the rolls on the cloth. Add another damp, clean towel over the top, cover with the lid and heat on low until warm, about 30 minutes. After heating, you can turn the slow cooker to the warm setting and keep the rolls warm until the top towel is dry, about 2 hours. Do not heat the rolls on HIGH — the rolls touching the sides can burn and become tough.
- Reheat a few dinner rolls in the microwave. Arrange rolls on a microwave-safe plate. Cover the rolls with a slightly damp, clean kitchen towel. Microwave until just warmed through, 30 to 45 seconds, careful not to over heat them. If the rolls are too hot, they will turn tough and chewy as they cool.
How to Store these homemade rolls:
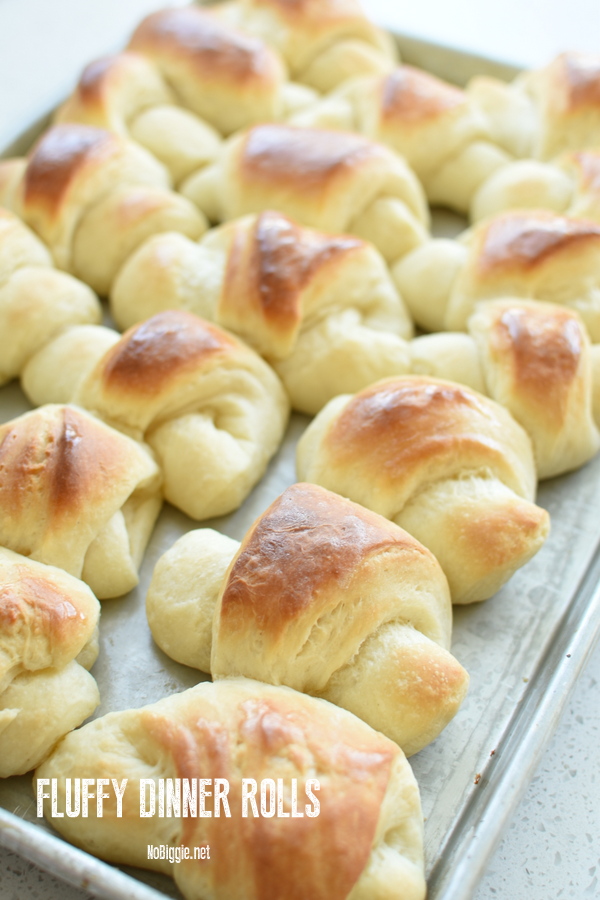
If you are lucky to have any rolls leftover, it’s best to store these rolls at room temperature. We like to keep them on the sheet pan they were baked in. We have a plastic lid that fits the sheet pan and clicks into place.
More Thanksgiving recipes we LOVE:
- savory rosemary sweet potatoes
- sweet potato casserole
- slow cooker turkey
- ALL of our Thanksgiving Recipes in one place
Have you tried this recipe?! Using the star icons below: RATE and COMMENT! I would love to hear your experience.

