A couple of years ago at Thanksgiving, we made these cute Turkey Marionettes with all the kids while we waited for dinner. The kids loved making them!
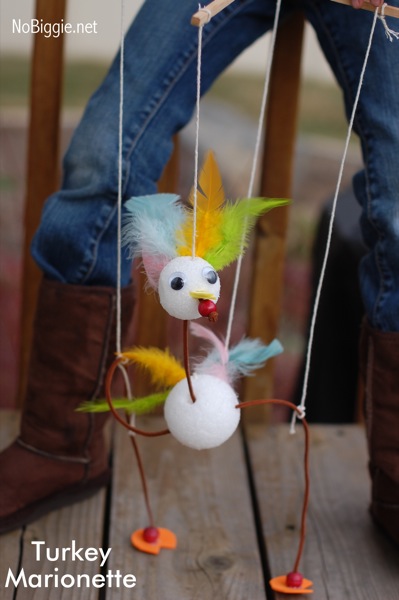
Here’s what you need to make one:
– a low temp Hot glue gun
– 2 chopsticks
– pieces of yellow and green craft foam
– 2 wooden beads
– a sharp pencil
– 3-inch styrofoam ball
– 2 1/2-inch styrofoam ball
– 1 yard of 7/32-inch-wide cotton cord or clothesline
– Tape
– Tacky Glue
– 1 yard feather boa
– Embroidery floss
– Skewer
– Feathers
– 15 mm googly eyes
To start, use a wooden skewer to poke holes straight through the styrofoam balls (as seen above).
Thread the cord through the balls.
Add small wooden beads for the feet and tie a knot in the ends of the cord. Hot glue them onto the craft foam feet.
Add the beak and a red bead for under the beak.
Use your low temp hot glue gun as needed on the feet and where the cord goes through the styrofoam balls.
Tie the strings onto the cord where the legs would be, along with the tail feathers and where the cord comes through the top of the Turkey’s head.
Add the colorful feathers by poking them into the back of the styrofoam ball that is the body of the Turkey, hot glue the googley eyes and beak on.
Hot glue the chop sticks together in a crisscross shape.
Tie the strings to the crisscrossed chopsticks allowing for some slack as you move the marionette around to look like it’s walking.
Once all assembled, you can now play with your Marionette Turkey!
To make it look more like a Turkey make sure to add a red bead under the beak to look like a Turkey neck. 🙂
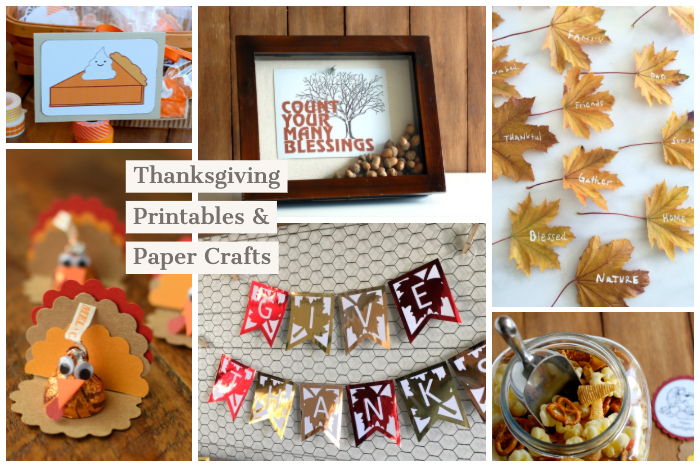
More Thanksgiving printables and crafts:
–Brown Bag Thanksgiving Turkey filled with popcorn for the kid’s table
–Thanksgiving Turkey Marionette (you are here)
–Give Thanks printable banner
–Be Thankful Thanksgiving Banner
–Count Your Many Blessings Printable
–Thanksgiving Turkey Chocolate Kisses
–Pumpkin Pie Printable
–Thanksgiving Snack Mix
–Thanksgiving place card craft idea
–Thankful Tree Chalkboard and how to wax real leaves
