Washi Tape Easter Crafts with a printable to go with.
I have a thing for washi tape. You know the saying, “you can’t have too many friends”? I think the same goes for washi tape. Here are 3 fun ways to use your spring colored washi tape: Easter egg necklaces, Easter egg headbands, and paper Easter baskets.
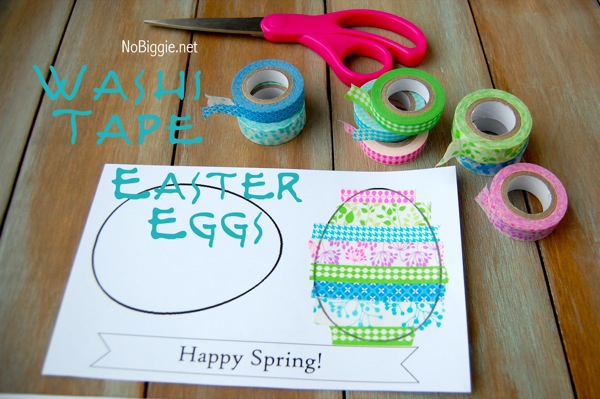
I’m loving washi tape, and all the fun different colors and patterns.
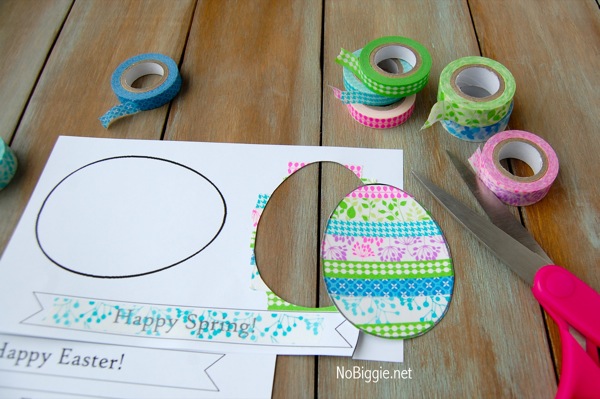
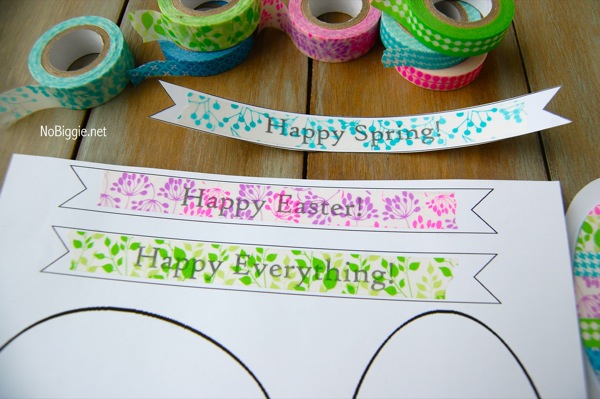
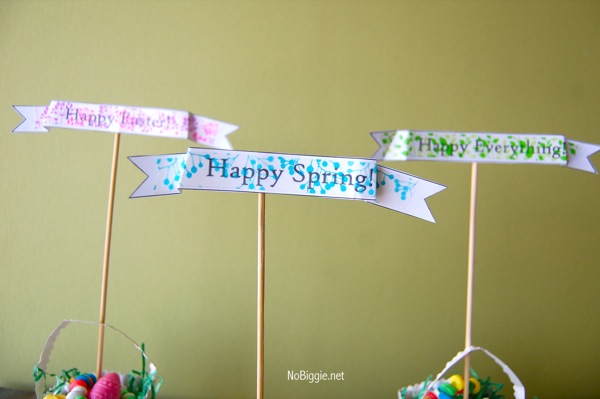
Once you have printed the printable out, you could cut the paper in half and have one Easter egg per kid if you are doing this craft with the kids. Once you “decorate” your eggs with washi tape, you can cut it out. You can also use these fun tapes on these little Easter banners:
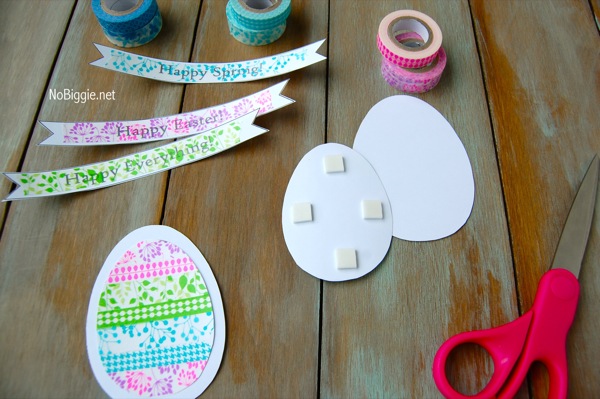
Once everything is cut out, you can add those little foam squares to give the eggs some added dimension if you’d like. Otherwise, a glue stick works great here too.
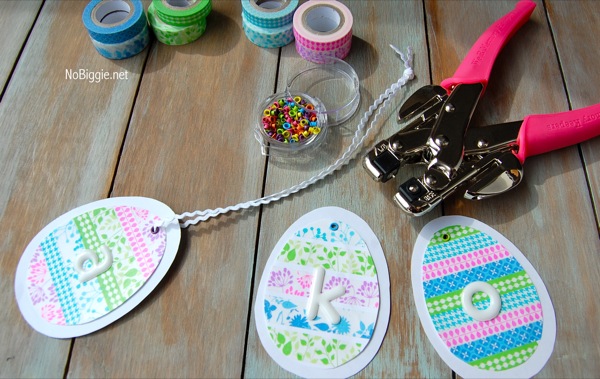
Now here’s the fun part: You can make these darling Easter eggs into necklaces. With the Crop-O-Dile (the super strong hole puncher/eyelet and gromlet setter) you can punch a hole in the Easter eggs and add a little eyelet to thread some ribbon through for the necklace. You can add little stickers here to make them monogrammed.
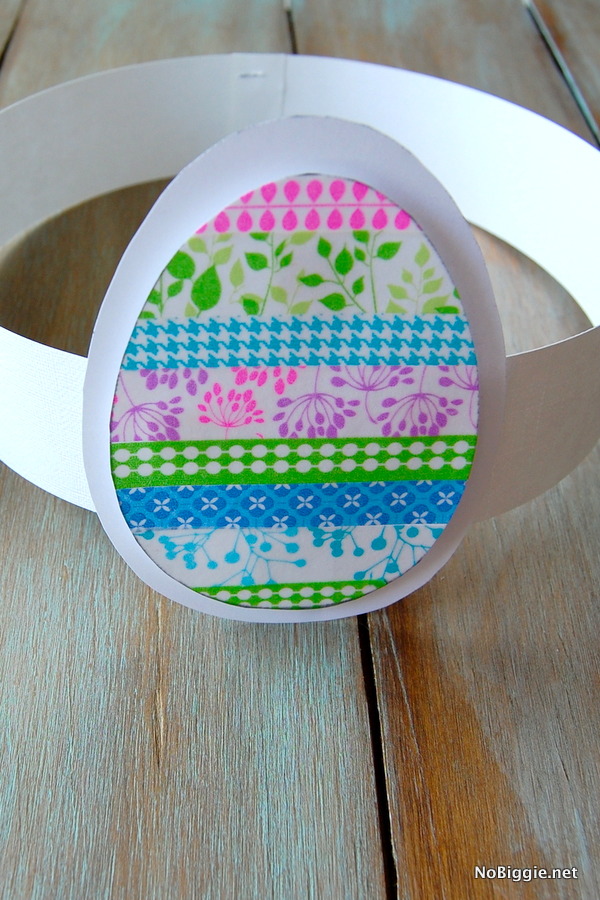
Or you could make them into little Easter egg headbands. Cut a 12×12 piece of white paper into 1 1/2 inch strips. Using two strips per head, measure the head band to fit the child’s head and staple it together. Using a low temp glue gun, hot glue the egg over one of the stapled seams.
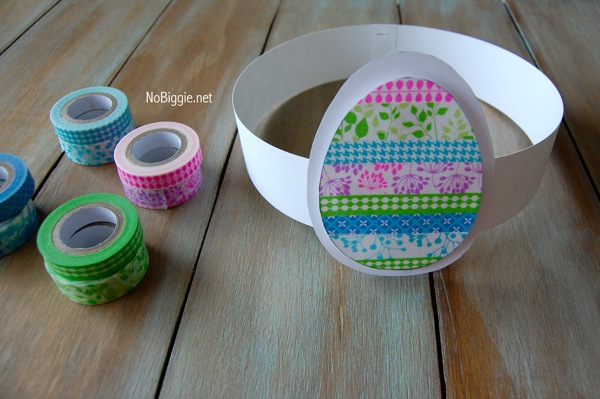
Can’t you just see all the little “egg heads” running around at the Easter egg hunt?! So cute!

Here’s the last idea to put that springy washi tape to use: paper plate Easter baskets. I first saw this idea in Martha Stewart Living last summer, and I can’t find a link on the site. Here is my Easter spin on these simple paper plate baskets.
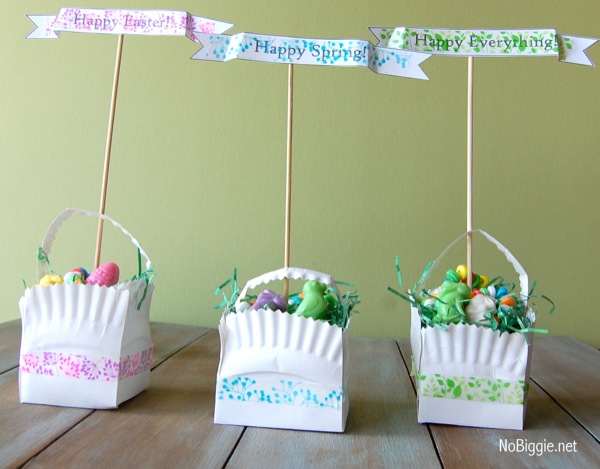
To make one paper plate basket you need one paper plate and decorative edge scissors. Cut around the edge of the paper plate creating a cute edge (I used pinking sheers.). Next cut into the paper plate creating a square in the center. Fold the triangle pieces in. Here is a good tutorial with a video if you need help. Using a low temp glue gun, hot glue the sides together creating a basket. Add some fun washi tape around the paper basket. Finally, use the trimmed edge of the plate to make a little handle. This handle is more for “Easter Basket” looks than function.

Then add Easter grass, candy and the fun washi tape banners. For the banners I hot glued it to a wooden skewer and pushed it into a little craft foam to make it stand on it’s own. I also hot glued the skewer to the paper banner.
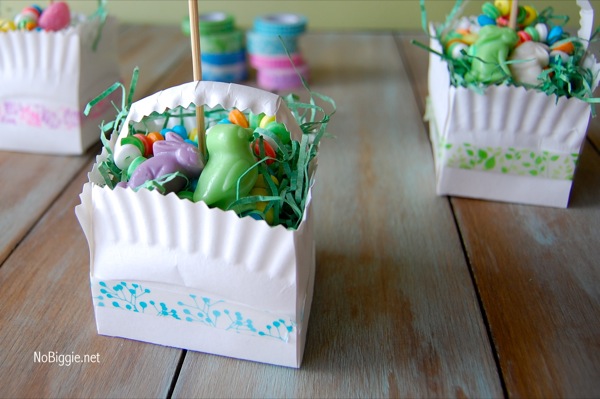
That’s it! Simple and cheap. These would make cute table setting favors for a special Easter brunch.
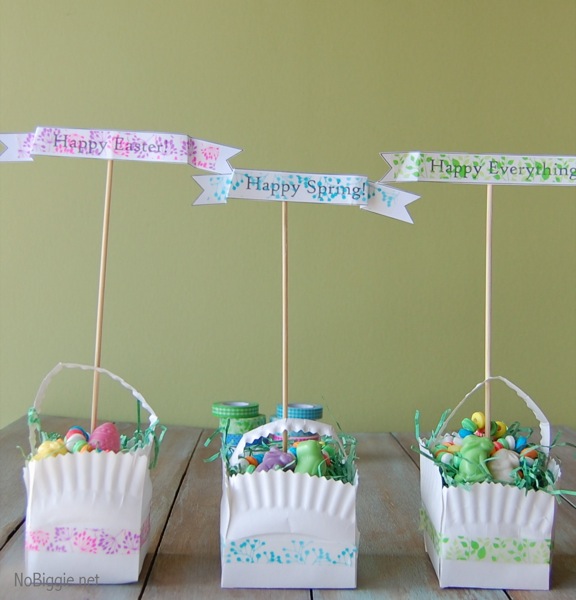
Happy Easter – Happy Spring – Happy Everything! 🙂
**FREE PRINTABLE**
Submit your information below so we can send you this free Happy Easter banner printable!
MORE Easter Treats we LOVE:
–No Bake Crispy Chocolate Peanut Butter Eggs
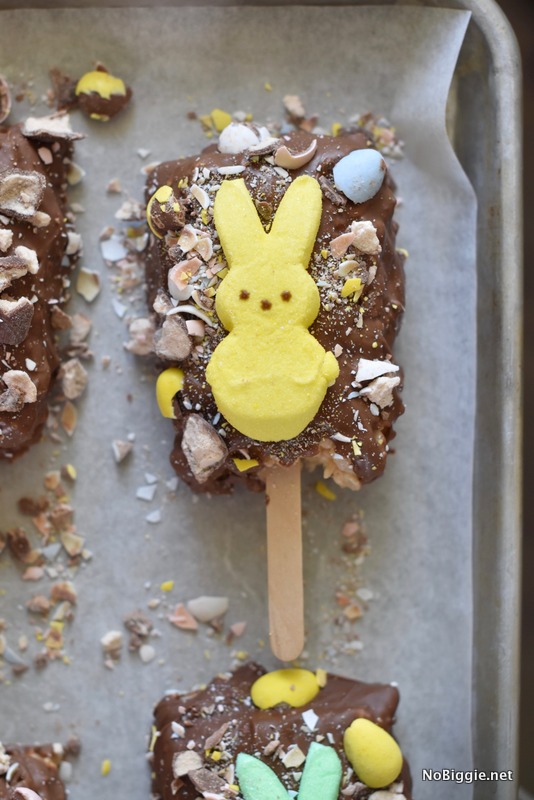
–Easter Rice Krispie Treats with Peeps
–Rock Candy Carrots
–Pineapple Fruit Cup Easter Chicks
MORE EASTER Printables (free downloads!):
–Easter Gift tag with bunny ears
–Happy Easter Banner
–Happy Pinwheels
–Easter Brunch place cards and Easter Banner
–Washi Tape Easter Template (you are here)
MORE Easter DIY Projects:
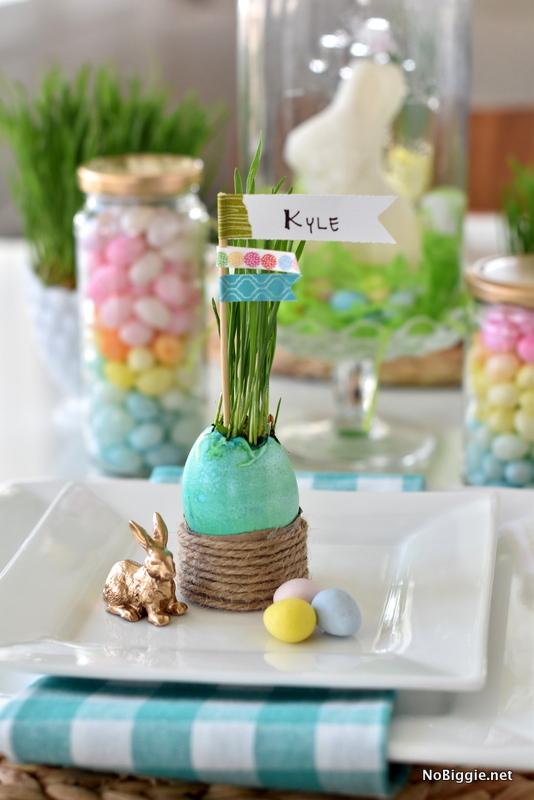
–Easter Table Setting with real Easter Grass
–Carrot Cake Cupcake Toppers
–Speckled Easter Egg Candy Mason Jars
–Chocolate Bunny Mason Jars
–Peeps Bunny Mason Jars
–Plastic Easter Egg Bunting
–Sharpie Eggs: Carrot Confetti
–Robin’s Egg Nest
