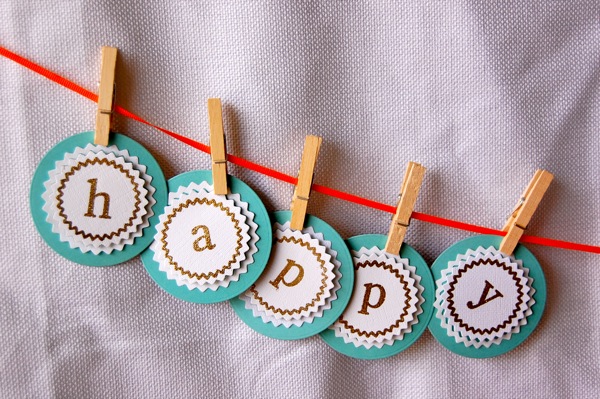
I love making birthday banners. There is just something special about handmade vs. store bought. When I should be making the cupcakes for the party, I’d rather be making the birthday banner.
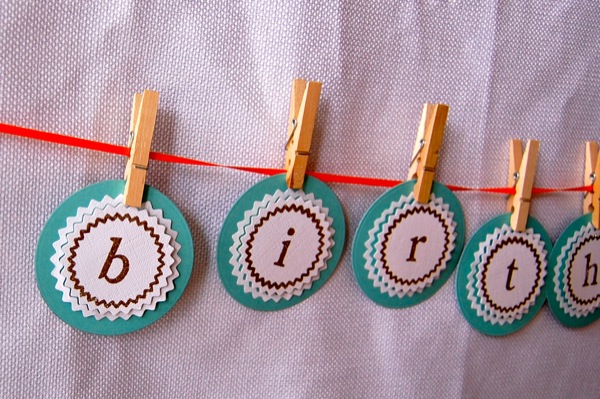
To make a birthday banner like this, this is what you need:
– PSA Stamp packs of the Vanilla font and the ric rac border from the Super Star set
– Heat embossing tool
– Zing Gold Glitter embossing powder from American Crafts
– Ric Rac circle cutting dies from Lifestyle Crafts
– VersaMark Watermark ink pad
– Orange ribbon
– mini clothes pins
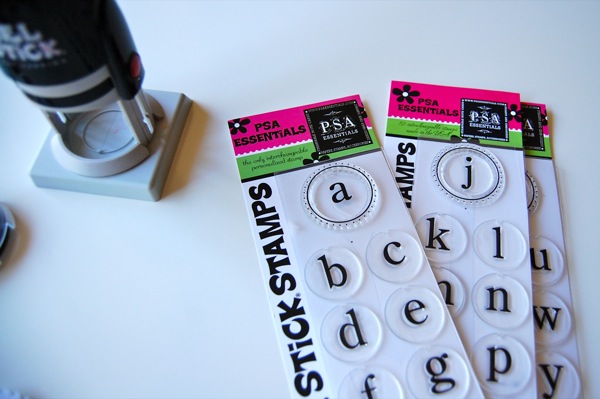
I have really enjoyed my custom address stamp from from PSA ( Paper, Stamps, Accessories). The self inking system is so great when you need to stamp a lot of things in a row fast. For this birthday banner, I just used the stamps separately from the self inking tool.
Have you used clear stamps before? They might be one of my favorite things. I love that you can see exactly where your stamp will go. For this project, I used the ric rac border that goes with Super Star stamp set, along with the Vanilla Alphabet stamp sets. (My ric rac border stamp is stained orange from my last project…just so you know, it should look clear, but it still works great.)
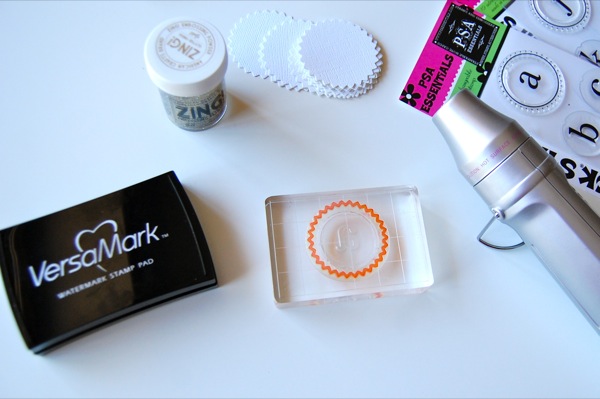
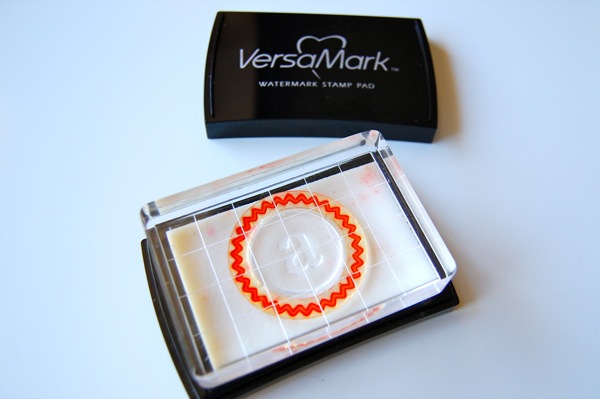
I first stamped into the VersaMark watermark stamp pad. This is a colorless stamp pad that adds a little watermark imprint on your paper after you stamp it. With the clear stamp. I can center the stamp perfect onto the paper.
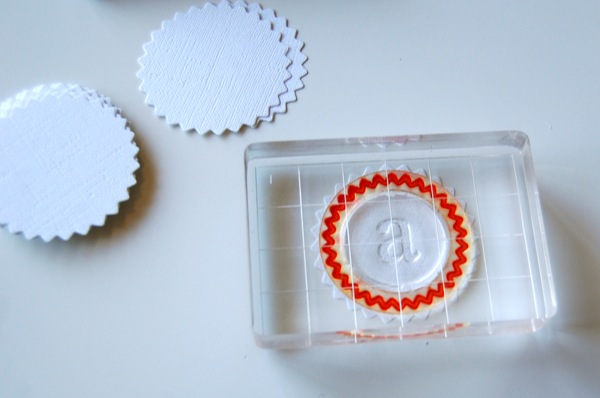
Using a half pan and a piece of parchment paper (I’m a big fan of the half pan for craft projects.), I sprinkled the gold glitter embossing powder all over the watermark. Shake off the excess powder onto the parchment. All the excess can be dumped back into the bottle to be reused again.
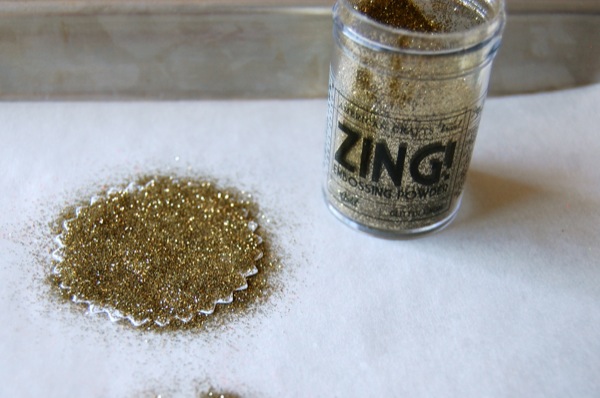
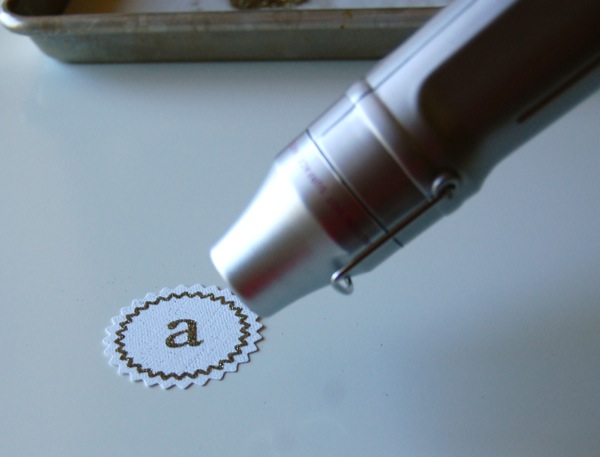
Now that you have your stamped image, you will now use the heat embossing tool.
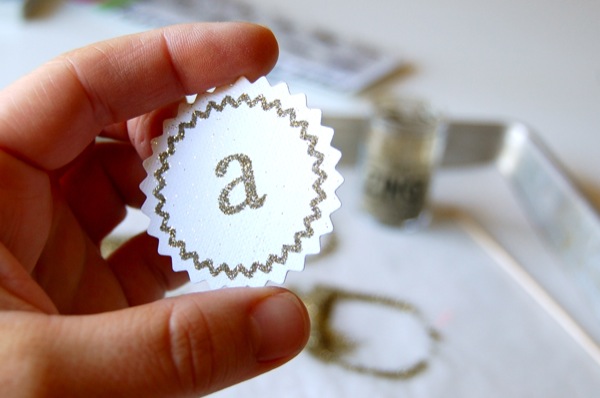
Be careful, this tool gets hot. A pair of tweezers is helpful here to keep your fingers out of the heat.
Next I just used adhesive to stick the ric rac circles and ric rac border onto a turquoise circle. I used those little raised foam squares to add some depth to the circles.
Lastly, I clipped them onto the orange ribbon using mini clothes pins. And that’s it!

If you look real close, you can see the glitter in the gold. I love the Glitter!
If you are more into buying handmade vs. doing it yourself, email me, and if you’d like, I will sell this birthday banner to you.
