DIY Chalkboard Speech Bubbles
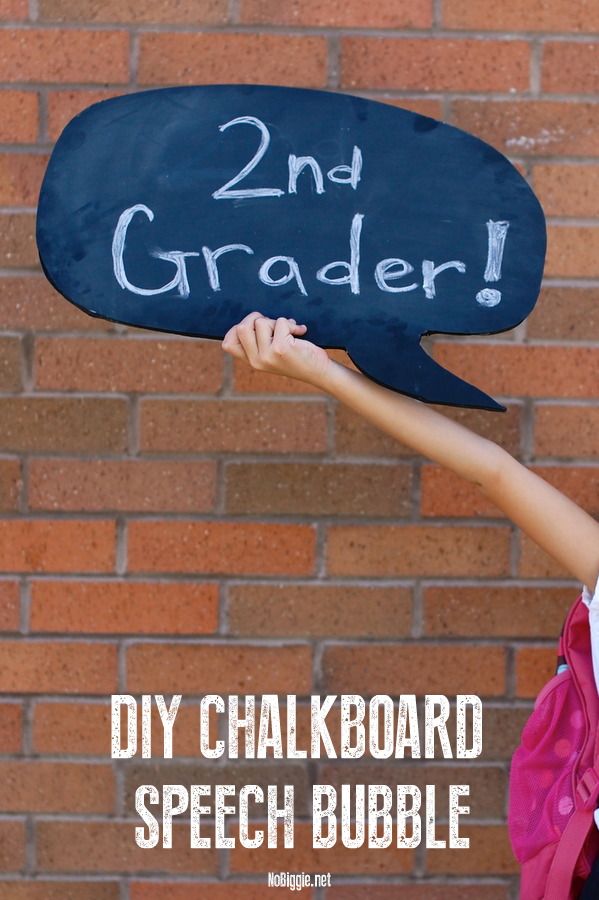
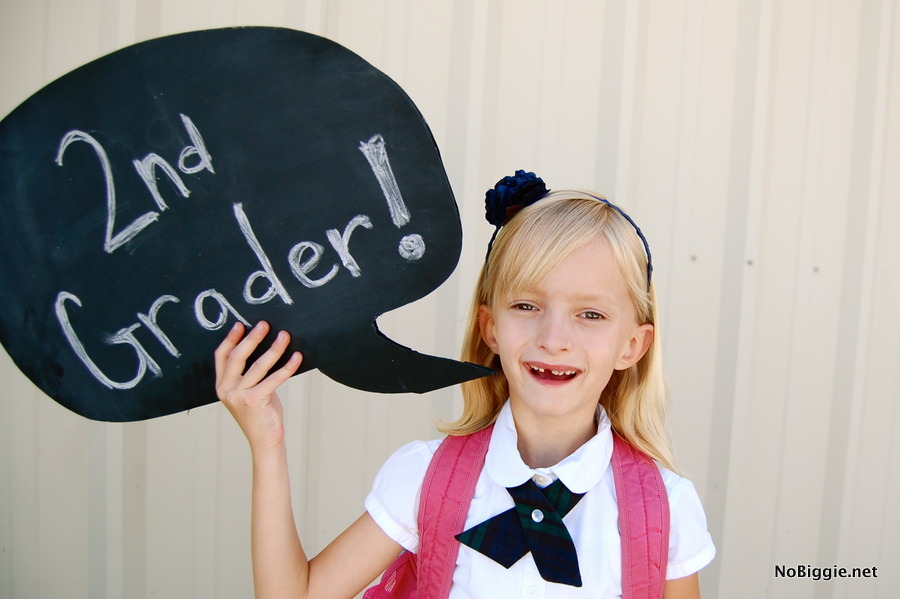
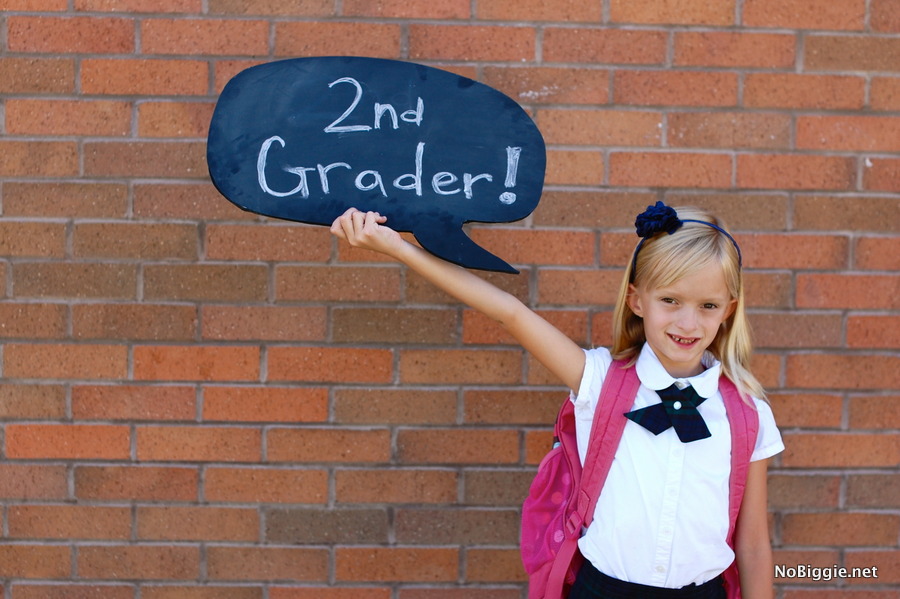
Ready for a super simple DIY that is fun for Back to School photos, photo booths, weddings…you name it? This DIY chalkboard speech bubble is so fun and it makes a great photo prop because it’s light weight and completely customizable.
We used it for my daughter’s Back to School photos, but we’ve loved it for so many other ways to celebrate life!
How to make a Chalkboard
Here’s what you need to make a simple chalkboard speech bubble:
-foam core board…we used white, but if you can find it in a solid black, choose black and make this DIY project even easier!
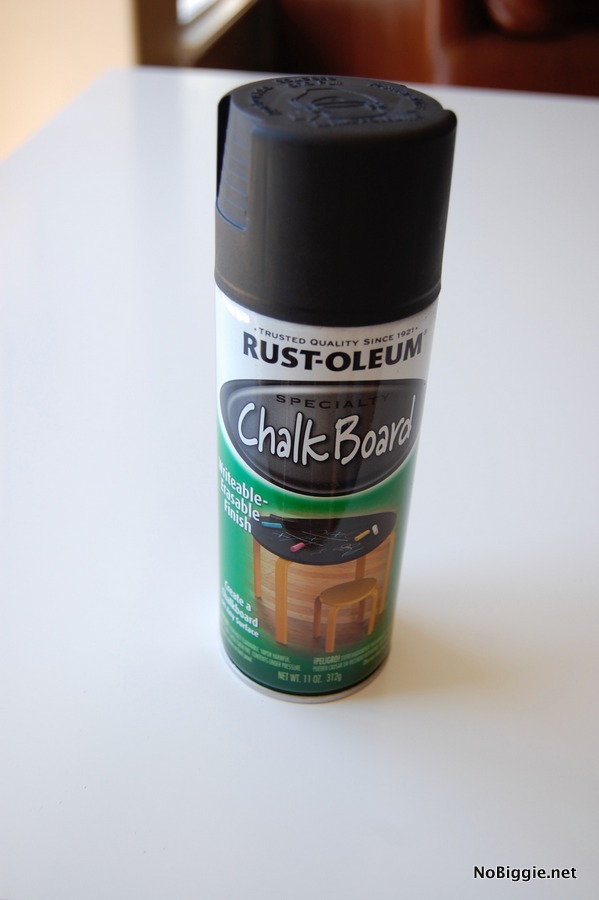
-chalkboard spray paint if you cannot find a black foam core board.
-exacto knife for cutting out your desired shape
-pencil for tracing out your desired shape
-large cutting board to keep your work space untouched while you work on this project.
Directions:
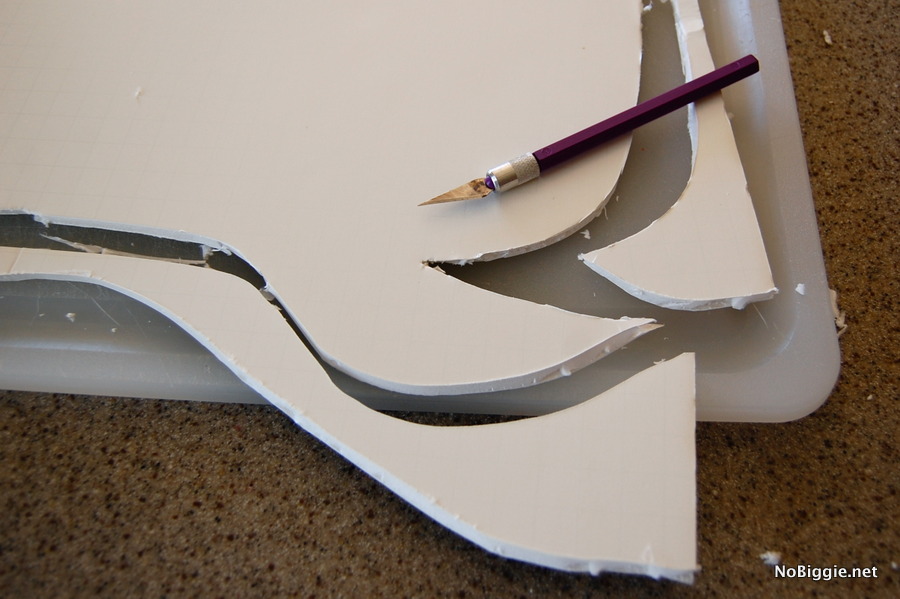
To start trace and cut out your desired speech bubble shape with your pencil then exacto knife. Next spray paint your speech bubble with chalk board black spray paint if your foam core board is white. If your foam core board is black, you can skip this step completely – yay! The nice thing about spray painting something black is that you will not need a lot of coats and it dries fast.
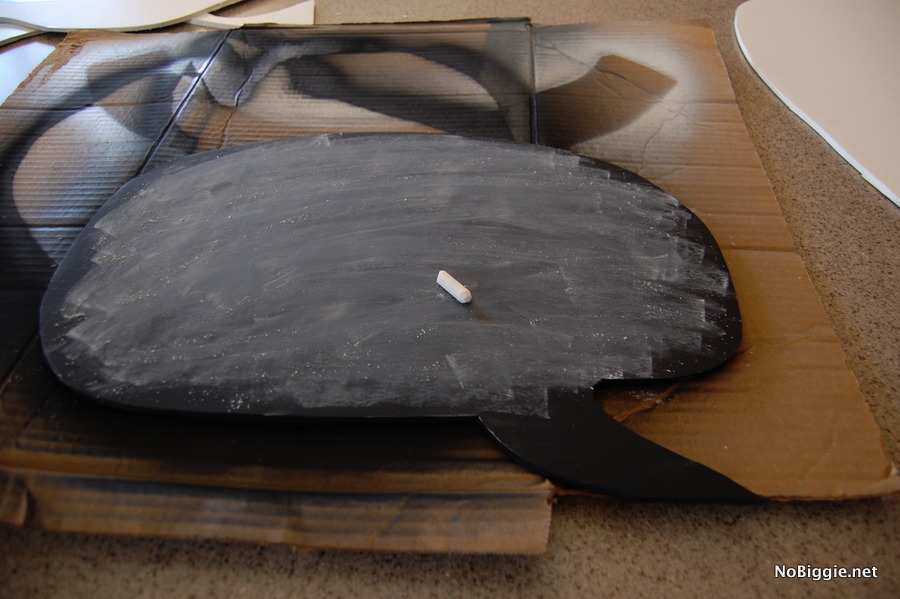
Final step. Season your speech bubble chalk board with chalk before you write your first message on it. To season a chalkboard, you just rub a piece of chalk on the board using the long side of the chalk to get more coverage. Once the board is coated in chalk, you can gently dust it off with a dry cloth. Your speech bubble is ready to use.
We love this type of chalkboard spray paint if you are unable to find black foam core board.
Don’t forget to season your new chalkboard speech bubble. This step is important. If you skip this step, the very first message will be hard to erase, and might always be visible.
We’ve had a lot of fun with this simple sign. The messages is the fun part!
