DIY photo transfer Christmas Ornaments
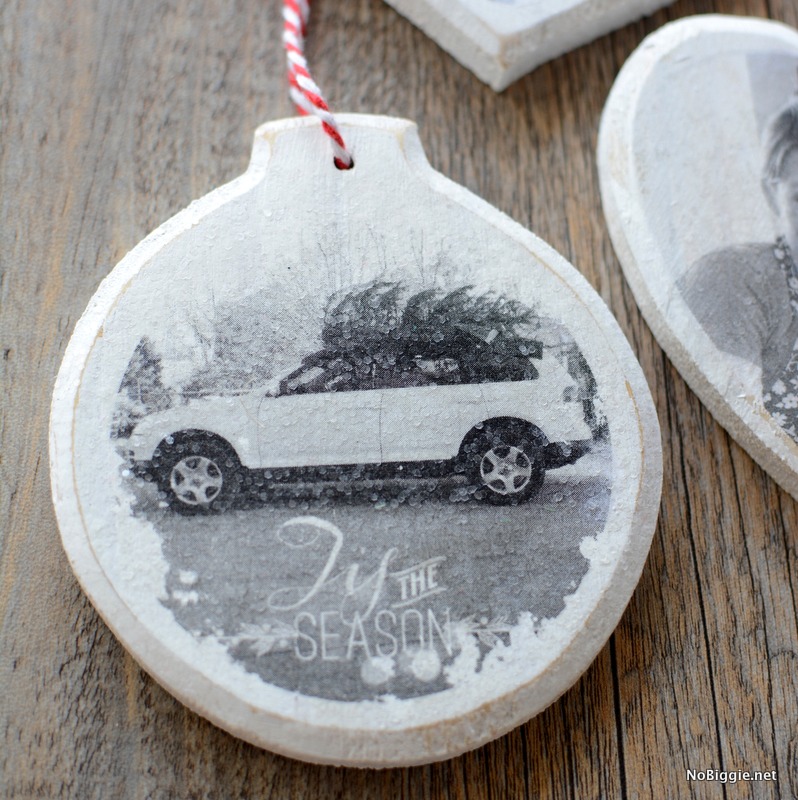
How to make photo transfer ornaments
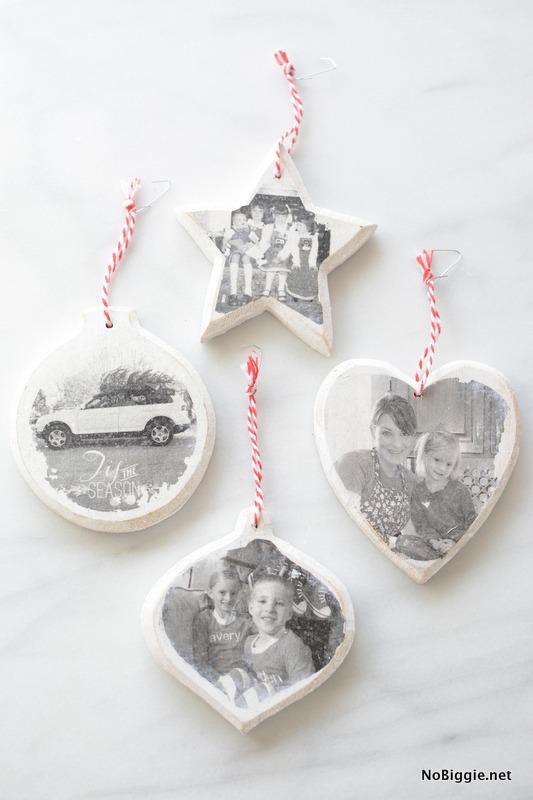
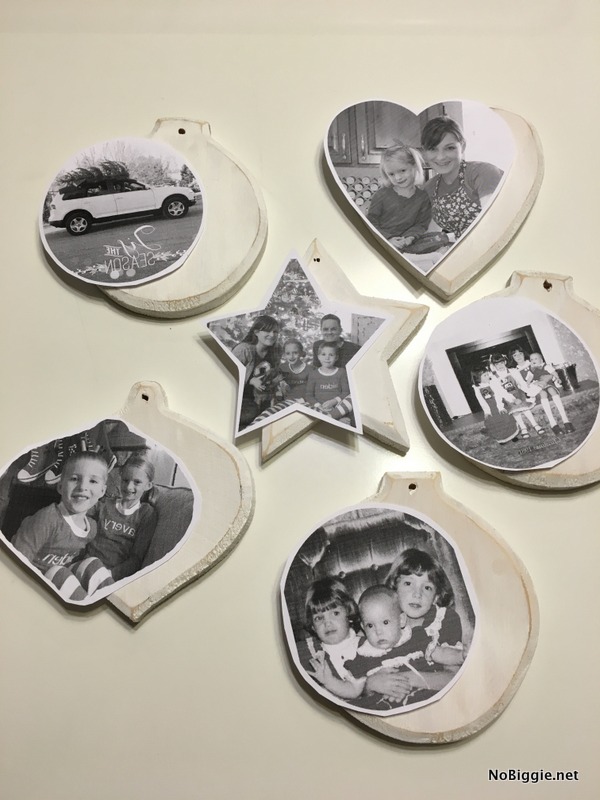
Every year my most cherished ornaments are the ones with the faces of the people I love, the handmade personalized ones that bring back a memory. Sometimes photo ornaments can be heavy, especially if they have a metal frame, so I loved learning this simple technique of transferring cherished photos onto lightweight unfinished wood ornaments. The image itself is actually transferred onto the wood! If you love the imperfect rustic wooden look with sanded edges, you’ll want to make a bunch of these! I first learned of the technique from my friend Landee. Her ornaments turned out darling, and I had to try my hand at this simple craft.
Start looking throughyour photos of Christmas past, because you’ll want to make a few of these…some to give and some to keep!
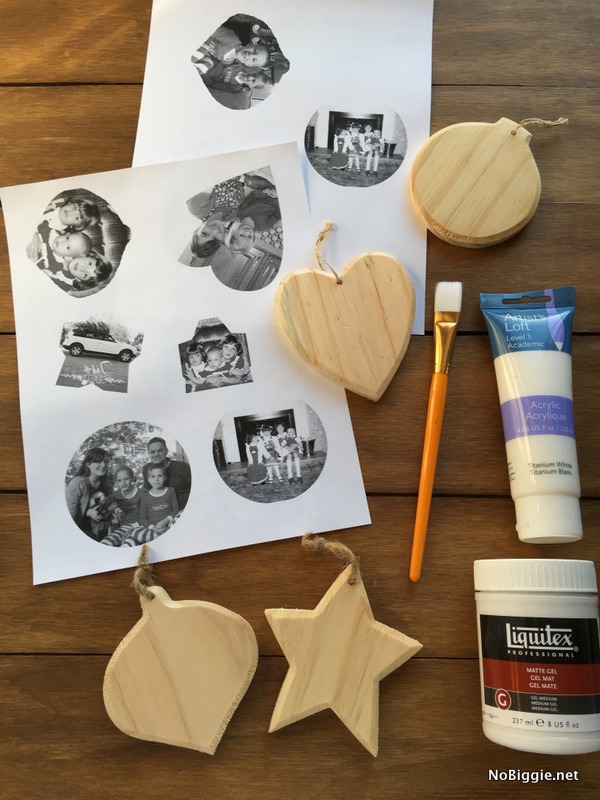
Here is what you will need to make photo transfer ornaments:
wood craft ornaments (in a variety of different shapes if you’d like)
matte Gel Medium
acrylic white craft paint
craft foam brushes
bakers twine
course glitter – I love this one from Martha Stewart Crafts
sandpaper
your photos printed on a laser printer
For this project, your images need to be printed with a LASER printer, Ink jet will not work. Be sure to size your images to fit each ornament before printing. You can put multiple images onto one page of paper. If you plan to print outside of your home, be sure to print with a laser printer. If your image has text on it, you’ll need to flip the image in photoshop before you print.
Directions:
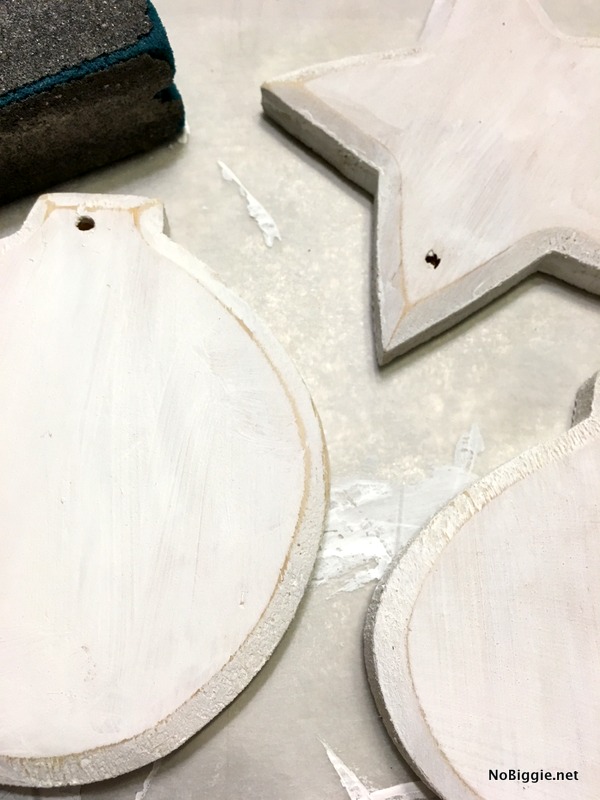
1- Paint your wood ornaments with white craft paint. A light background is best for the photo to show after it is transferred.
2- If you like the rustic look, you can sand the edges of the ornaments. Sanding the edges is optional.
3- Cut out all images to fit each ornament.
4- Apply a coat of the GEL MEDIUM to the image side of the paper.
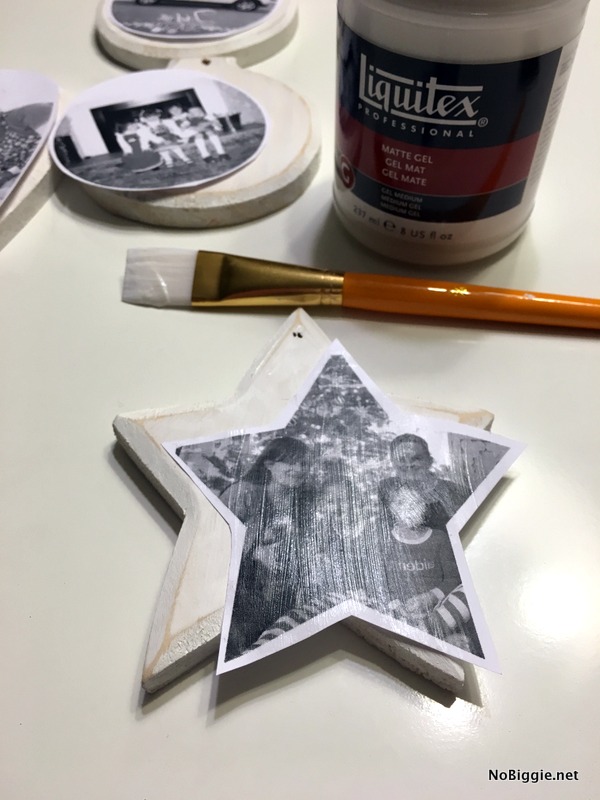
5- Put the paper image side down on the ornament. Use a credit card to help smooth out the paper and get rid of any air bubbles. 6- Allow the ornaments to dry overnight.
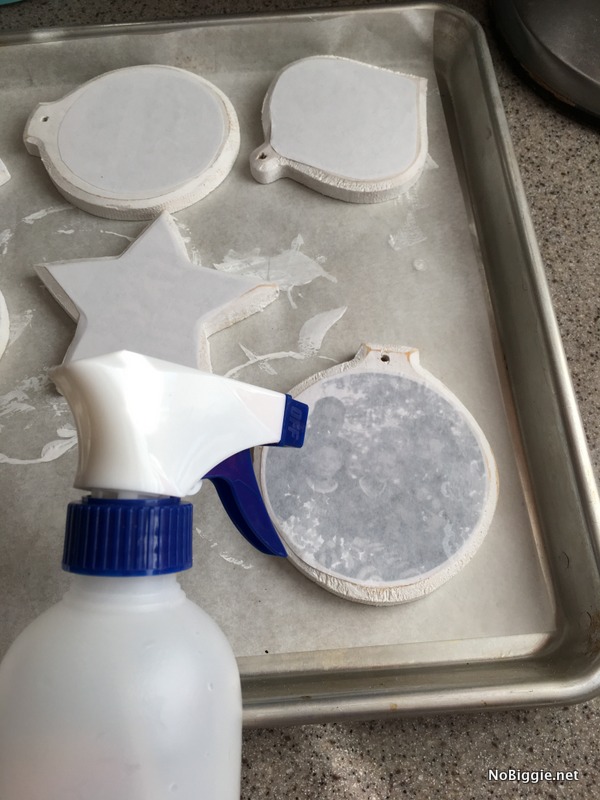
7- With a squirt bottle, mist water over the paper to make the paper damp. You should be able to see your image through the wet paper.
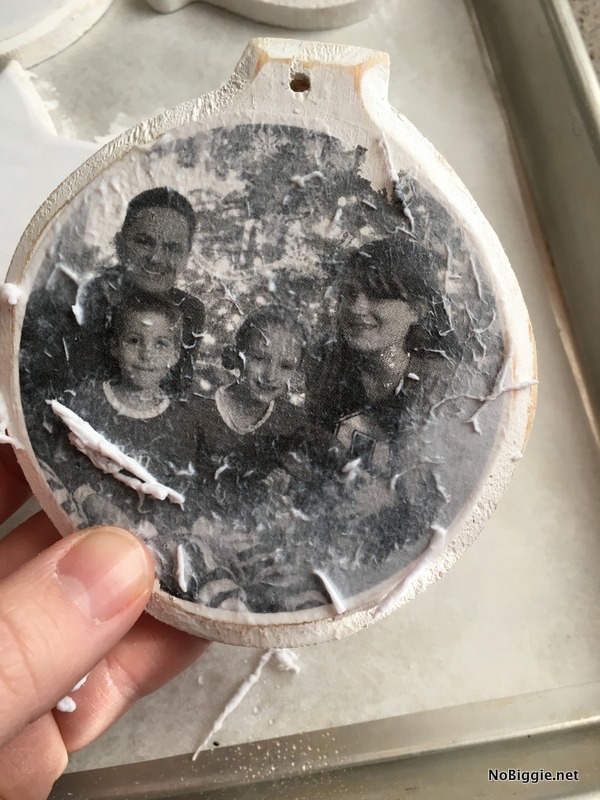
8- Here’s the tricky part…gently rub the damp paper away with your finger tips. The trick is to be gentle here. You will want to rub all the paper away leaving just the photo behind. It will take few times to get all of the paper off. Be careful when you are rubbing the paper off over faces because you can easily rub too much and accidentally rub the photo off with the paper. If you rub a little of the image off around the edges, no worries, it just adds to the charm to go with rustic wood look.
On the ornament below, I rubbed a little too hard on this one. If this happens to you too, you can always scrape it all off and reprint your image and start over.
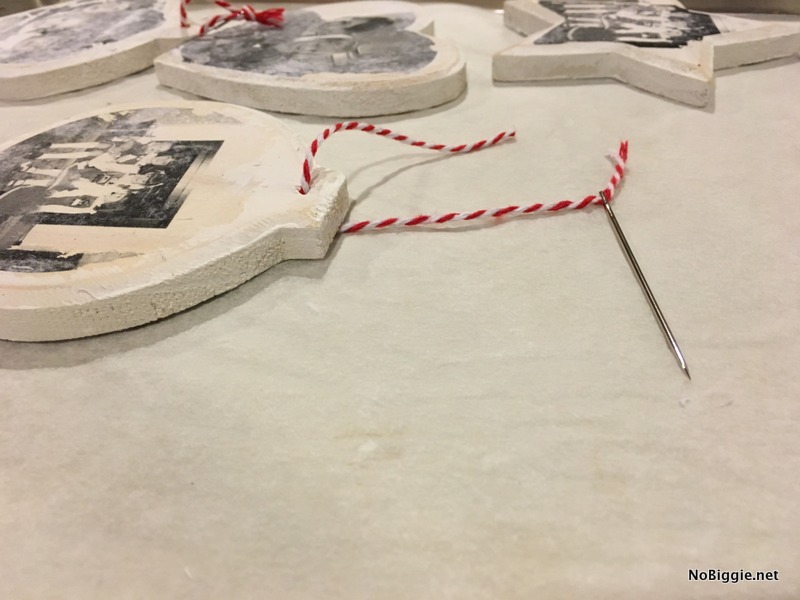
9-Finish them off with a little glitter and bakers twine, and that’s it! Enjoy your special handmade ornaments!
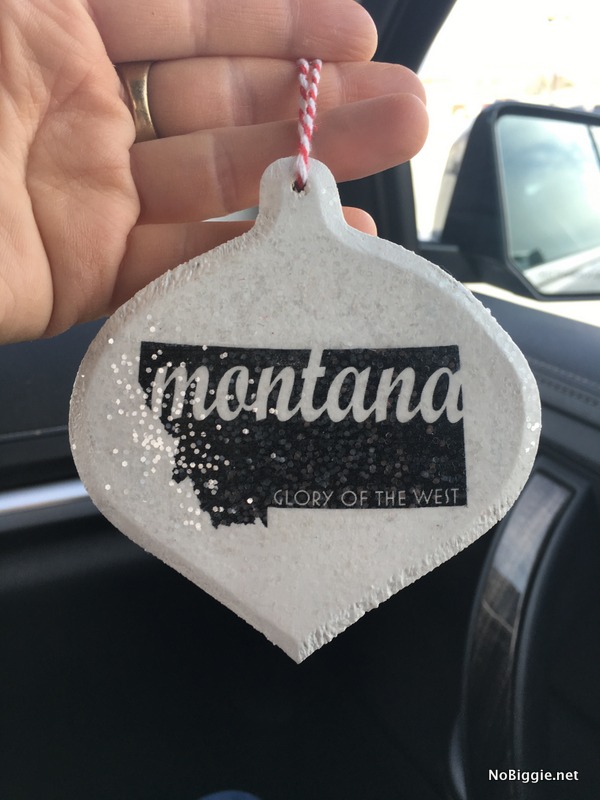
I made this Montana one as a gift for my mom. #StatePride
Good luck and Happy Holiday crafting!

Don’t miss our other DIY ornament: washi tape photo frame and the DIY mini snowglobe ornament.
*Affiliate links in this post.
