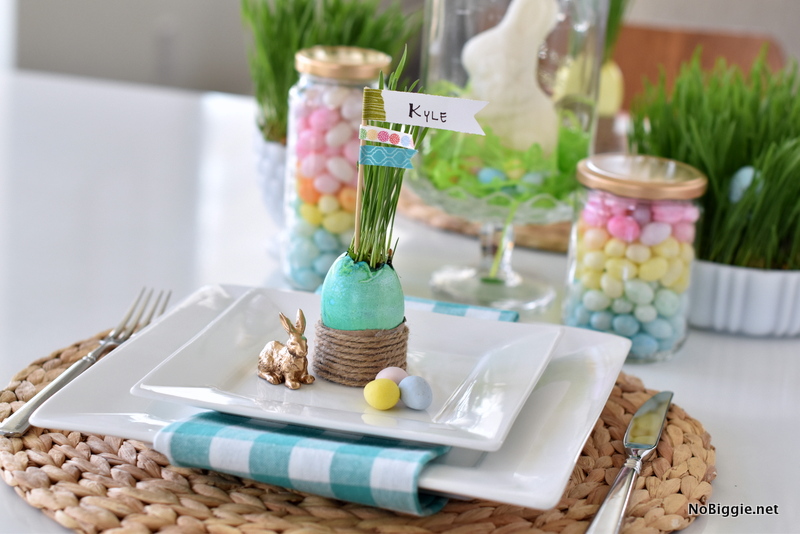
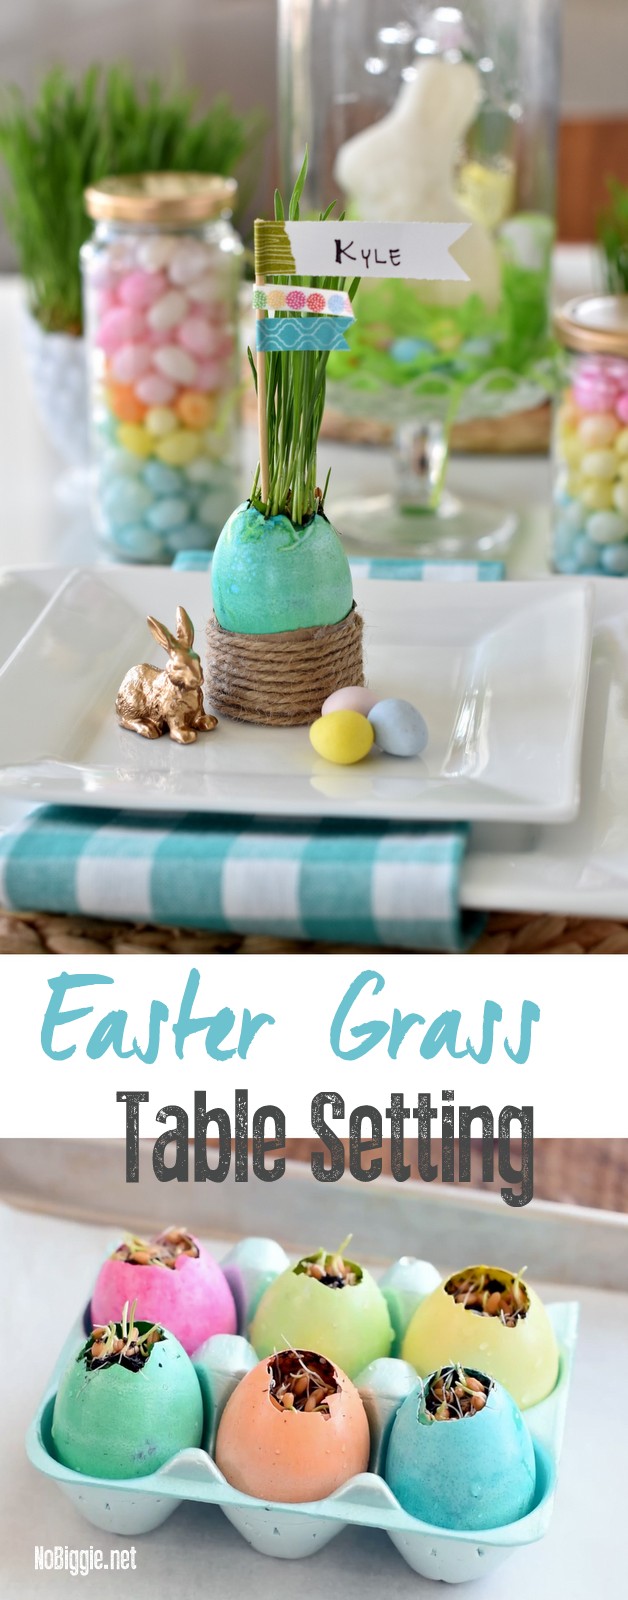
With Easter coming up, here’s a simple Easter Table setting using real Easter Grass.
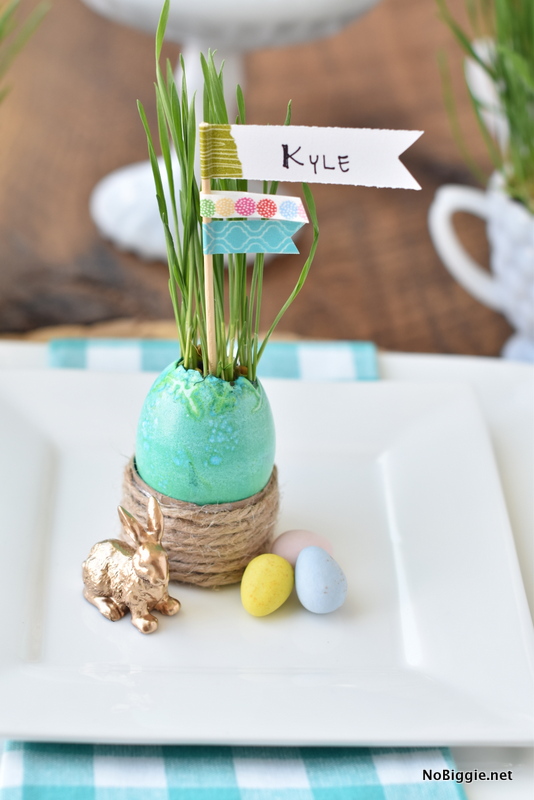
Easter Tablescape with Real Easter Grass
It’s a great way to bring the outdoors in with real grass. We made a quick video to show just how easy these little Easter grass eggs are to make. All you need is time. It takes wheat grass about 5 days to grow, and once it gets started, you’ll be shocked at how quickly it grows.
How to Grow Wheat Grass:
If you have never tried to grow wheat grass at home, you should…it’s so easy. Fill your desired container with potting soil. Cover the top of the soil with wheat grass seeds. Fill a small spray bottle with water and spray a good amount of water on the seeds to keep them pretty wet. Cover the top of the container with plastic wrap. Water the seeds multiple times a day for 5 to 7 days. As soon as you start to see the grass come up, you can take the plastic wrap off the top. Continue watering with the spray bottle every day, as you watch the grass grow.
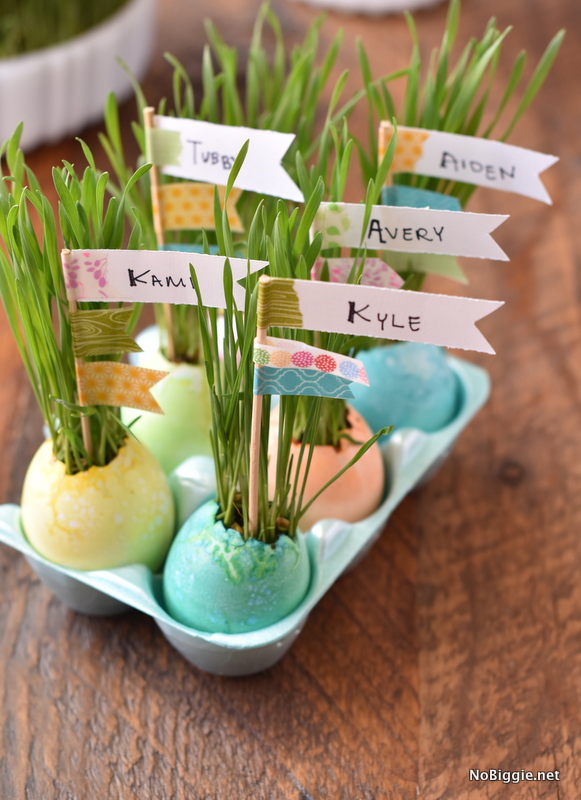
Using real Egg Shells to grow Easter Grass
Here are some tips for using real egg shells as the containers to hold the growing wheat grass:
-Use a styrofoam egg container…not a cardboard egg container. If you have a plastic or porcelain egg container, feel free to use it for this…They would work great…just not cardboard.
My first attempt at this DIY did not go as planned…I started with a cute kraft colored cardboard egg holder and as I watered the seeds, the cardboard became a wet soggy mess. Styrofoam is a good way to hold the eggs upright while spraying with water everyday.
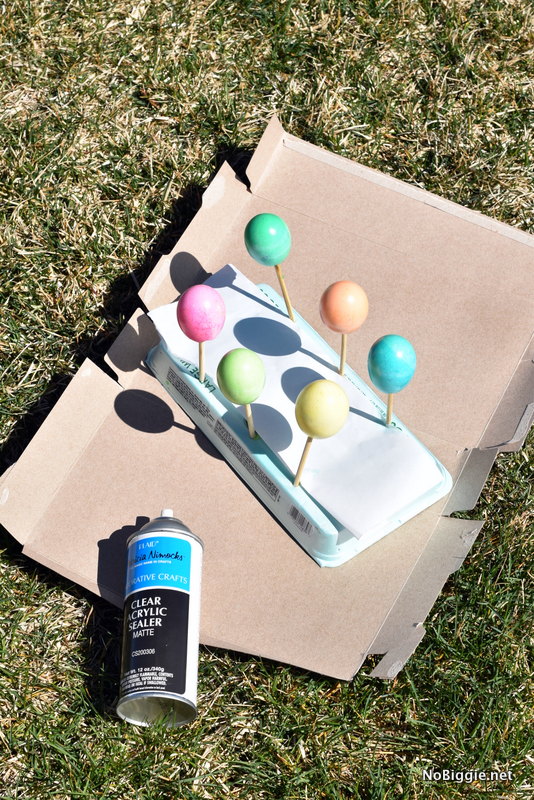
-Spray the dyed eggs with a clear acrylic sealer to keep the dye on the eggs.
On my first attempt the dye slowly washed away as I sprayed the seeds with water everyday. The sealer really helps to keep the color on the eggs.
This grass is for decoration…especially after the sealer is on the eggs.
In the video you can see that we emptied the eggs out of the shell before dying them. This makes it easier to get the eggs out with only a little hole on the top end.
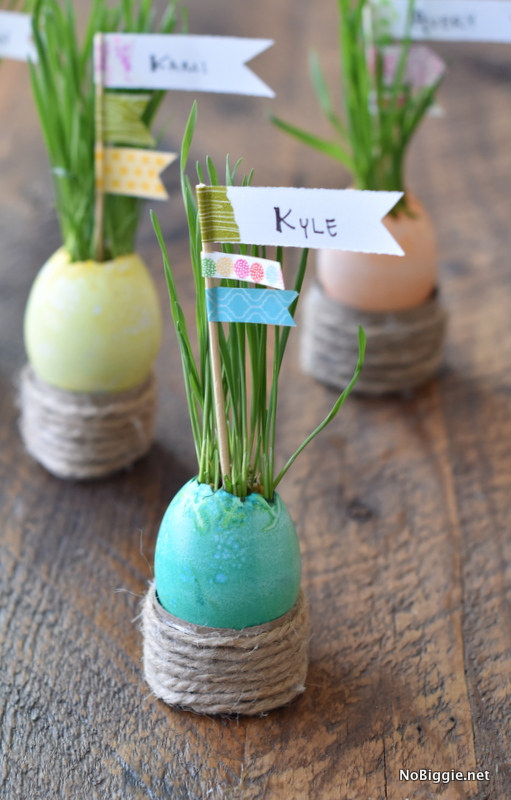
Here’s what you need for this Easter Tablescape project:
–natural twine
-cardboard tubes cut into thirds
–low temp hot glue gun
–Easter Egg dye
-eggs
–potting soil
–small spray bottle
–small bamboo wooden skewers
–washi tape for decorating each name tag
-amazon affiliate links in this post
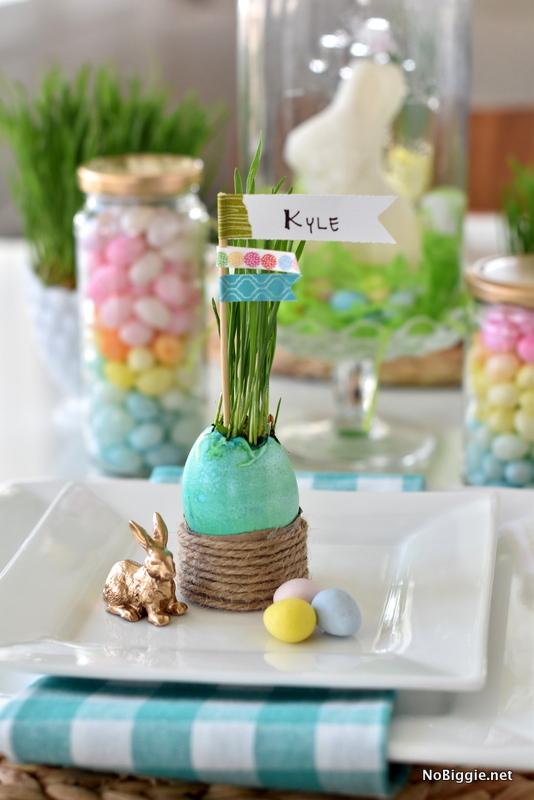
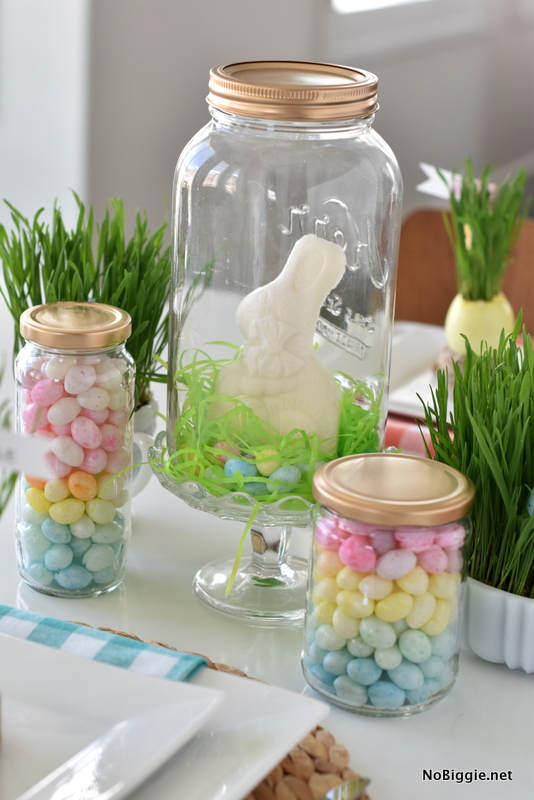
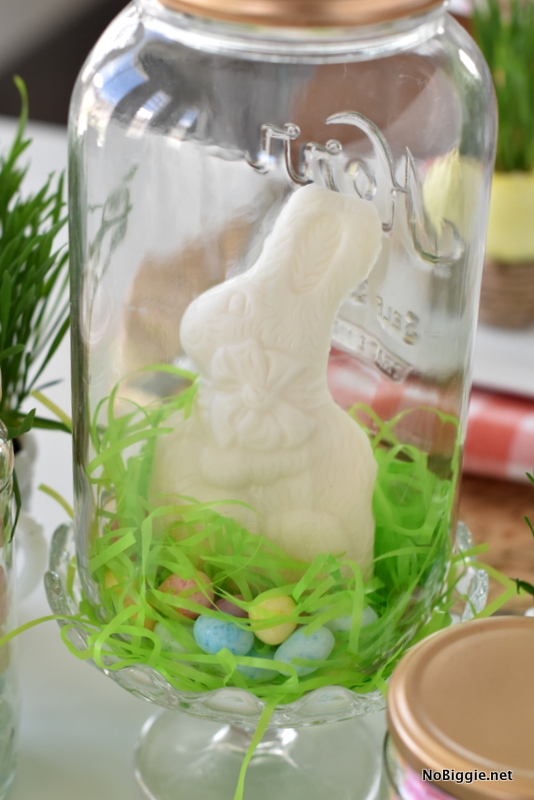
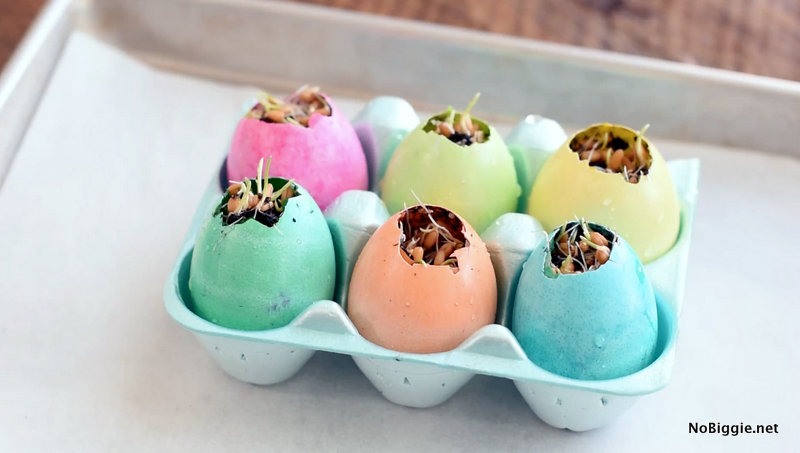
The final result is a pretty Easter Table Setting, a great way to add texture and bring the outdoors in. Happy Easter to you and yours!
MORE Easter Treats we LOVE:
–No Bake Crispy Chocolate Peanut Butter Eggs
–Easter Rice Krispie Treats with Peeps
–Rock Candy Carrots
–Pineapple Fruit Cup Easter Chicks
MORE EASTER Printables (free downloads!):
–Easter Gift tag with bunny ears
–Happy Easter Banner
–Happy Pinwheels
–Easter Brunch place cards and Easter Banner
–Washi Tape Easter Template
MORE Easter DIY Projects:
–Easter Table Setting with real Easter Grass (you are here)
–Carrot Cake Cupcake Toppers
–Speckled Easter Egg Candy Mason Jars
–Chocolate Bunny Mason Jars
–Peeps Bunny Mason Jars
–Plastic Easter Egg Bunting
–Sharpie Eggs: Carrot Confetti
–Robin’s Egg Nest





Leave a Comment