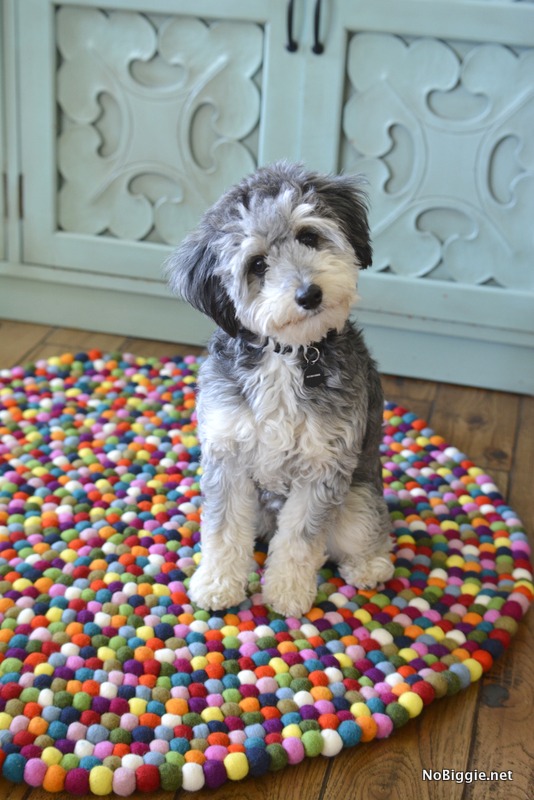
Take a peek into our family room.
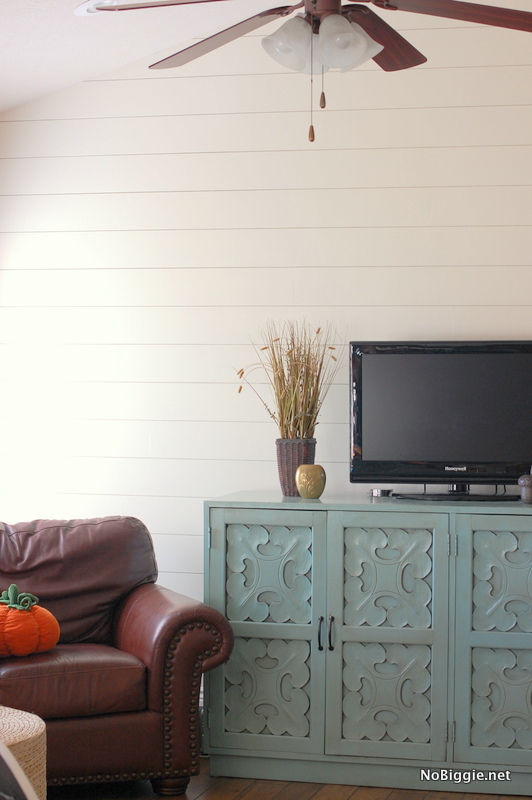
I’m excited to share the recent changes we made to our main living space. We planked a wall! Our big main wall is now whiter and brighter, and I love it! A little more than a year ago, we made some updates to our family room with the help of my friend Staci, you can see that post here. While I have loved everything Staci helped us with, I had wanted to go a lot lighter with the paint and add some neat texture or dimension to our giant wall.
I have loved the look of planked walls for a long time, and my friend Shelley has a great step by step on how to do it yourself. If you want to tackle this project on your own, I highly suggest Shelley’s tutorial. Thankfully we did not do this project ourselves. Yikes, could you imagine the words? While I highly admire so many of the DIYers out there, sometimes it’s just so nice to leave the big stuff to the professionals. Our wall is so big, vaulting high up to the ceiling. We hired it out for both the planking and the painting, and I’m sooo glad we did. I was really involved in the whole process and we came away with a few helpful tips for someone who also likes this look for a big wall.
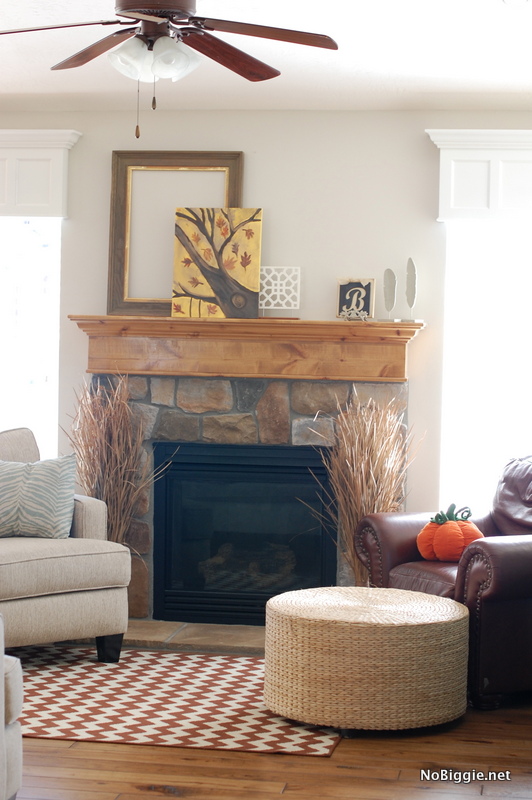
Other than the planked wall, we updated the paint color on the wall above the mantle from Behr: Harvest Brown to Kwall: Filtered. It is so much lighter. I really love it. With windows on both sides of our mantle, it’s hard to get a great picture, but it’s really pretty.
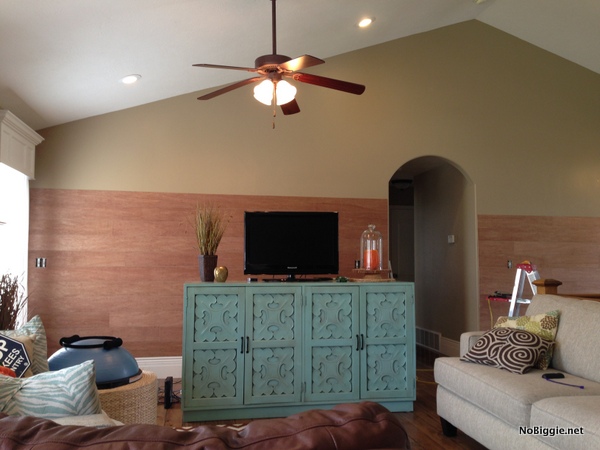
Okay, on to the before pics. Here’s the big wall before we planked it.
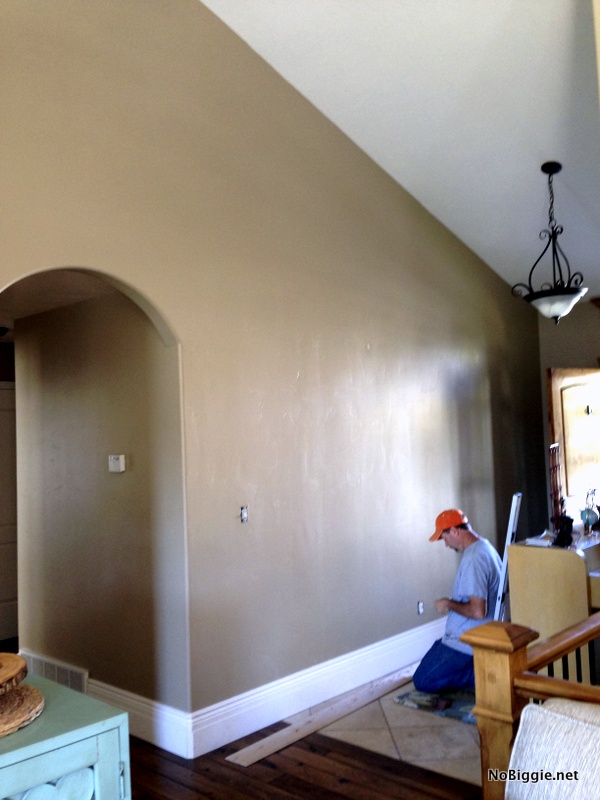
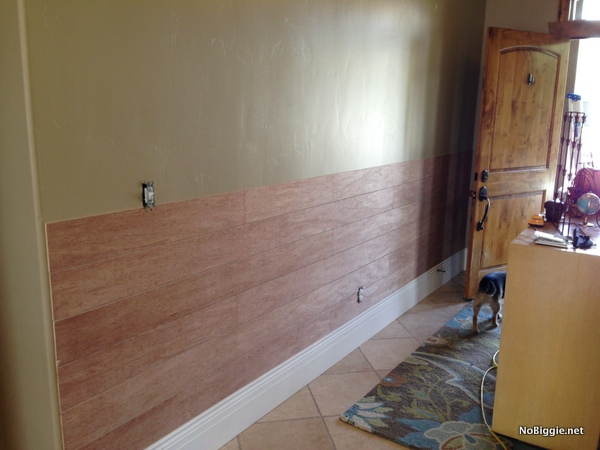
To keep the boards level on both sides of the archway, our guy Bob (yes…Bob the Builder), started at the bottom working on both sides each row at a time, so that they would line up by the time he got to the archway.
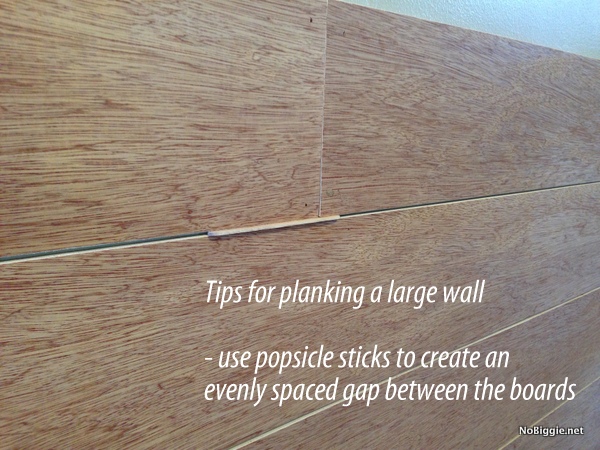
One of the tips that worked great for spacing the boards evenly, was to use popsicle sticks. At first we tried nickels like Shelly had suggested, but popsicle sticks worked great at the seams of the boards helping them stay in line. We varied the placement of the seams all over on the wall.
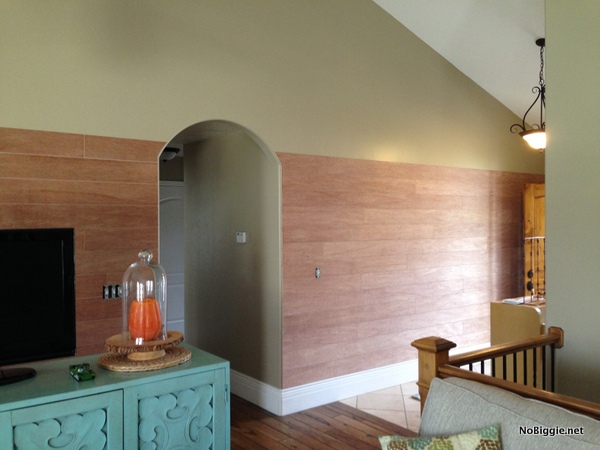
The archway was the most tricky part. Bob did a great job making it look really good. When all the staple gun part was over, we caulked all the seams.
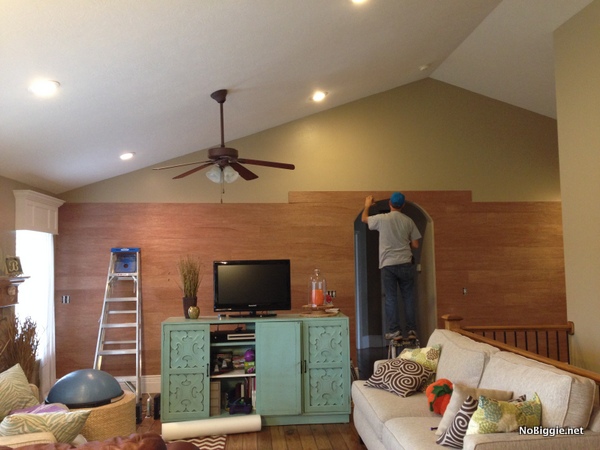
Then the painters came and prepped it all to be sprayed. I have to give a big shout out to our painters. They were so great. If you live in Utah (Salt Lake County or Utah County), I highly suggest Magic Touch Painting. I have his phone number if you’re looking for good painters.
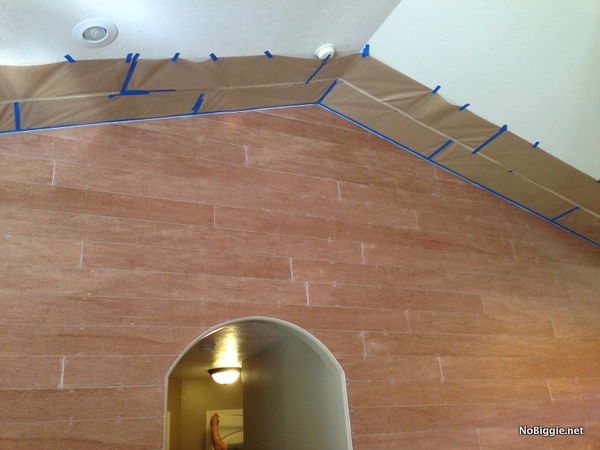
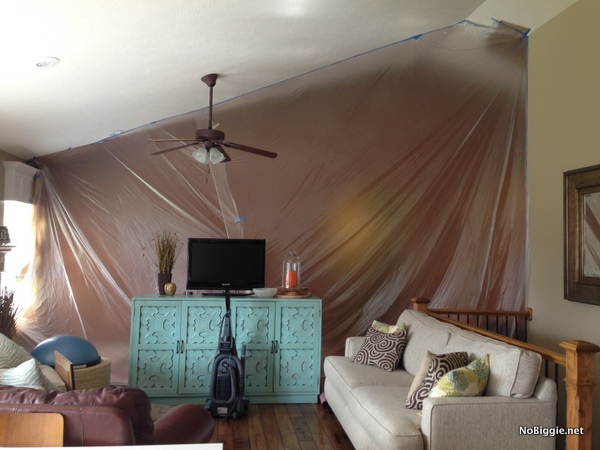
It was so fun to see it all white and bright.
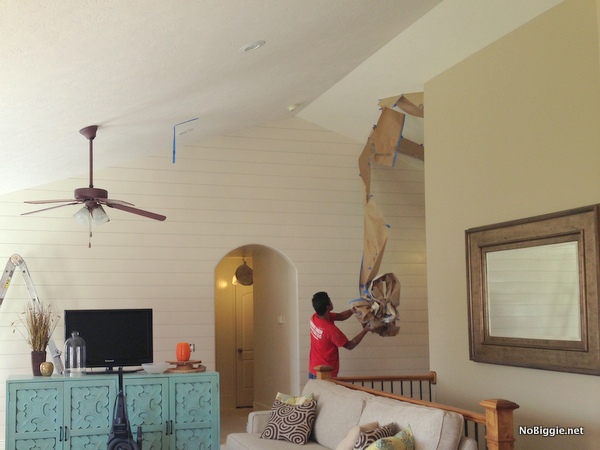
I love the way the room feels with this big change. Probably the big tips from this project were to use popsicle sticks for spacing for a big wall,it really helped.
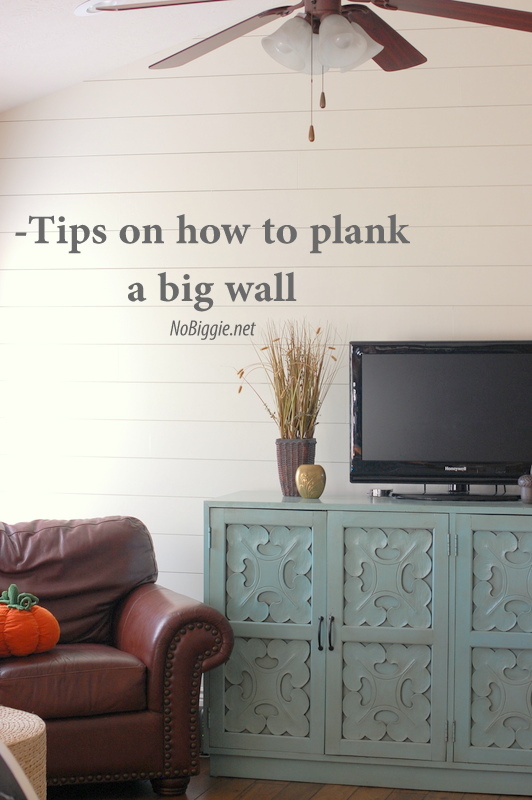
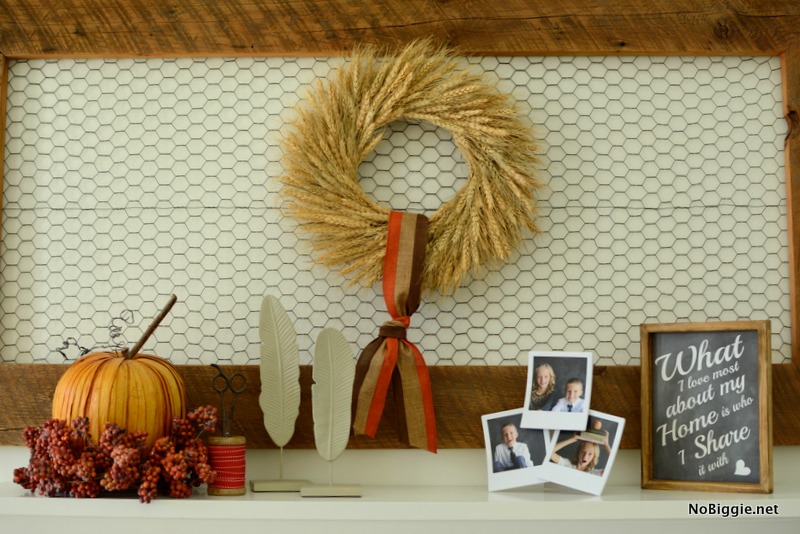
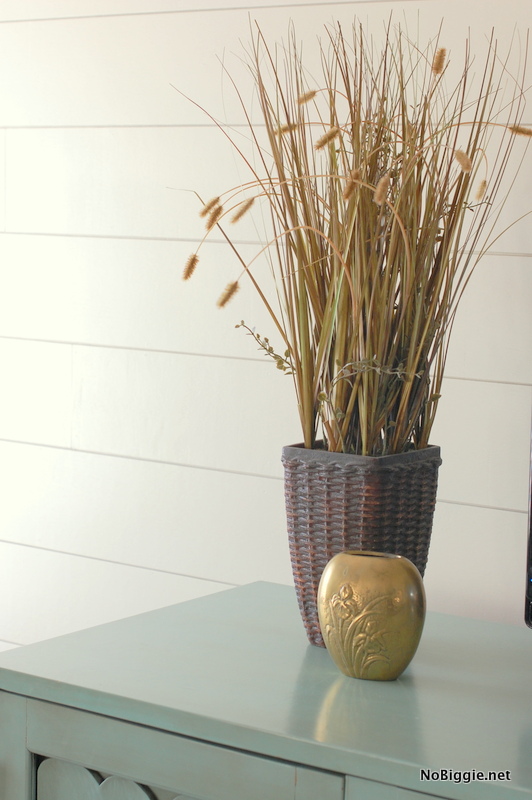
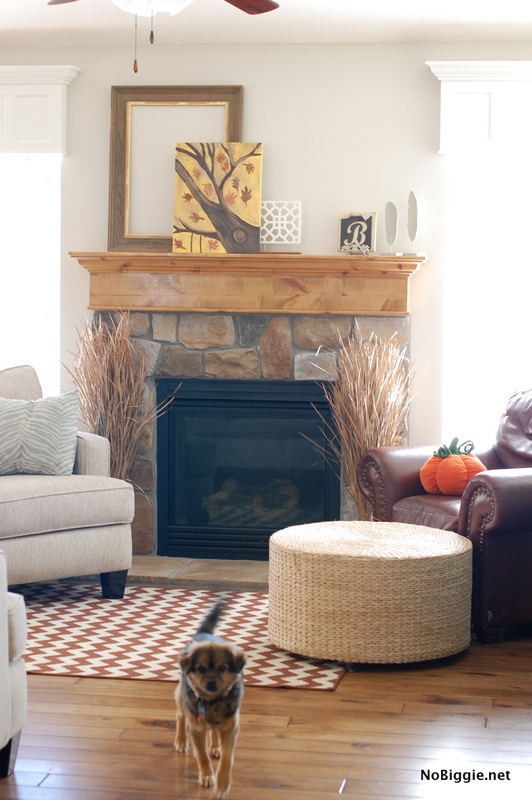
Now for the fun part, decorating for Fall. With these recent changes, I haven’t really wanted to decorate for Halloween as much as I have for Fall. …Maybe that will change once Halloween gets closer. I only have a few things out right now.
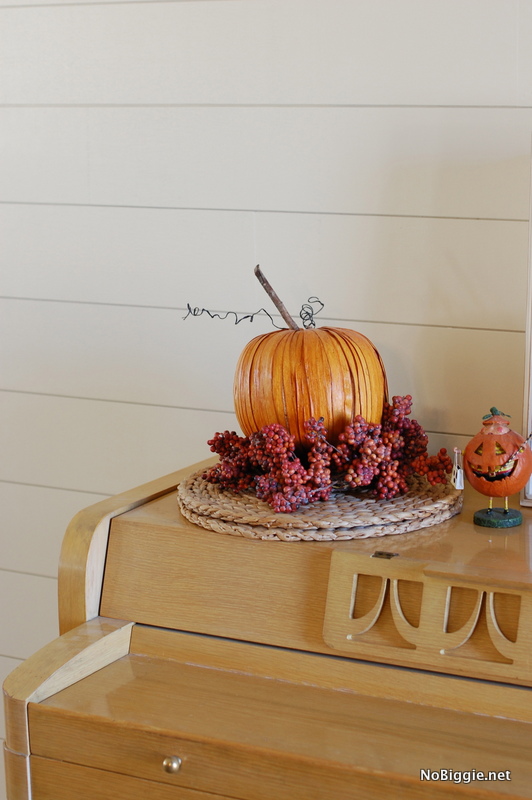
I’m loving how the piano looks against the white wall (above). Before it just blended in with the wall color. Now there’s so much more contrast.
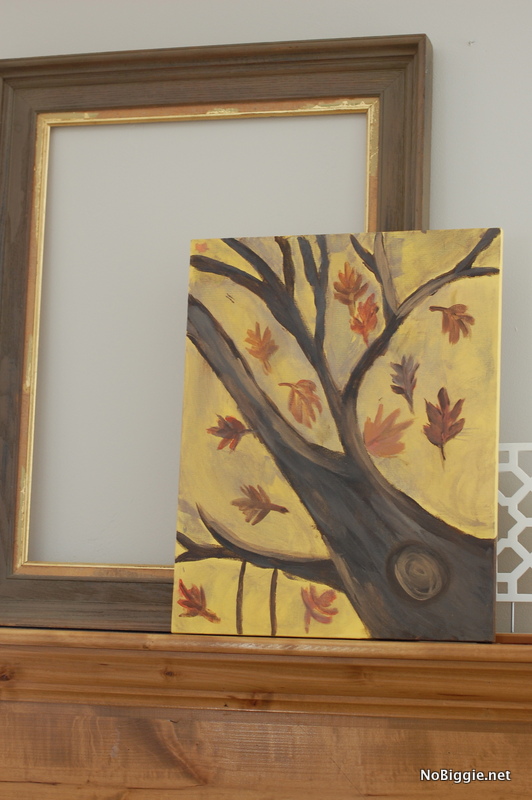
I’m loving my ‘original’ autumn painting from the paint party a few years back…more like paint by number. 😉
That’s it! Thanks for stopping by.
