How to Make a Pom Pom Banner.
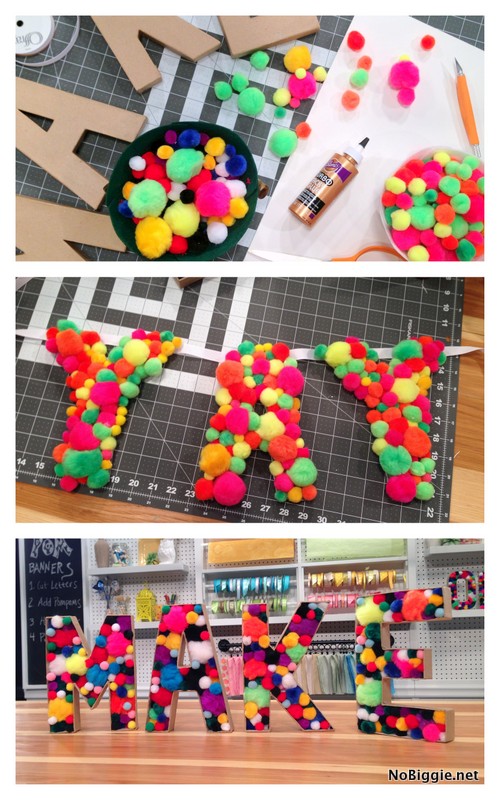
Make the cutest – squishiest pom pom banners! Watch the video below to see these Pom-Pom banners in action. Big bright fluffy you-just-want-to-squish-them pom-pom banners. A few years ago I had the amazing opportunity to work with JoAnn Fabric and Craft Stores and HGTV. They invited three bloggers to film video craft tutorials for HGTV’s blog: Design Happens. We filmed at the Scripps Network in Knoxville, TN. For my video, we made pom-pom banners, and I love how they turned out! My pom pom banner reads: YAY! …but you can spell out any word or name you want!
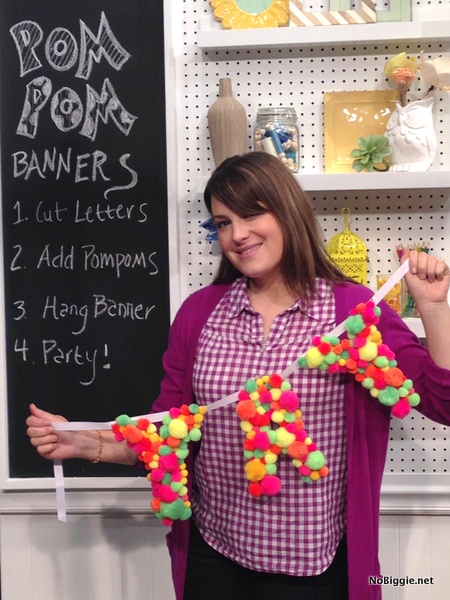
What you need to make a pom pom banner:
- decorative paper mâché letters or numbers
- foam board
- scissors
- craft knife
- colorful pom poms
- low temp hot glue gun
- hot glue sticks
- tacky glue
- ribbon
How to make a Pom Pom Banner:
- First up: Decide if you want to make 3-D letters that are free standing made from Paper Mache letters (or numbers) OR a festive banner that will hang on a ribbon that you can hang on a wall.
- For the free standing 3D letters, decide on the word, or name you want to spell out. For this one you will basically cut the letters open and then add a bunch of tacky glue inside and strategically place the pom poms inside and then wait for the glue to dry.
- For the pom pom banner. Cut foam board into the the letters or saying you’d like it to read and then you will use tacky glue again and place the pom poms onto the glue on the foam board.
Tips for this craft:
- Use tacky glue to allow for rearranging of pom poms before the glue is dry.
- If using different sizes of pom poms, we found that it’s best to place the larger pom poms down first and add in the smaller pom poms in where they will fit to fill it in.
- hot glue is good for attaching the foam core board banner to the ribbon for hanging.
- We love our low temp hot glue gun to avoid burns…it does the job…just the same.
Watch the video tutorial on HGTV…you can also watch it on YouTube.
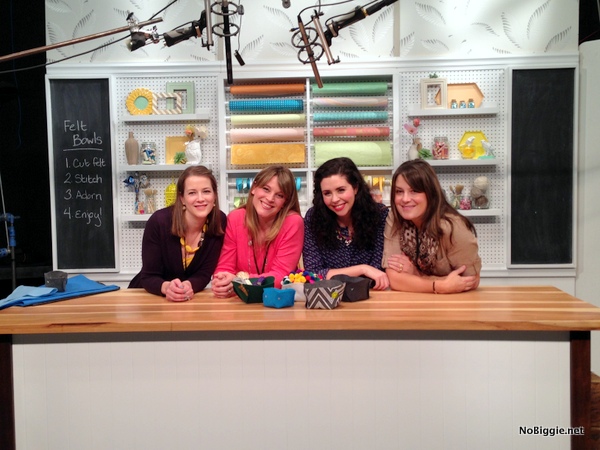
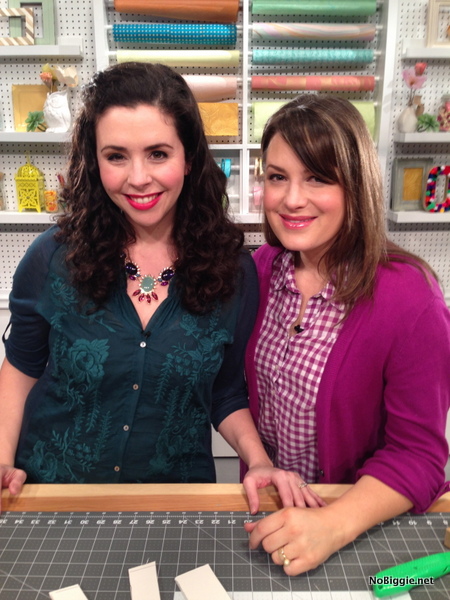
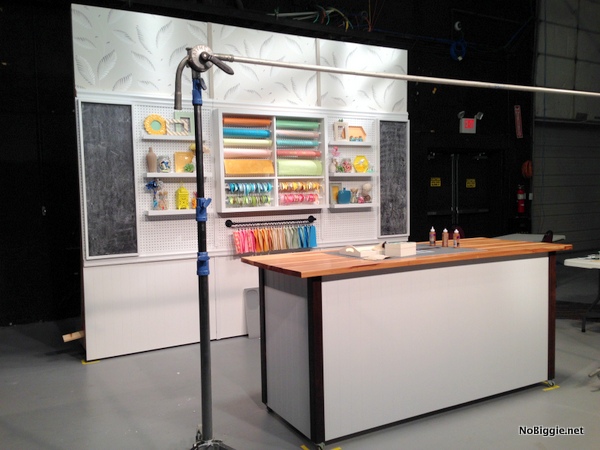
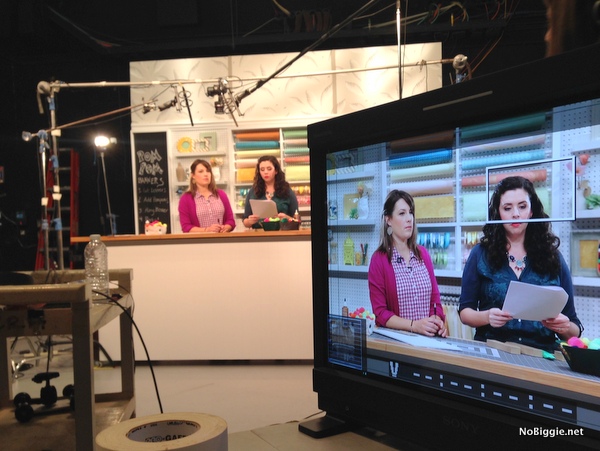
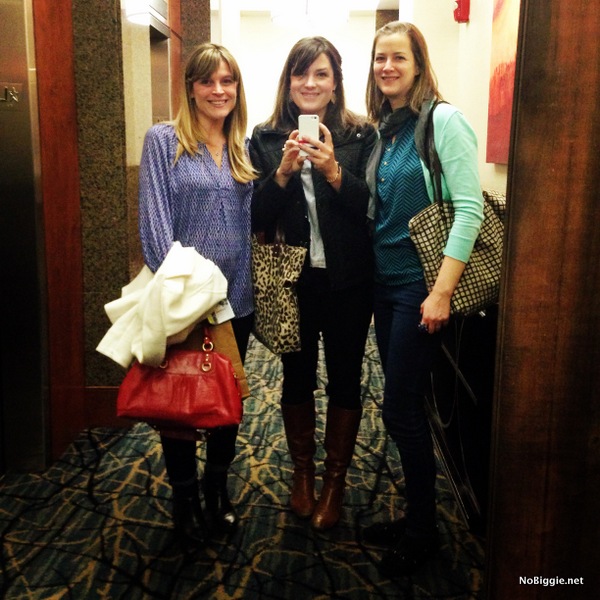
I loved getting to know the other two bloggers: Kathy of Merriment Design and Jess of The Sewing Rabbit. I don’t love traveling alone, and it was so nice to make friends right off the bat with these gals. Marianne the host of HGTV Handmade has such a fun job! They built this beautiful craft room set for her “webisodes”. I’ve always wanted to do more video on NoBiggie, and working with them gave me more of a feel for video. If only I had this set up…plus the crew to do all the post production editing, I’d be all over it!…but sadly I don’t. I’ll keep dreaming. 😉
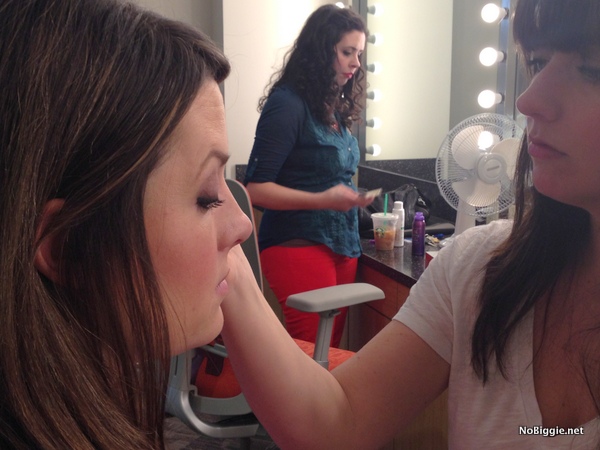
It sure was fun to get made up and feel all glamorous for the day.
Don’t you wish your craft room looked like this?! So bright and colorful, I loved it!
There was a lot of out takes while we filmed. Whenever I have done a segment on Studio 5 (our local NBC show), it’s always filmed live, so there are no do-overs. For this webisode, it was nice to have a chance to do it over if we messed up.
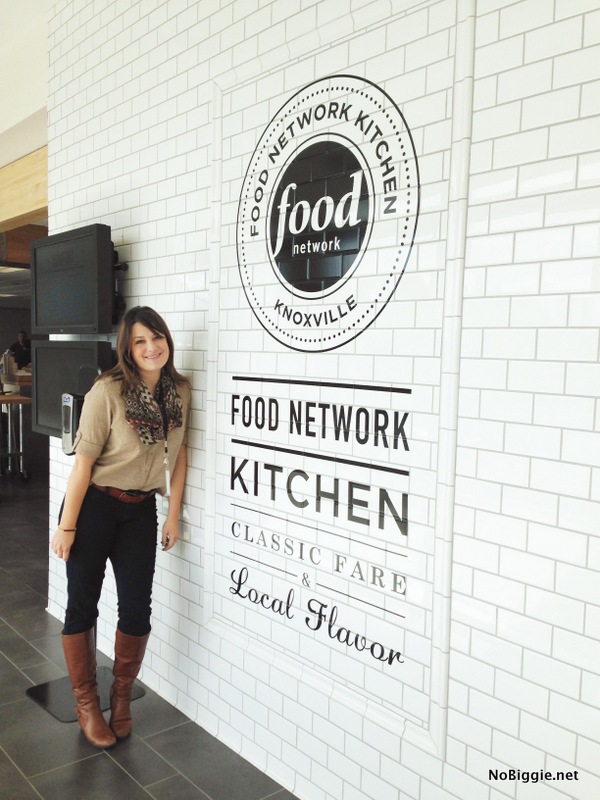
One of the biggest highlights of this trip while filming at Scripps Network where it all began, was eating in the Food Network kitchen both days we were there. The food was so good! It feeds all the HGTV and Scripps Networks employees daily…how lucky are they?!
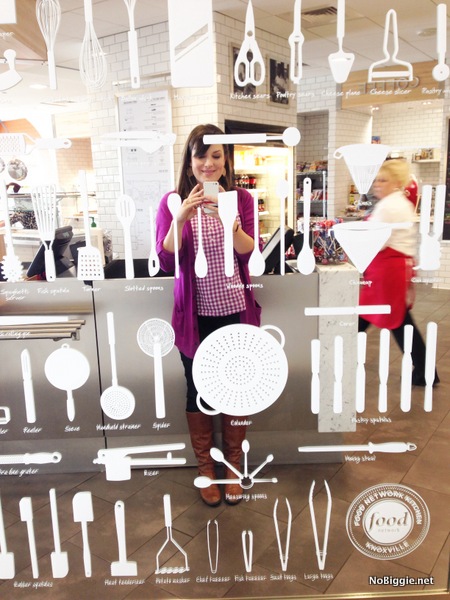
I fell in love with all the bright white subway tile and this mirror covered in every kitchen gadget you’d ever need.
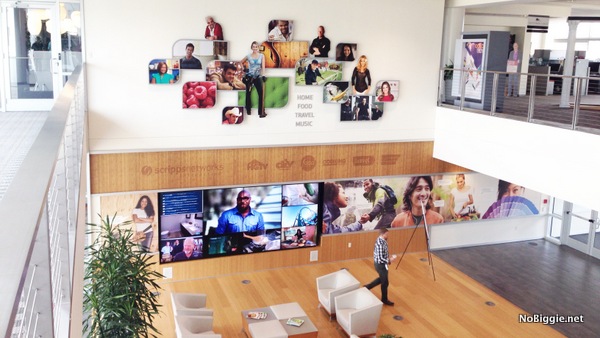
On our last day, they gave us a full tour of all four floors of Scripps Networks. It’s a beautiful building. This is where it all started. It was fun to learn all about the success they have had and how they have grown from HGTV to now Food Network, the DIY network, the travel channel and the cooking channel (to name a few).
A big thanks to everyone who made this trip such an amazing experience for me: Jo-Ann Stores, HGTV and Jess and Kathy. I had the best time!
Let’s talk- are you a big fan of HGTV and the Food Network too?
Disclosure: this opportunity sponsored by Jo-Ann Stores, all opinions are my own.
More simple craft projects:
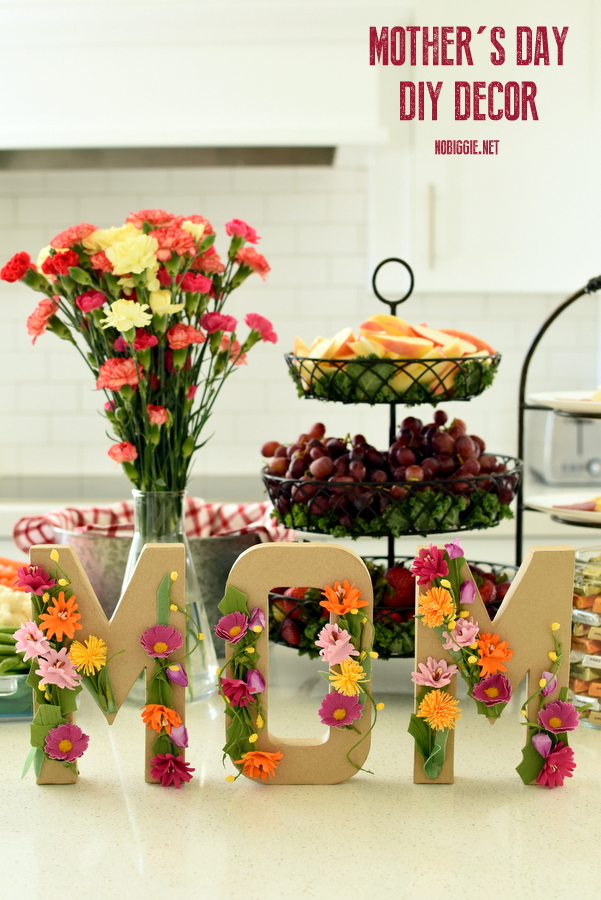
–Floral Paper Mache Letters
–Pipe Cleaner Rose Rings
–Glue Yarn Balls
