Easy Pizza Dough Recipe
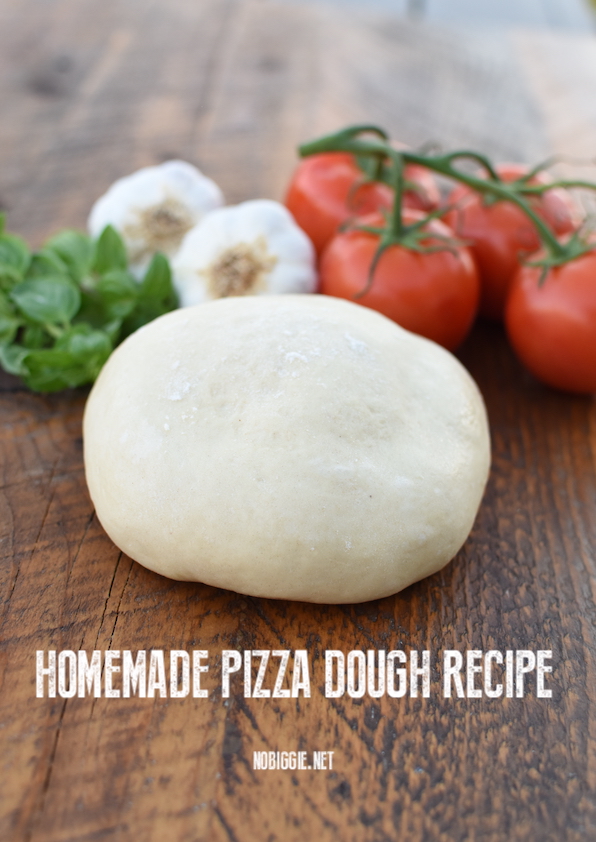
We are all about pizza night at our house, and my current favorite is “salad pizza”. Basically it’s a delicious pizza crust topped with your favorite toppings and then you load it up with arugula leaf lettuce tossed in Olive Garden Salad dressing. It’s so good!
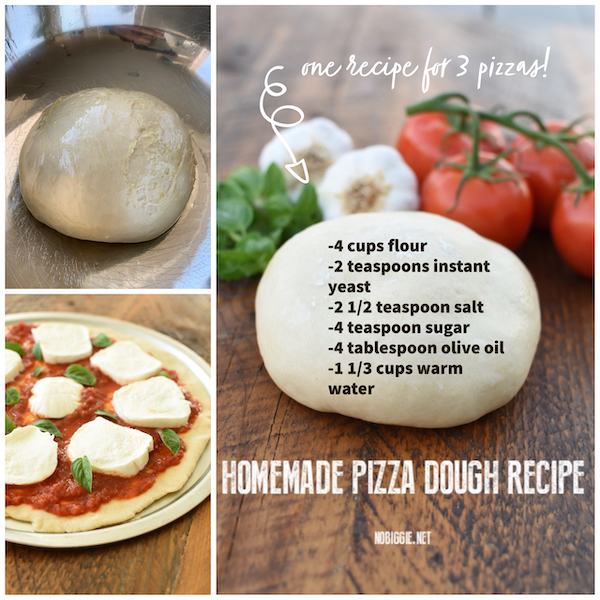
Pizza Dough Recipe Ingredients:
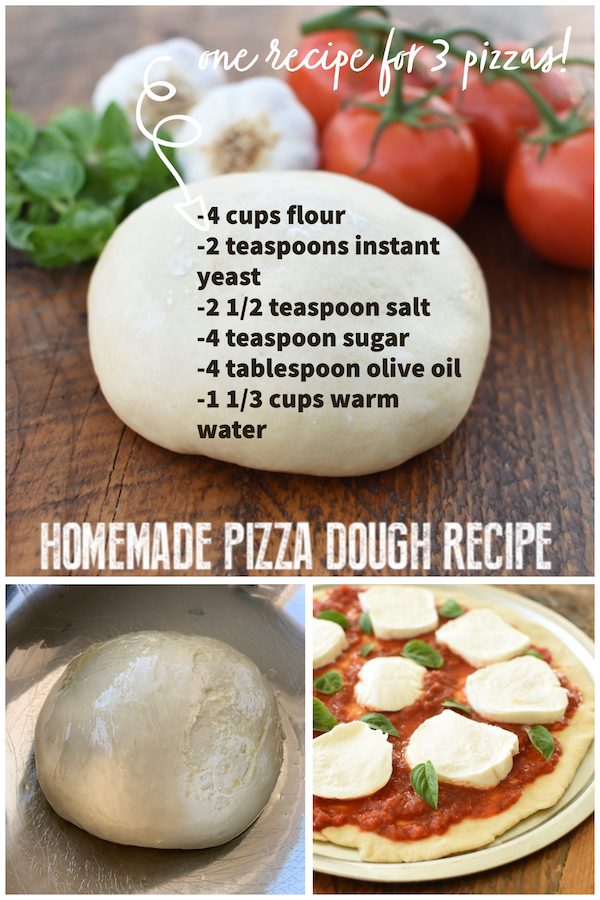
- 4 cups bread flour or pizza flour (or all purpose flour)
- 2 teaspoons instant yeast (rapid rise yeast)
- 2 1/2 teaspoon sea salt, fine
- 4 teaspoon white sugar
- 4 tablespoon extra virgin olive oil
- 1 1/3 cups warm water (110-115 degrees)
For Working With the Dough: - 1 tablespoon extra flour
- 2 teaspoon extra virgin olive oil
Pizza Toppings: - 1 1/3 cups mozzarella cheese, freshly grated (per pizza)
- 1/4 cup pizza sauce (per pizza)
- Toppings of choice
Pizza Dough making Directions:
- Proof the yeast: In a medium size bowl add the warm water, yeast and sugar. Gently mix the three together and then place a plate over the top to trap in the warmth from the water. Give this mixture a few minutes to bloom. This is a test to make sure the yeast is good and will work in the recipe.
- Place flour and salt in a large bowl. Make a well in the middle. Pour in the oil and water mixture. Mix with a wooden spoon. Mix well to bring it all together so it comes away from the sides of the bowl.
- Sprinkle your work surface with 1/2 the extra flour. Scrape dough out of the bowl.
- Knead the dough for 5 minutes until it is pretty smooth. Shape dough into a ball after kneading.
Pizza Dough Rise #1: - Drizzle large bowl with extra virgin olive oil (you can use the same bowl used for the mixing).
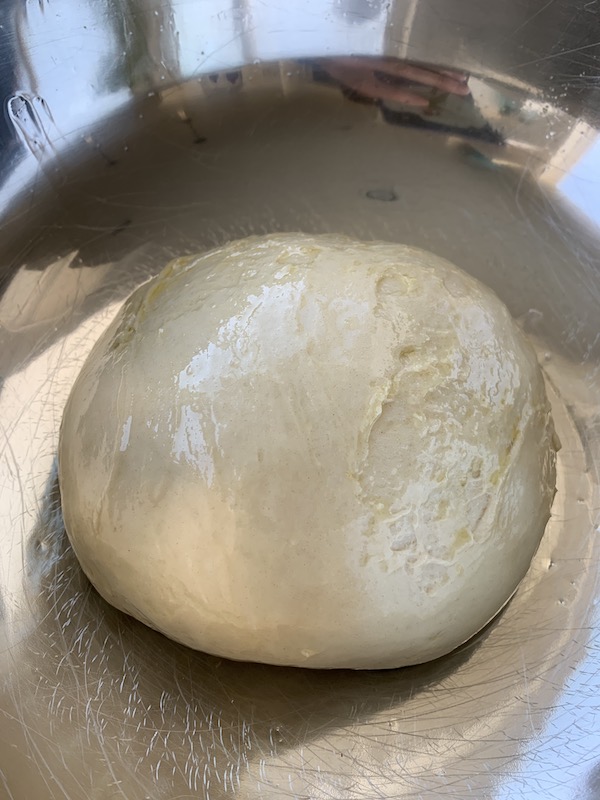
- Place the dough ball into the bowl, turn it over and rub the top with the oil.
- Cover with cling wrap, then put in a warm place in your kitchen for 1 – 2 hours until it doubles in size. (This is rise #1)
Optional Delayed Second Rise: - This is an optional step if you plan to make the dough a day or up to 5 days in advance. After the first rise, refrigerate the bowl with the dough for up to 5 days (do not punch down). The flavor will get better during this time.
Pizza Dough Rise #2: - Scrape dough out of bowl onto the work surface lightly dusted with flour. Shape the dough into a log shape, fully deflating the dough in the process.
- Cut the dough into 3 equal portions one for each pizza crust.
- For each dough portion, shape the dough into a ball, tuck the sides under, so you have a smooth surface.
- Place dough balls, smooth side up, on a sheet pan lined with parchment paper, 4 inches from each other.
- Sprinkle dough balls with a little flour and lightly rub to coat the surface (so they don’t stick to a tea towel). Cover the dough balls with a lightly damp tea towel. Alternatively, cover loosely with a sheet of parchment paper then seal tray with cling wrap, ensuring the dough balls have plenty of space to rise under the cling wrap.
- Leave in warm place 1 hour until almost double in size. (If the dough is cold from the fridge, this will take more time: 3 – 4 hours).
Stretch the Pizza Dough: - Preheat oven to 530°F, OR as high as your oven will go. Put the oven rack into the top third position of your oven. Add a baking stone into the oven at this time if you have one.
- Sprinkle work surface with 1/2 tbsp flour. Place one dough ball on top.
- With with a floured fist, deflate dough gently and spread out into an 8 inch round. Use your hands to stretch the dough, working around the circle, until it’s almost the size of a 12″ pizza pan.
- Place the unbaked pizza dough round onto the pizza pan (or floured paddle if cooking directly onto the pizza stone. Finish stretching the dough to fill the pan, so it’s as round and uniform as possible – the shape you have at this time is the shape it will bake to. Leave the edges untouched for more of a puffy crust edge.
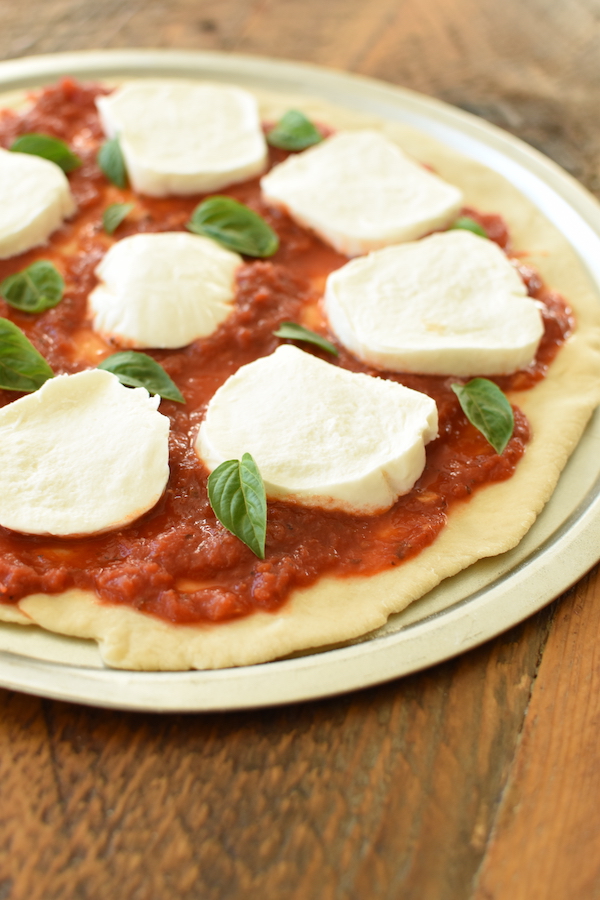
Pizza Toppings: - Spread the top with 1/4 cup pizza sauce.
- Add 1 1/3 cups freshly grated mozzarella.
- Finish with the toppings of your choice.
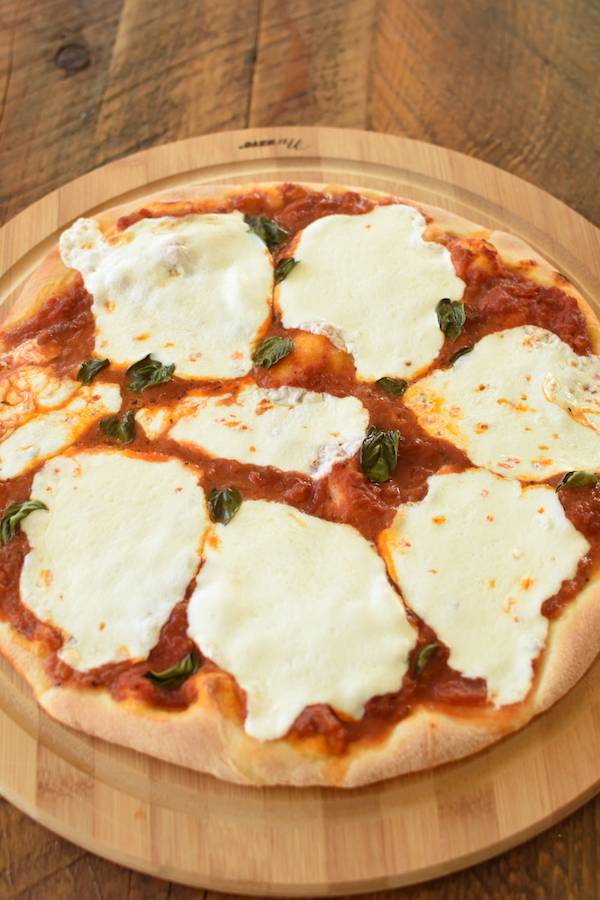
- Bake about 10 minutes, until the cheese is melted and it has some golden spots.
- Cut into pizza slices and serve right away.
- Repeat process for the remaining balls to make two more pizzas.
Why Proof the Yeast?
We like to proof the yeast before starting any recipe with yeast, because it helps to make sure the yeast is alive and active. This way if the yeast doesn’t bloom and grow we don’t have to waste all the ingredients, just the small amount of yeast, water and sugar. We can start over if needed. Also we like to keep our rapid rise (or instant) yeast in the freezer. We’ve found that the yeast lasts so much longer when we store it in the freezer.
What if my yeast + water + sugar mixture does not change?
There’s a couple reasons that can cause yeast to not active, bloom, grow and change when proofing.
- The water you are using is too hot and it killed the yeast. You want the water to be the temperature of a baby’s bath water. If it burns your wrist, then it’s too hot.
- The water is too cold. If the water is too cold, the yeast cannot change and grow either.
- The yeast you are using is old, expired and no longer active.
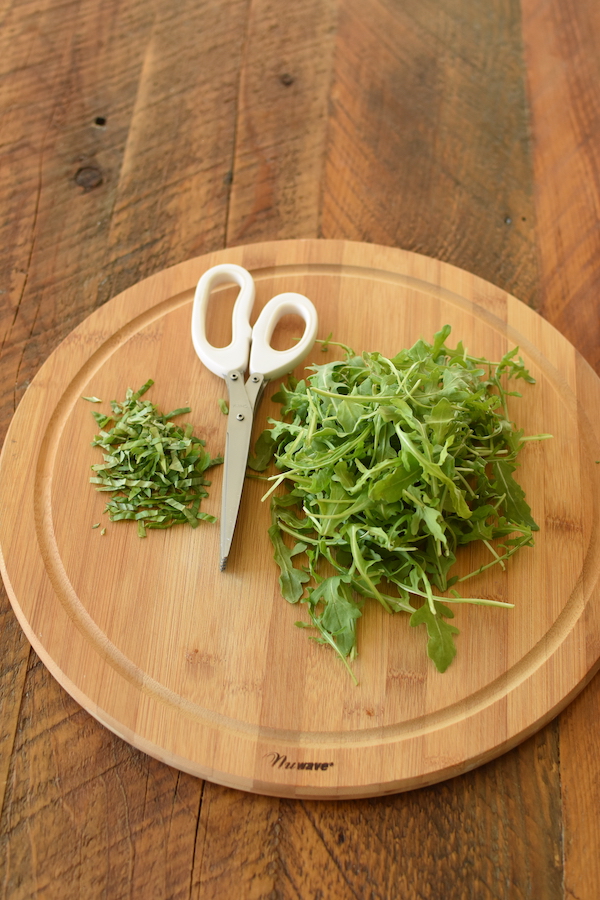
Do you need a Pizza Stone or a Pizza Pan?
We like to use both! We love the extra heat that the pizza stone adds to the bottom of the pizza crust when it preheats in the extra hot oven.
We also love the pizza pans with the large perforated holes in the bottom to allow heat to come through the bottom. A pizza pan helps act as a guide in shaping the crust into a perfect circle. Note that whatever shape the crust is going into the oven will be the same coming out of the oven.
The pizza pan also makes the task of moving the pizza into and out of the oven a lot easier.
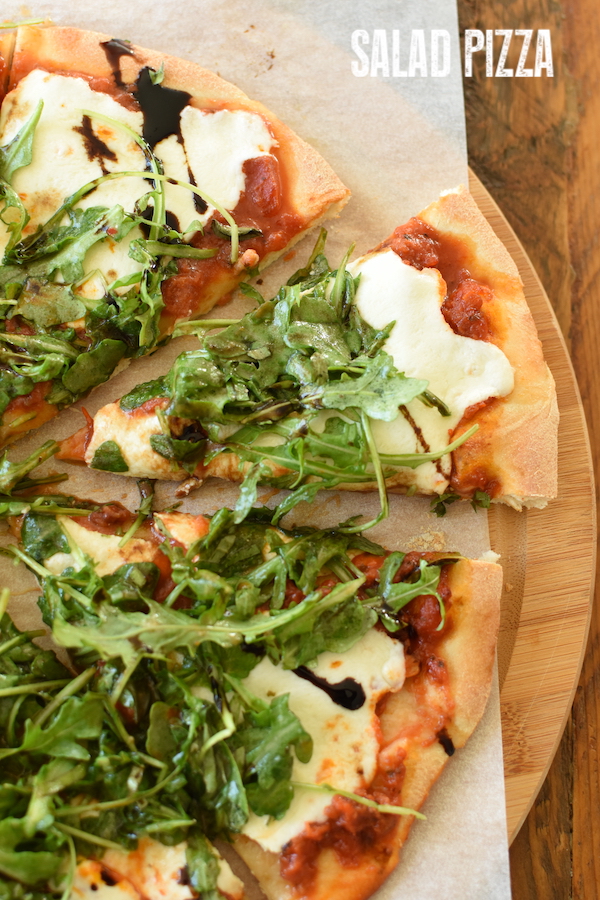
What is a Salad Pizza?
We love salad pizza! It’s basically a pizza with your choice of toppings. Something like a margarita style pizza with fresh mozzarella, fresh basil and tomatoes and tomato sauce (is always a favorite). After baking, you top with arugula lettuce that has been tossed in olive oil (or we like tossing it in the Olive Garden salad dressing). After you add the arugula to the top, drizzle with a balsamic glaze. We like the one from Trader Joes.
Pizza Dough in the Food Processor:
Did you know that you can use your food processor to do all the work when it comes to kneading the dough to make pizza? You can also use your stand mixer, but that takes a little more time than the food processor. What typically takes 5+ minutes to knead and mix the dough by hand can by done in your food processor in under one minute! Plus the cleanup is a breeze. It does help to have a larger food processor, but most sizes will work with this method. Often times I don’t love to get out kitchen appliances that have extra parts that require too much cleaning, but this recipe makes for easy cleanup. You can wash by hand or use the top shelf of your dishwasher.
To make this recipe in your food processor, pour the water mixture in while it is running with the other ingredients. Followed by a couple quick start and stops for 30 seconds each to help the gluten develop. It will form a dough ball in no time.
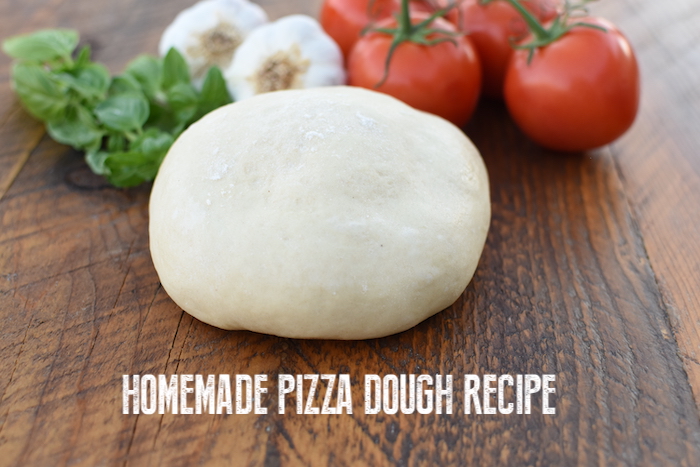
Homemade Pizza Dough Tips:
- If the dough is too sticky, add a little more flour when kneading.
- If the dough is too dry, sprinkle with water.
- The dough rising time can vary depending on humidity and the warmth of your kitchen. It’s best to start earlier in the AM to get Rise #2.
- Once Rise #2 is complete, the dough balls are ready for stretching into pizza bases OR they can sit around for up to 5 hours in a COOL room (to stop the rising to continue). Just make sure you keep them covered with a damp tea towel (and dusted with flour so they don’t stick to tea towel) so they don’t dry out. Cling wrap on top of the bowl is an extra step to keep them from drying out.
- Once you stretch the pizza base, transfer to the pizza paddle or your pizza pan, add sauce, cheese and favorite pizza toppings to cook immediately. Don’t leave it sitting around for even a few minutes with the toppings on it before going into the oven because the pizza dough will get soggy.

Pizza Dough Recipe
We love this easy pizza crust recipe. It's similar to an Italian Restaurant: Wood Fired Pizza Oven style.
Ingredients
- 4 cups bread flour or pizza flour (or all purpose flour)
- 2 teaspoons instant yeast (rapid rise or instant yeast)
- 2 1/2 teaspoon sea salt fine
- 4 teaspoons granulated white sugar
- 4 tablespoons extra virgin olive oil
- 1 1/3 cups warm water temp: 110-115 degrees
For Working with the Dough:
- 1 tablespoon extra flour
- 2 teaspoons extra virgin olive oil
Toppings:
- 1 1/3 cups mozzarella cheese freshly grated
- 1/4 cup pizza sauce (per pizza)
- pizza toppings of choice
Instructions
Make the Pizza Dough:
-
Proof the yeast: in a medium size bowl add the water, yeast and sugar. Gently mix the three together and then place a plate over the top to trap in the warmth from the water. Give this mixture a few minutes to bloom. This is a test to make sure the yeast is good and will work in the recipe.
-
Place flour and salt in a large bowl. Make a well in the middle. Pour in the oil and water mixture. Mix with a wooden spoon. Mix well to bring it all together so it comes away from the sides of the bowl.
-
Sprinkle your work surface with 1/2 the extra bread flour. Scrape the dough out of bowl.
-
Knead the dough for 5 minutes until it is pretty smooth. Shape dough into a ball after kneading.
Dough Rise #1:
-
Drizzle large bowl with Extra Virgin Olive Oil (you can use the same bowl used for the mixing). Use your hand to get the oil all over the bottom of the bowl.
-
Place the dough ball into the bowl, turn it over and rub the top of the dough with the oil.
-
Cover the top of the bowl with cling wrap, then move the bowl to a warm place in your kitchen for 1 - 2 hours until it doubles in size. (This is rise #1)
*Optional Delayed Second Rise:
-
This is an optional step if you plan to make the dough a day or up to 5 days in advance. After the first rise, refrigerate the bowl with the dough for up to 5 days (do not punch down). The flavor will get better during this time.
Dough Rise #2:
-
Scrape the dough out of bowl onto the work surface that is lightly dusted with flour. Shape the dough into a log shape, fully deflating the dough in the process.
-
Cut the dough into 3 equal portions one for each pizza crust.
-
For each dough portion, shape the dough into a ball, tuck the sides under, so you have a smooth surface.
-
Place dough balls, smooth side up, on a sheet pan lined with parchment paper, 4 inches from each other.
-
Sprinkle the dough balls with a touch of flour and lightly rub the top to coat the surface (so they don't stick to a tea towel). Cover the dough balls with a lightly damp tea towel. Alternatively, cover loosely with a sheet of parchment paper then seal the tray with cling wrap, ensuring the dough balls have plenty of space to rise under the cling wrap.
-
Leave the pan in warm place 1 hour until almost double in size. (If the dough is cold from the fridge, this will take more time: 3 - 4 hours).
Stretch the Pizza Dough:
-
Preheat your oven to 530°F, OR as high as your oven will go. Put the oven rack into the top third position of your oven. Add a baking stone into the oven at this time if you have one.
-
Sprinkle your work surface with 1/2 tablespoon of flour. Place one dough ball on top.
-
With with a floured fist, deflate the dough gently and spread out into an 8 inch round. Use your hands to stretch the dough, working around the circle, until it's almost the size of a 12" pizza pan.
-
Place the unbaked pizza dough round onto the pizza pan (or a floured paddle if cooking directly onto the pizza stone. Finish stretching it to fill the pan, so it's as round and uniform as possible. The shape you have at this point is the shape it will bake to. Leave the edges untouched for more of a puffy crust around the edge.
Pizza Toppings:
-
Spread the top with 1/4 cup pizza sauce.
-
Add 1 1/3 cups freshly grated mozzarella.
-
Finish with the pizza toppings of your choice.
-
Bake about 10 minutes, until the cheese is melted and it has some golden spots.
-
Take the pizza out of the oven. Cut the pizza into slices and serve right away.
-
Repeat process for the remaining balls to make two more pizzas.
Making This Recipe? Tag us on Instagram: @NoBiggie using the hashtag #NoBiggieRecipes, so we can see what you are making in the kitchen!
More pizza recipes we love:


Leave a Comment