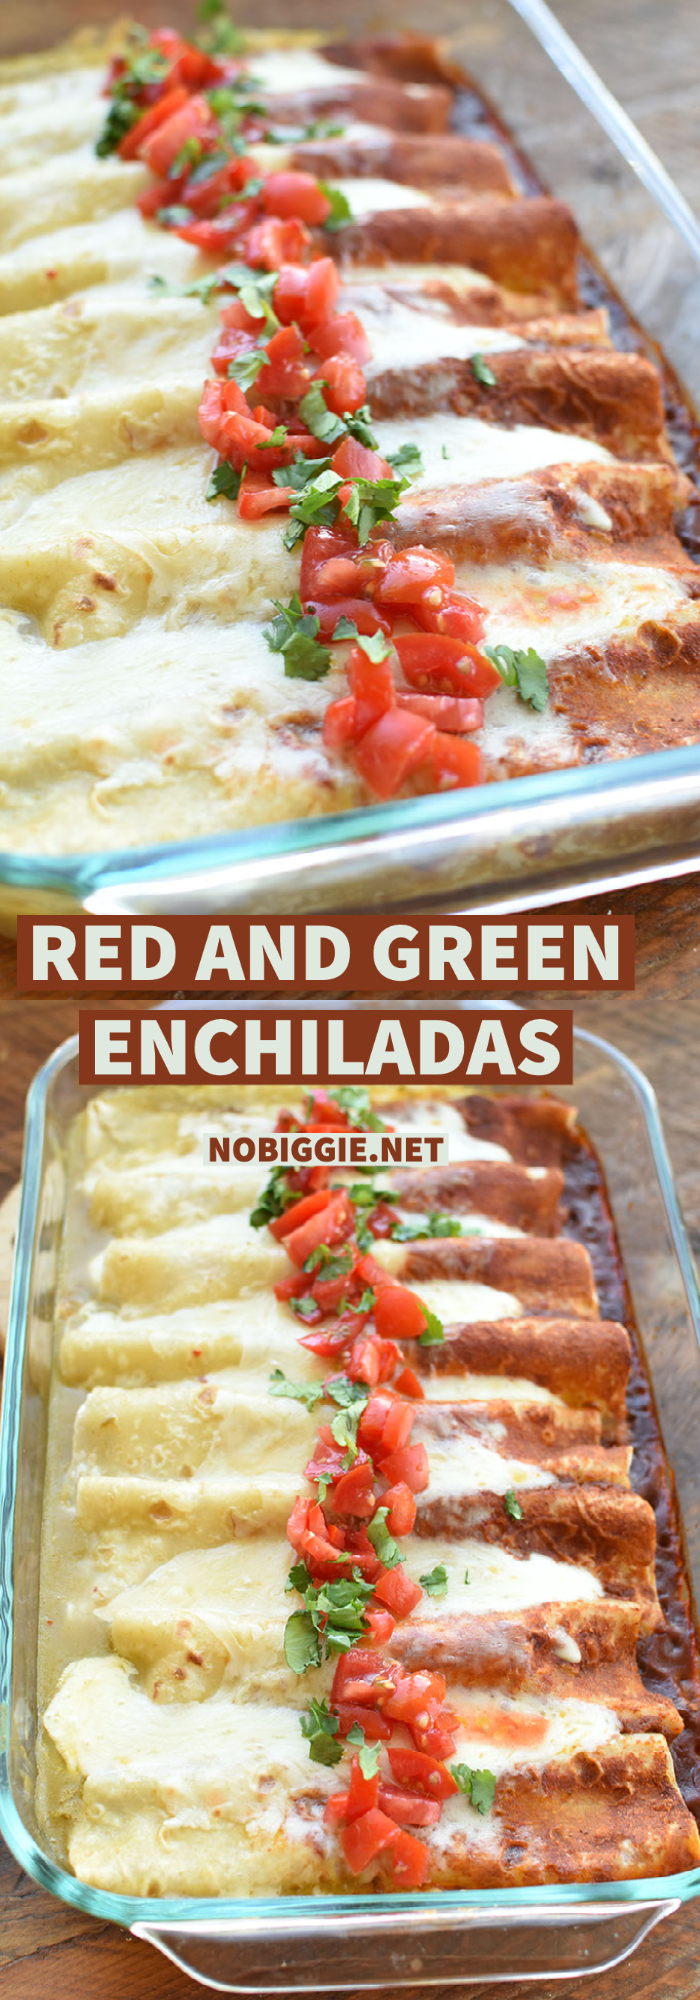
Red and Green Enchiladas: Spice it up with both red AND green enchilada sauce!
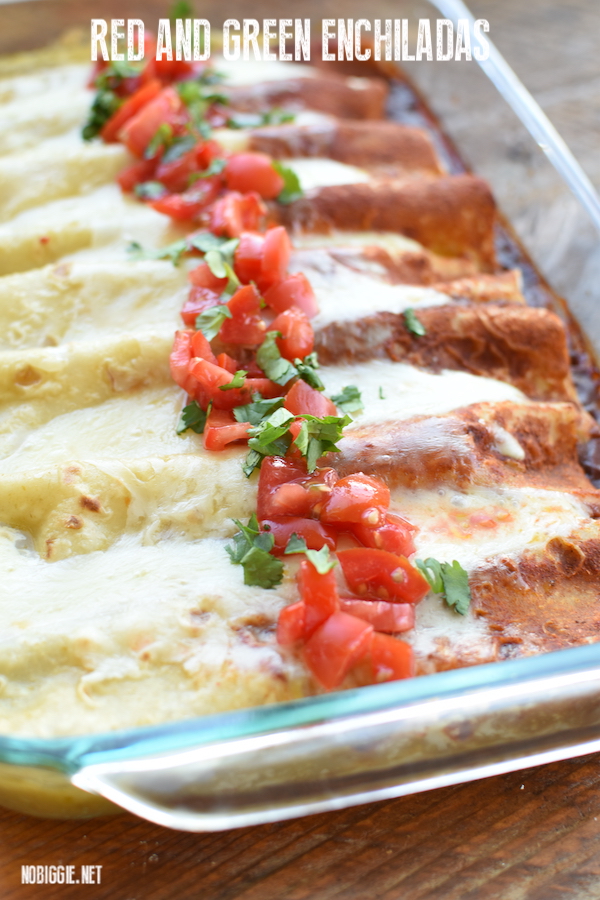 My dad was a very traditional meat-and-potatoes kind of guy, so while I was growing up our menu didn’t stray too far from traditional American meals. When I met my husband’s family, it was at their favorite Mexican restaurant for lunch. I had absolutely no idea what to order! The suggestion of enchiladas was made, and I was hooked!
I’ve found many new dishes that I enjoy over the years, but enchiladas will forever be my favorite! The spicy sauce and melty cheese…..Mmmmmmm! The true question now is whether green enchilada sauce or red enchilada sauce is at the top of my list. Well, that isn’t a choice I have to make any longer! This Red and Green Enchilada recipe includes both sauces, so it’s sure to please everyone.
The red and green sauces also make this a fun choice for a non-traditional holiday meal! Imagine a Feliz Navidad Fiesta for a Christmas Eve party…it’s a sure way to spice things up!
The Secret for THE BEST Chicken Enchiladas:
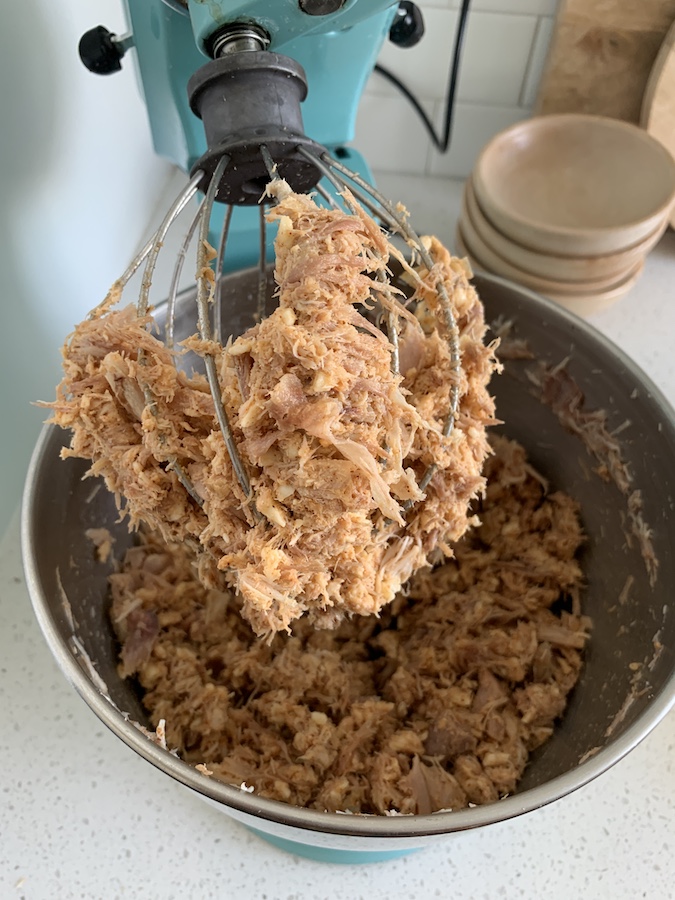
Here’s our secret for the most soft chicken filling for enchiladas. Use your mixer! Either your hand mixer or your stand mixer. The mixer is great at shredding the chicken really fine and then it’s great to mix in the cheese and the seasonings so it’s evenly mixed throughout.
Ingredients:
- 2 lbs chicken breasts, cooked and shredded
- 2 tablespoons taco seasoning
- 8 oz. block Monterey jack cheese shredded, divided
- 1/2-1 cup prepared green salsa
- 8 large flour tortillas
- 8 oz. red enchilada sauce (use your favorite brand)
- 8 oz. green enchilada sauce
Toppings:
- diced tomato
- chopped cilantro
- avocado
- sour cream
How To Make Red and Green Enchiladas
Instructions:
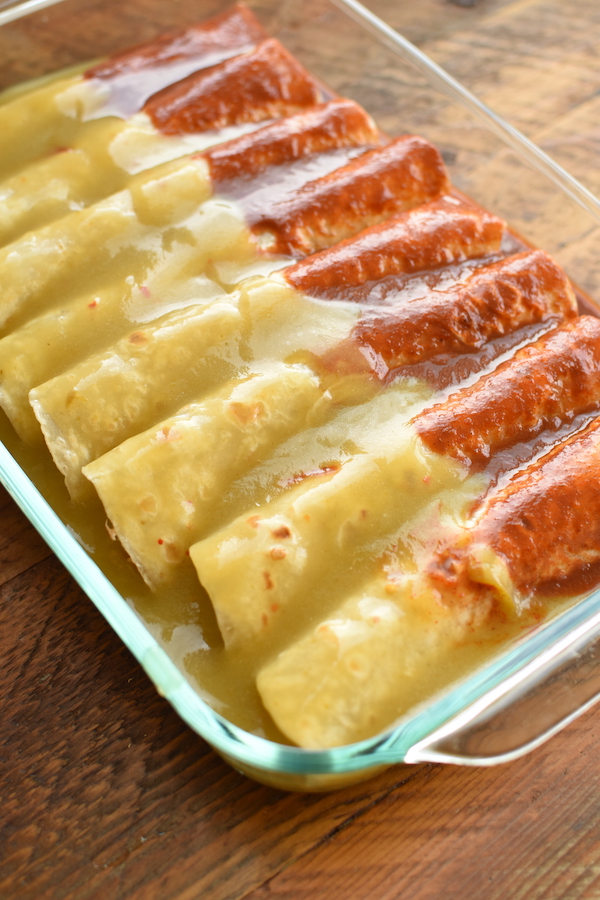
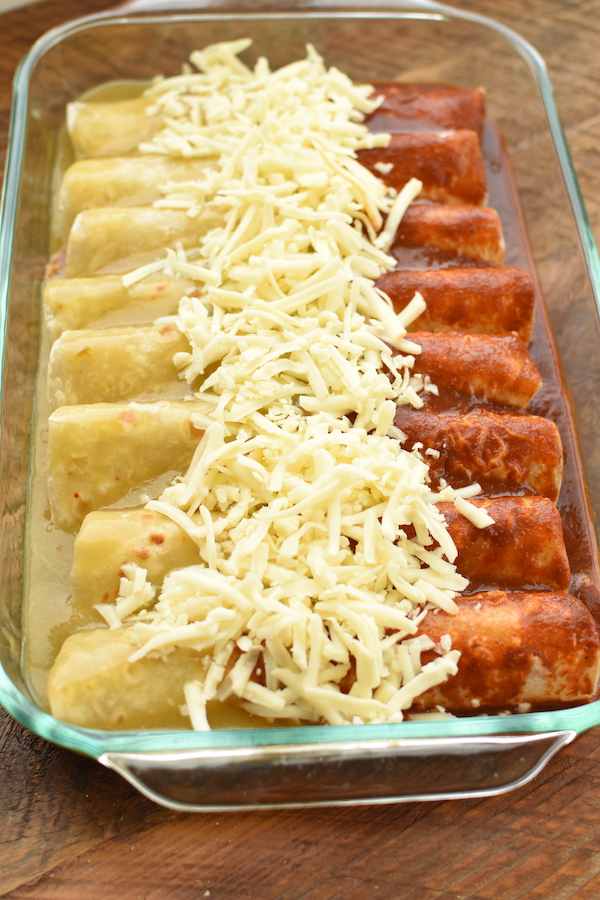
- Preheat oven to 350 degrees. Lightly spray 9×13 glass dish with cooking spray. Spread about 4 tablespoons red enchilada sauce to the bottom of the inside length of one half of the baking dish. Now add about 4 tablespoons of green enchilada sauce to the other half of the baking dish. Set aside.
- Here’s the secret for the BEST enchilada filling…let your mixer (stand mixer or hand mixer) really do all the work to make the most soft perfectly combined filling. Start by adding the cooked shredded chicken to the bowl of the mixer. With the whisk attachment (if using a stand mixer), run the mixer to shred the chicken to a fine shred. Add in the taco seasoning, 2/3 of the shredded cheese and enough salsa to help add moisture to the filling mixture.
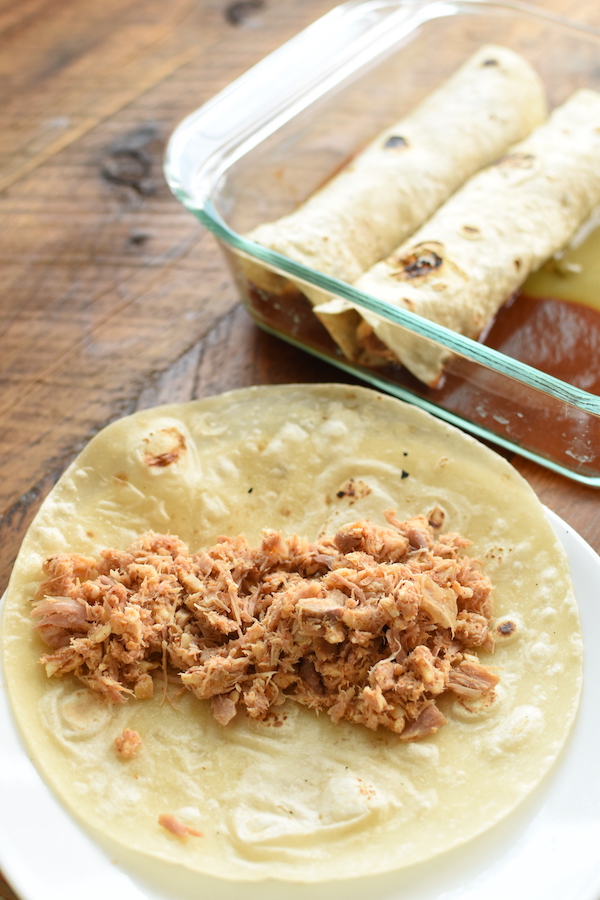
- In an assembly line method: fill 8 flour tortillas evenly with the filling, roll and place seam side down into the pan. Pour remaining red enchilada sauce over the top of half of the enchiladas (on the red sauce side). Pour the remaining green enchilada sauce over the green sauce side. To allow the sauce to get between each enchilada, run a butter knife in between each enchilada. This will also help the enchiladas from sticking together.
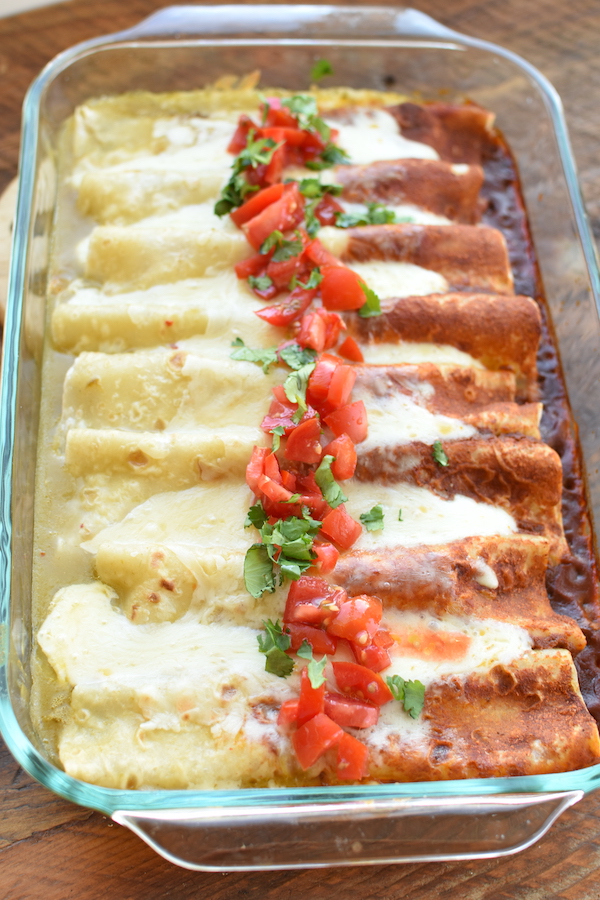
- Sprinkle it all with the rest of the shredded cheese. Cover with foil and bake for 30 minutes or until hot and the cheese is melted.
- Serve with your favorite toppings. Enjoy!
What To Serve With Enchiladas
What’s the Difference Between Red and Green Enchilada Sauce?
The difference between red and green enchilada sauce is primarily the type of chili used. Red enchilada sauce is made of red chilies, and green enchilada sauce is made of green chilies.
Is Green or Red Enchilada Sauce Hotter?
Well, it depends! Both sauces can be mild or spicy depending on the chile used. For instance, a red sauce will be mild when using California red chiles, or spicy when using chipotle chilis. Similarly, green enchilada sauce is mild when Anaheim chiles are used, and spicy when jalapeno peppers are used.
What’s the Difference Between Green Enchilada Sauce and Salsa Verde?
The main difference between green enchilada sauce and salsa verde is that green enchilada sauce is cooked and has added liquid (either water or stock) to change the consistency. Salsa verde is made by blending the ingredients together and serving uncooked.
How Long Do Enchiladas Last in the Fridge?
Enchiladas will keep in the fridge for 2 – 3 days when stored in an air-tight container.
Red and Green Enchiladas
Ingredients
- 2 pounds chicken breasts cooked and shredded
- 2 tablespoons taco seasoning
- 8 ounce block Monterey jack cheese shredded and divided
- 1/2 - 1 cup prepared green salsa
- 8 flour tortillas large
- 8 ounce red enchilada sauce
- 8 ounce green enchilada sauce
Instructions
-
Preheat oven to 350 degrees. Lightly spray 9x13 glass dish with cooking spray.
-
Spread about 4 tablespoons of red enchilada sauce to the bottom of the inside length of one half of the baking dish. Now add about 4 tablespoons of green enchilada sauce to the other half of the baking dish. Set aside.
-
Here’s the secret for the BEST enchilada filling…let your mixer (stand mixer or hand mixer) really do all the work to make the softest perfectly combined filling. Start by adding the cooked shredded chicken to the bowl of the mixer. With the whisk attachment (if using a stand mixer), run the mixer to shred the chicken to a fine shred.
-
Add in the taco seasoning, 2/3 of the shredded cheese, and enough salsa to help add moisture to the filling mixture.
-
In an assembly line method: fill 8 flour tortillas evenly with the filling, roll and place seam-side down into the pan.
-
Pour remaining red enchilada sauce over the top of half of the enchiladas (on the red sauce side). Pour the remaining green enchilada sauce over the green sauce side. To allow the sauce to get between each enchilada, run a butter knife in between each enchilada. This also helps the enchiladas from sticking together.
-
Sprinkle it all with the rest of the shredded cheese. Cover with foil and bake for 30minutes or until hot and the cheese is melted.
-
Serve with your favorite toppings. Enjoy!
Recipe Notes
Toppings:
- diced tomato
- chopped cilantro
- avacado
- sour cream
Making This Recipe? Tag us on Instagram: @NoBiggie using the hashtag #NoBiggieRecipes, so we can see what you are making in the kitchen!
*This recipe adapted from Lauren’s Latest.
Follow me on Pinterest, Facebook and Instagram for more NoBiggie content.
If you make this recipe, please let me know!
-Using the star icons below: RATE and COMMENT… I would love to hear your experience. Leave a ⭐️⭐️⭐️⭐️⭐️ rating on this recipe with your comment.
-If you take a photo… tag me on instagram @nobiggie with the hashtag: #nobiggierecipes. I’d love to share!
Looking for more great recipes?

Leave a Comment