Chewy Peanut Butter Blossoms
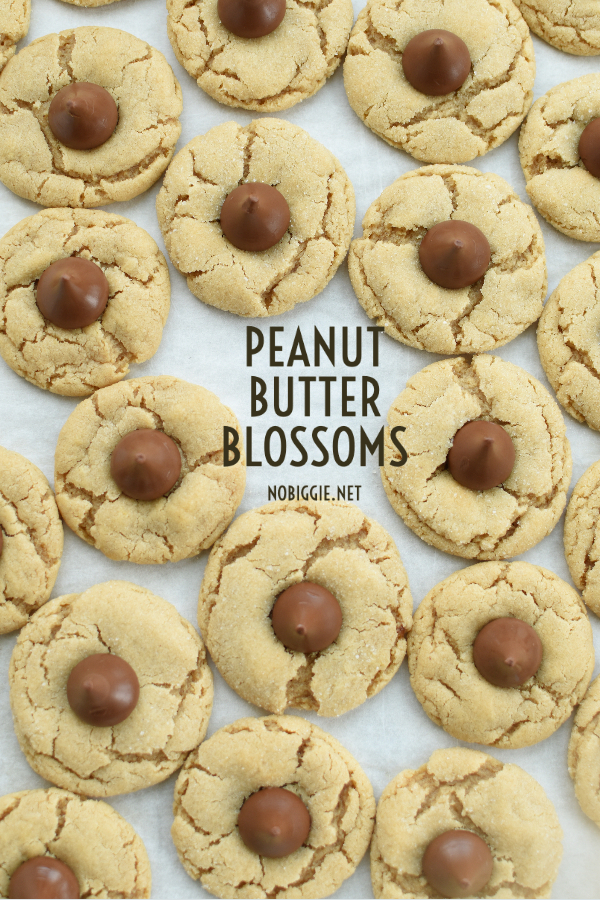
This deliciously chewy Peanut Butter Blossom cookie combines the flavors of peanut butter and chocolate, and easily tops my favorite cookie list! Making these becomes a family affair at our house; my kids love rolling the dough balls in the sugar. Any recipe that brings the family together is a winner in my book! Whether you’re making a batch to gift to neighbors at Christmas time, serving them at a wedding or baby shower, or enjoying them as a dessert for Sunday dinner, this will become a go-to recipe ALL YEAR ROUND.
What is a Peanut Butter Blossom?
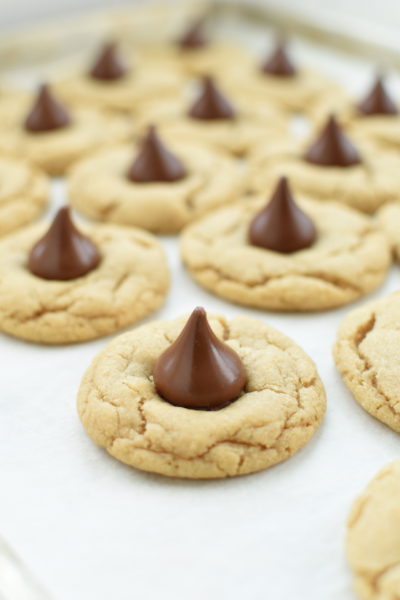
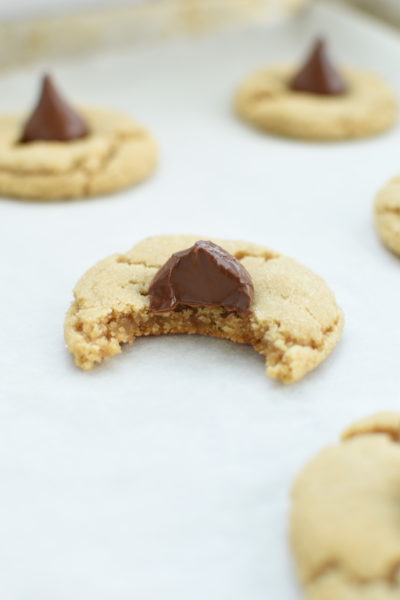
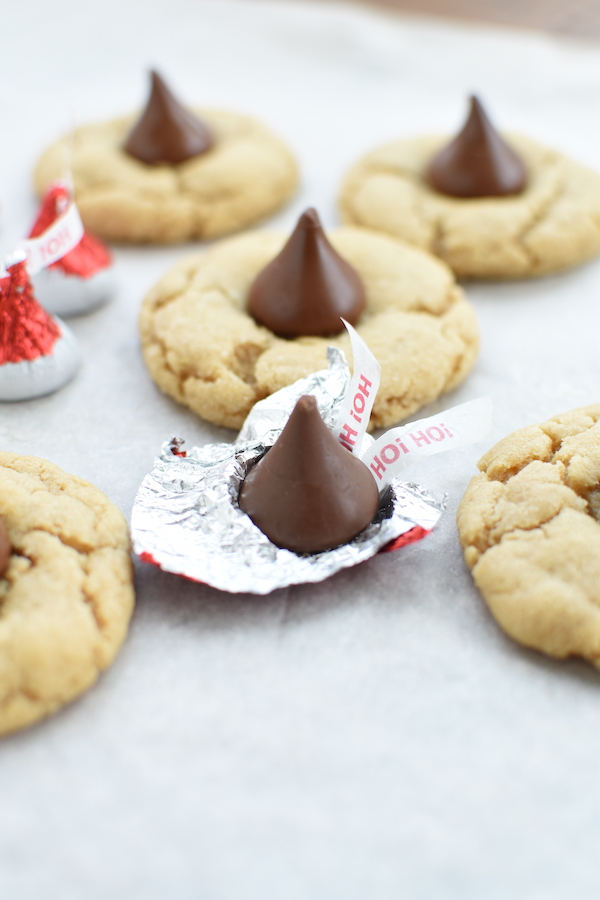
A Peanut Butter Blossom is a variation on a traditional peanut butter cookie that is topped with a Hershey Chocolate Kiss. Traditionally, a milk chocolate kiss is used, but with the variety of Kisses available now, it’s fun to play with different combinations. I mean, can you imagine the gooey goodness of a caramel kiss atop a peanut butter cookie?? YUM!!!
Ingredients:
To make Peanut Butter Blossoms, you’ll need:
- 2 cups all-purpose flour
- 1 teaspoon baking soda
- ½ teaspoon salt
- ½ cup unsalted butter, room temperature
- ½ cup creamy peanut butter
- 1 cup sugar, divided
- ½ cup packed light brown sugar
- 1 large egg
- 1 tablespoon milk
- 1 teaspoon pure vanilla extract
- 30 Hershey’s Chocolate Kisses, unwrapped
How to make Peanut Butter Blossoms
1. Whisk together the dry ingredients in a medium bowl: whisk together the flour, baking soda and salt; set aside.
2. In a stand mixer or with a hand mixer, cream together the butter, peanut butter, 1/2 cup sugar, and brown sugar until smooth. Scrape down the sides of the bowl if needed.
3. Add in the egg, milk and vanilla extract. Mix until combined. Add the dry ingredients and mix on low until combined. Avoid over mixing. Wrap the dough in plastic wrap and let chill in the fridge for at least 30 minutes. The dough can be chilled up to 72 hours.
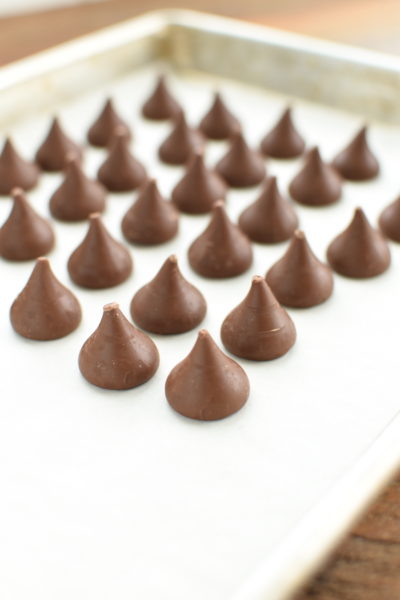
4. Freeze the unwrapped chocolate kisses for 30 minutes before baking. This will help the chocolates to keep their shape and not melt.
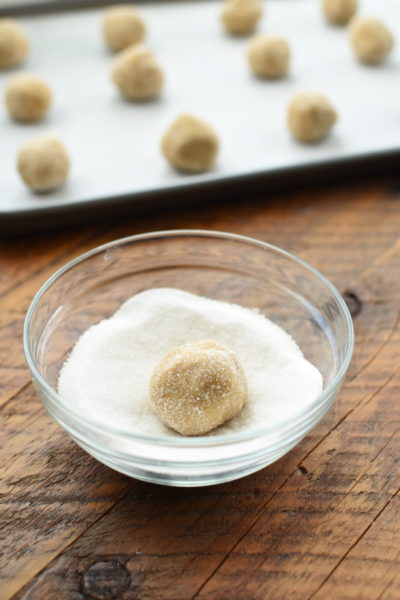
5. Preheat oven to 350 degrees F. Line a large baking sheet with parchment paper. Roll the peanut butter cookie dough into balls, about 1 tablespoon of dough per cookie. Place the remaining 1/2 cup sugar in a small bowl. Roll the cookie dough balls in the sugar until they are coated.
6. Place the cookie dough balls onto the baking sheet, about 2-inches apart. Bake the cookies until they start to crack on the edges, about 8 to 9 minutes. Remove the baking sheet from the oven and lightly press a frozen chocolate kiss into the center of each cookie, allowing it to crack the cookie slightly. Return the baking sheet back to the oven and bake for an additional 2 minutes. Remove from the oven and let the cookies cool on the baking sheet for a few minutes. Transfer the cookies to a cooling rack and allow to cool until the chocolate kisses harden up a bit.
How to store Peanut Butter Blossoms:
Cookies will keep in an airtight container on the counter for up to 4 days. If you’re having trouble stacking the cookies, try placing the first layer of cookies side-by-side, and then place the next layer of cookies in the space between the kisses.
Can Peanut Butter Blossoms be frozen?
Yes! To freeze the dough before baking, form the dough into balls but don’t roll in sugar until right before you’re ready to bake the cookies. Freeze the dough balls individually. Once frozen, the dough balls can be added to a freezer bag and sealed tight. The dough can be frozen for up to 3 months.
When unthawing, remove from the freezer and place the frozen dough in the refrigerator overnight. Once unthawed, roll the dough balls in sugar and bake as directed.
To freeze the cookies after baking, be sure to either wrap the cookies in two freezer bags and seal tightly, or use an air-tight container. When you’re ready to unthaw the cookies, leave them in the container they were frozen in until they reach room temperature so they don’t dry out.
Peanut Butter Blossoms
Soft and chewy Peanut Butter Blossom cookies
Ingredients
- 2 cups all-purpose flour
- 1 teaspoon baking soda
- ½ teaspoon salt
- ½ cup butter unsalted, room temperature
- ½ cup peanut butter creamy
- 1 cup sugar divided in half
- ½ cup light brown sugar packed
- 1 egg large
- 1 tablespoon milk
- 1 teaspoon pure vanilla extract
- 30 Hershey's Chocolate Kisses unwrapped
Instructions
-
Whisk together the dry ingredients in a medium bowl: whisk together the flour, baking soda and salt; set aside.
-
In a stand mixer or with a hand mixer, cream together the butter, peanut butter, 1/2 cup sugar, and brown sugar until smooth. Scrape down the sides of the bowl if needed.
-
Add in the egg, milk and vanilla extract. Mix until combined. Add the dry ingredients and mix on low until combined. Avoid over mixing. Wrap the dough in plastic wrap and let chill in the fridge for at least 30 minutes. The dough can be chilled up to 72 hours.
-
Freeze the unwrapped chocolate kisses for 30 minutes before baking. This will help the chocolates to keep their shape and not melt.
-
Preheat oven to 350 degrees F. Line a large baking sheet with parchment paper. Roll the peanut butter cookie dough into balls, about 1 tablespoon of dough per cookie. Place the remaining 1/2 cup sugar in a small bowl. Roll the cookie dough balls in the sugar until they are coated.
-
Place the cookie dough balls onto the baking sheet, about 2-inches apart. Bake the cookies until they start to crack on the edges, about 8 to 9 minutes. Remove the baking sheet from the oven and lightly press a frozen chocolate kiss into the center of each cookie, allowing it to crack the cookie slightly. Return the baking sheet back to the oven and bake for an additional 2 minutes. Remove from the oven and let the cookies cool on the baking sheet for a few minutes. Transfer the cookies to a cooling rack and allow to cool until the chocolate kisses harden up a bit.
Recipe Notes
Cookies will keep in an airtight container up to 4 days.
Making This Recipe? Tag us on Instagram: @NoBiggie using the hashtag #NoBiggieRecipes, so we can see what you are making in the kitchen!
Follow me on Pinterest, Facebook and Instagram for more NoBiggie content.
If you make this recipe, please let me know!
Using the star icons below: RATE and COMMENT… I would love to hear your experience. Leave a ⭐️⭐️⭐️⭐️⭐️ rating on this recipe with your comment.
If you take a photo… tag me on instagram @nobiggie with the hashtag: #nobiggierecipes. I’d love to share!
Can’t get enough peanut butter? We’ve got more recipes you’ll love:
- Easy No-Bake Peanut Butter Balls
- Peanut Butter Rudolph Cookies
- No-Bake Peanut Butter Pretzel Bars
- Homemade Nutter Butters

Leave a Comment